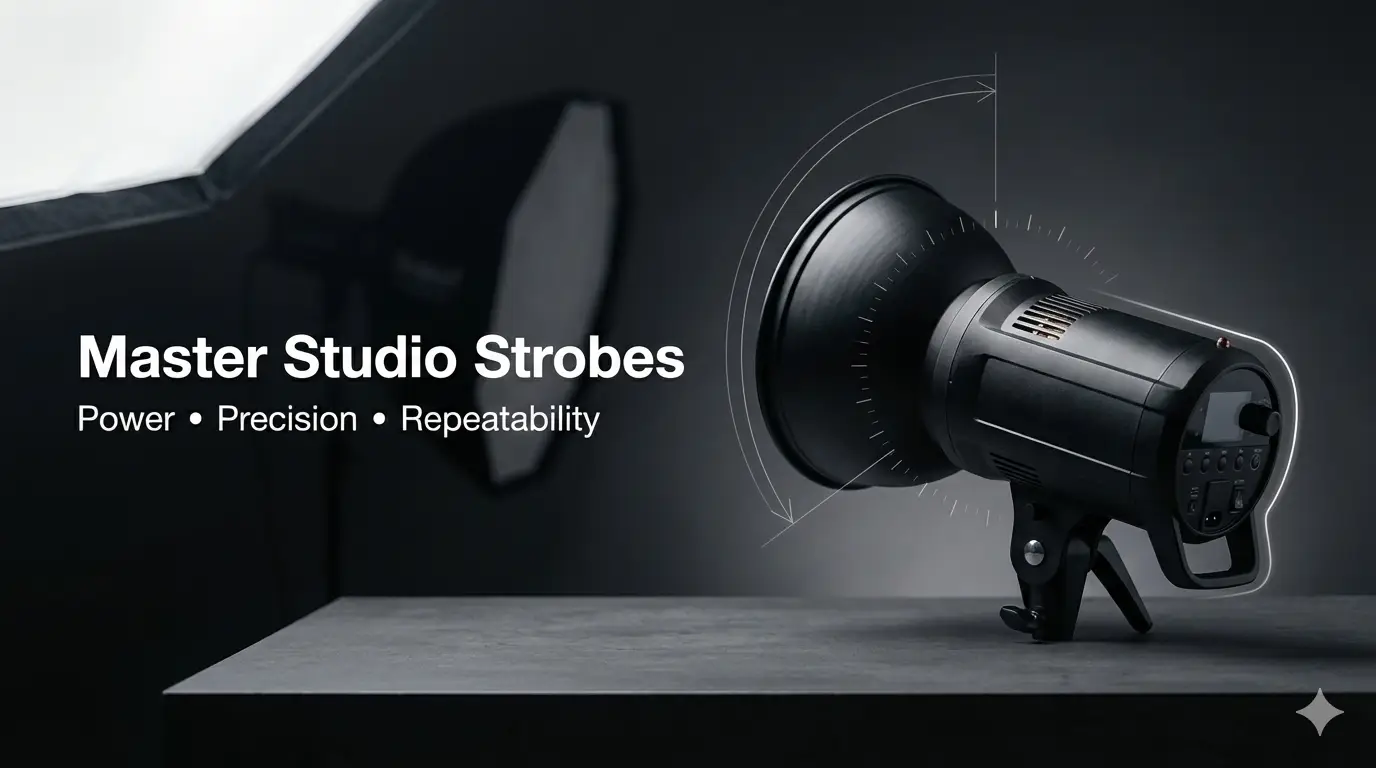
Studio strobes are purpose-built flash units that deliver very high peak output, short flash durations and stable colour temperature so you can control exposure precisely and freeze motion. This guide walks you through straightforward studio setups, creative off‑camera techniques and easy-to-follow lighting recipes so you can sculpt subjects, stop action and bring product details to life. Many photographers struggle with inconsistent results when switching between location and studio — predictable strobe output and repeatable modifier placement remove variables and speed the workflow. Throughout this article you’ll find clear technical notes, step‑by‑step power workflows, modifier advice and practical tips to rebuild setups quickly. We cover core definitions, a focused product recipe, off‑camera methods including High Speed Sync, and common questions. For foundation reading, see our Essential Tips for Beginners. Read on to get confident with studio strobes and map these methods to our studio resources and booking options.
Studio strobes are high‑output flash units that store energy and release it in a brief, intense burst of light. That short flash duration and high watt‑second capacity let you freeze motion and place highlights with precision — vital for dynamic portraits, action and product-detail work. Because strobes hold a consistent colour temperature and deliver repeatable output, multi‑shot workflows and compositing become much simpler and more reliable. While on‑camera flash and compact lights are convenient, photographers after creative control and professional consistency still rely on studio strobes for their predictable output and motion‑freezing ability.
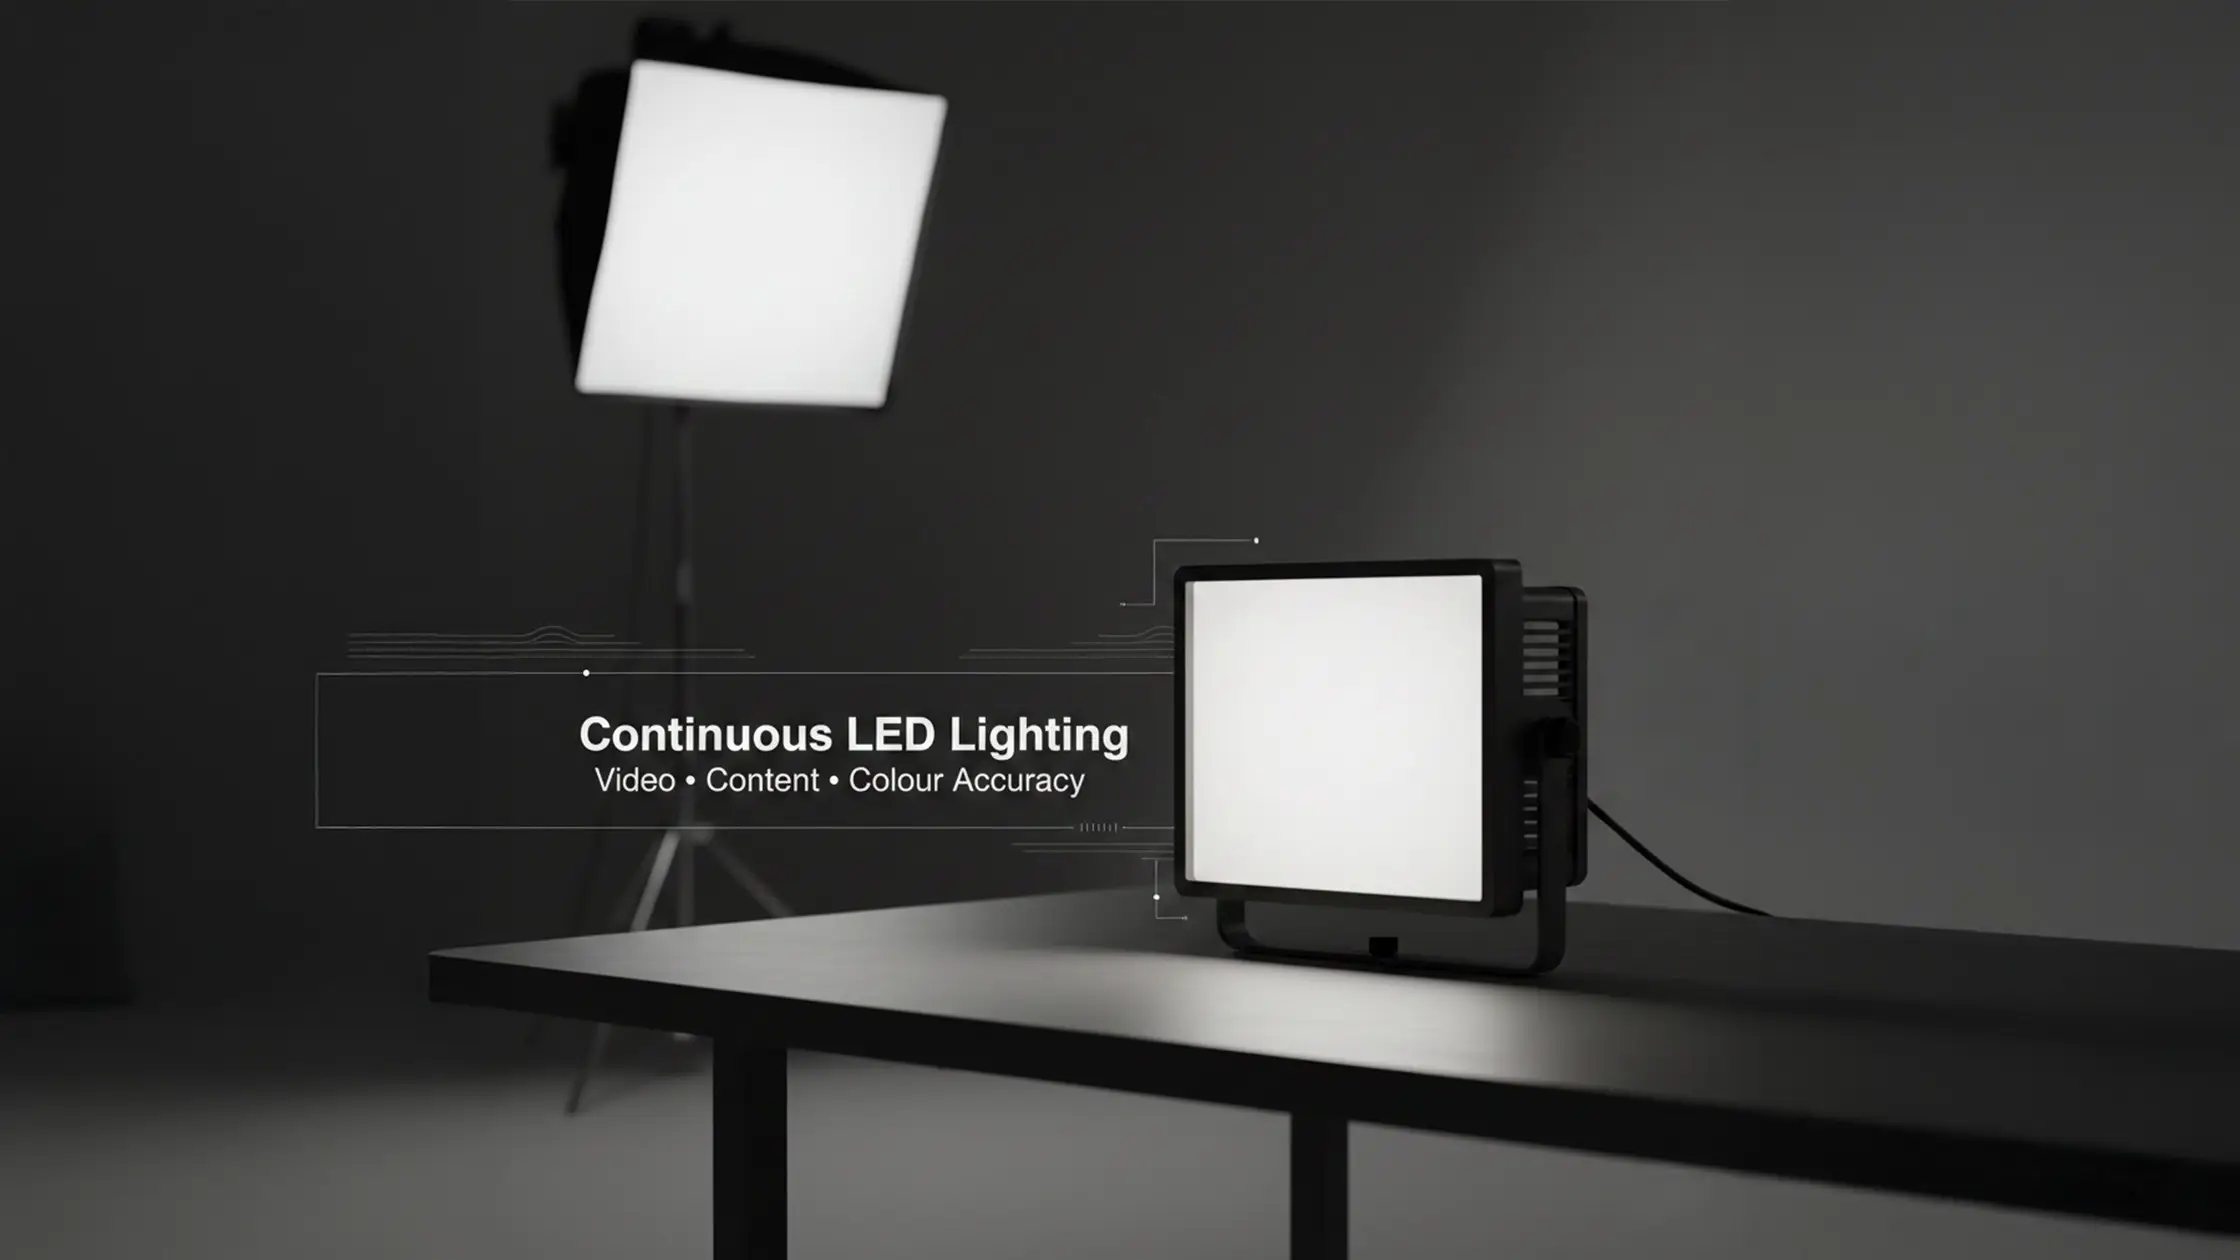
Below we compare strobes with continuous fixtures so you can see when each tool is the better choice — and why strobes excel at freezing motion and giving you more depth control.
The main differences are output profile, flash duration and efficiency. Strobes fire intense, millisecond bursts; continuous lights emit steady illumination and let you preview shadows in real time. That means strobes can achieve very short effective exposures to freeze motion without pushing shutter speeds past sync limits, while continuous lights make framing and tweaking easier but often force higher ISO or slower shutters to stop action. In practice strobes run cooler over long days and are less affected by ambient light, though continuous fixtures remain essential for video or whenever you need a constant preview. Continuous lights generally deliver lower peak output than studio strobes, which can require wider apertures or higher ISO to match exposure. Strobes give much greater peak output, letting you shoot at lower ISO and smaller apertures for greater depth of field and cleaner images. Knowing these trade‑offs helps you choose the right strobe hardware — the next section outlines the key specs to consider.
Picking professional strobes comes down to watt‑seconds (Ws), flash duration, recycle time, and whether you need HSS or TTL — plus whether portability (battery) or mains stability suits your workflow.
Battery monolights offer location flexibility but in some models trade peak power or recycle speed; mains strobes provide stable power and faster recycling for long studio days. TTL and HSS add convenience but can make manual settings less predictable. Match features to how you shoot.
Use the comparison table below to match strobe categories to the types of shoots they best support.
Use this comparison to match strobe capability to the demands of each job; next we apply those choices to reproducible product lighting recipes. This guide focuses on studio strobes — location work brings extra variables like ambient balance and power availability.
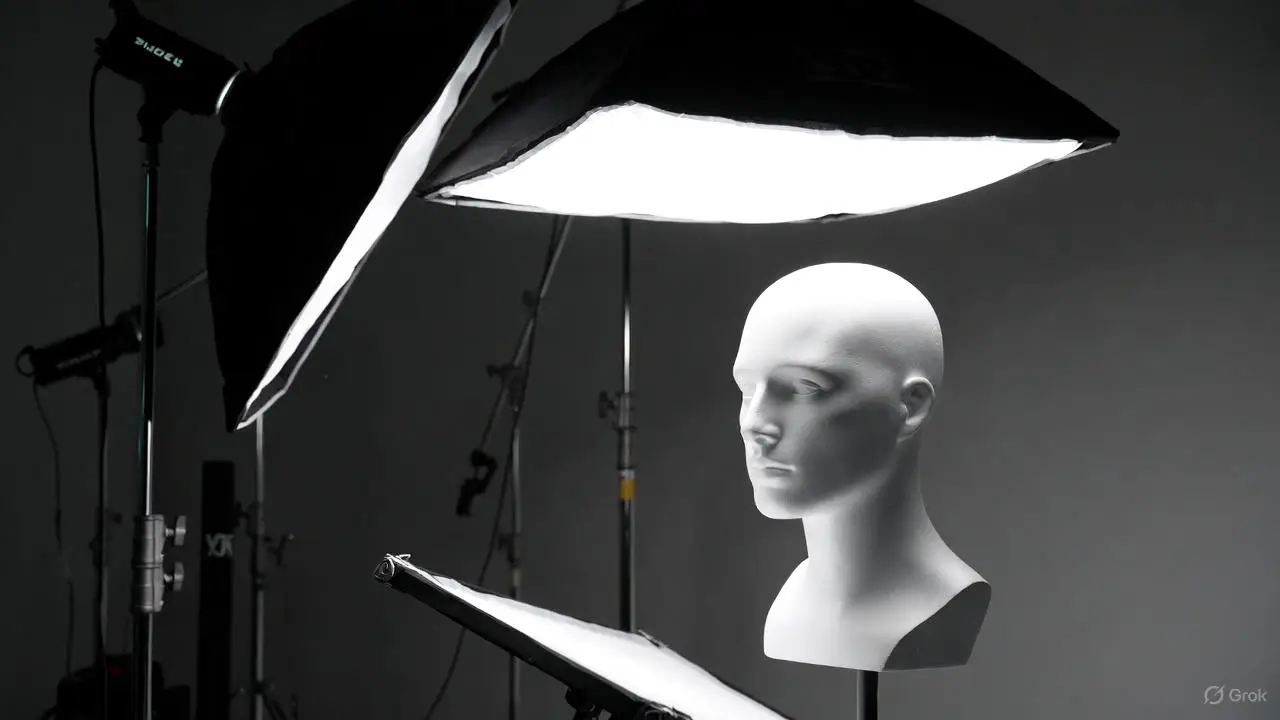
Product strobe setups work best when you follow a repeatable workflow: set a base camera exposure, position your key modifier, set key power to hit that exposure, then add fill or background lights. That gives you a predictable baseline and cuts down on trial‑and‑error during client shoots. Record distances, modifier types and power percentages for every setup so you can recreate results quickly. The sections below show exact power workflows and explain how different modifiers shape product images so you or an assistant can copy the setup reliably. A common product arrangement uses two lights: a main at about 45° and a lower‑intensity fill on the opposite side — this evens illumination and prevents harsh shadows.
Start with a camera baseline: ISO 100, choose an aperture for your desired depth of field (for example f/11 for product detail), and set shutter at or below your camera’s sync speed (typically 1/200s–1/250s). This gives a neutral strobe‑only exposure. Add the key light with a softbox at roughly 40% power, meter or take a test frame, then tweak power to place the key where you want it relative to ambient. In practice, starting around 40% and turning down is often faster than building up from very low power. Add fill with a reflector or a low‑power strobe at 10–20% to soften contrast and control specular highlights; for reflective surfaces use flags (see V‑Flats) to cut unwanted spill. For bounce fill, polyboards work very well. TTL can speed the initial setup, but switch to manual for final frames to lock consistency across a shoot.
Quick checklist before the table — handy when time is tight:
Follow this ordered workflow to get consistent results and make it easy to hand settings to a retoucher or assistant. Below are concrete recipe entries you can copy on set.
Lighting recipe table — copy‑paste these starting points for small, medium and large product setups:
These recipes are starting points — small tweaks to distance, angle and power will refine highlight placement and reflections.
Off‑camera strobes let you shape light with intention: rim lights separate your subject from the background, kickers define edges and backlights create silhouettes or rim highlights that add depth. Combining multiple off‑camera lights with suitable modifiers lets you sculpt contrast and direct the viewer’s eye. For portraits, understanding Rembrandt lighting principles helps you position a key strobe effectively. The technical pieces — triggers, sync methods and flash duration — are the nuts and bolts behind these looks; knowing them ensures your creative idea appears in the final frame. The next sections cover High Speed Sync for motion freezes and share repeatable beauty and fashion recipes.
High Speed Sync (HSS) lets you run shutter speeds faster than your camera’s native sync by pulsing the strobe during the shutter travel, effectively creating a continuous illumination for the exposure. That lets you use faster shutters to reduce ambient blur or freeze fast motion. The trade‑off is reduced effective power and shorter usable range, so you may need higher ISO, closer lights or stronger strobes to maintain exposure. For a spinning fashion shot you might try HSS with 1/1000s, f/4 and adjust ISO as required; if power is limited, consider a higher‑wattage unit set to a short flash‑duration manual mode to freeze motion without HSS. Choosing HSS versus short‑duration flash is about balancing freeze quality, range and lighting control.
Beauty and fashion benefit from recipes that flatter skin while offering creative contrast. Many beauty setups use a version of clamshell lighting with the key strobe slightly above the subject. A beauty dish key with a soft fill produces centred catchlights and smooth skin tones; a grid or narrow modifier gives sharper, editorial sculpting. Repeatable recipes use power ratios (key 100%, fill 25–40%, rim 30–50%) and clear modifier choices so you can dial in a consistent mood. Below are three compact, repeatable recipes: Beauty Dish (soft and flattering), High‑Contrast Grid (defined edges) and Soft Airy (e‑commerce beauty). These keep lighting consistent across talent and time.
Each recipe links a modifier to a predictable visual outcome so teams can execute and iterate quickly.
Photographers frequently ask what a studio strobe is, when to choose battery versus mains power, how HSS compares to short flash durations and when to use TTL for initial meters. Short, practical answers reduce decision friction before a shoot. The sections below give example‑driven responses suitable for quick reference and onboarding.
A studio strobe is a self‑contained flash unit that stores energy and emits a very bright burst of light for a fraction of a second to control exposure and freeze motion. Photographers use strobes to stop action, shape highlights and keep colour consistent across frames. Controls usually include power scaling, modelling lamps for preview and trigger/sync options for firing; these let you fine‑tune peak output and flash duration to match your creative intent. In controlled lighting, strobes let you layer key, fill and rim lights precisely to shape form and texture — essential for product and beauty work. Understanding these controls leads naturally to choosing between battery and mains solutions, covered next.
Choose battery monolights when portability and fast location turnaround matter — they cut cable clutter and speed pack‑in/out, though some models trade peak power or long‑session endurance. Choose mains strobes for long studio days when steady, high peak power and fast recycle times are essential for commercial work. A hybrid approach — mains with battery backups available — gives insurance against outages and supports tight turnarounds. Match power source to session length, modifier size and the flash durations you need for predictable results.
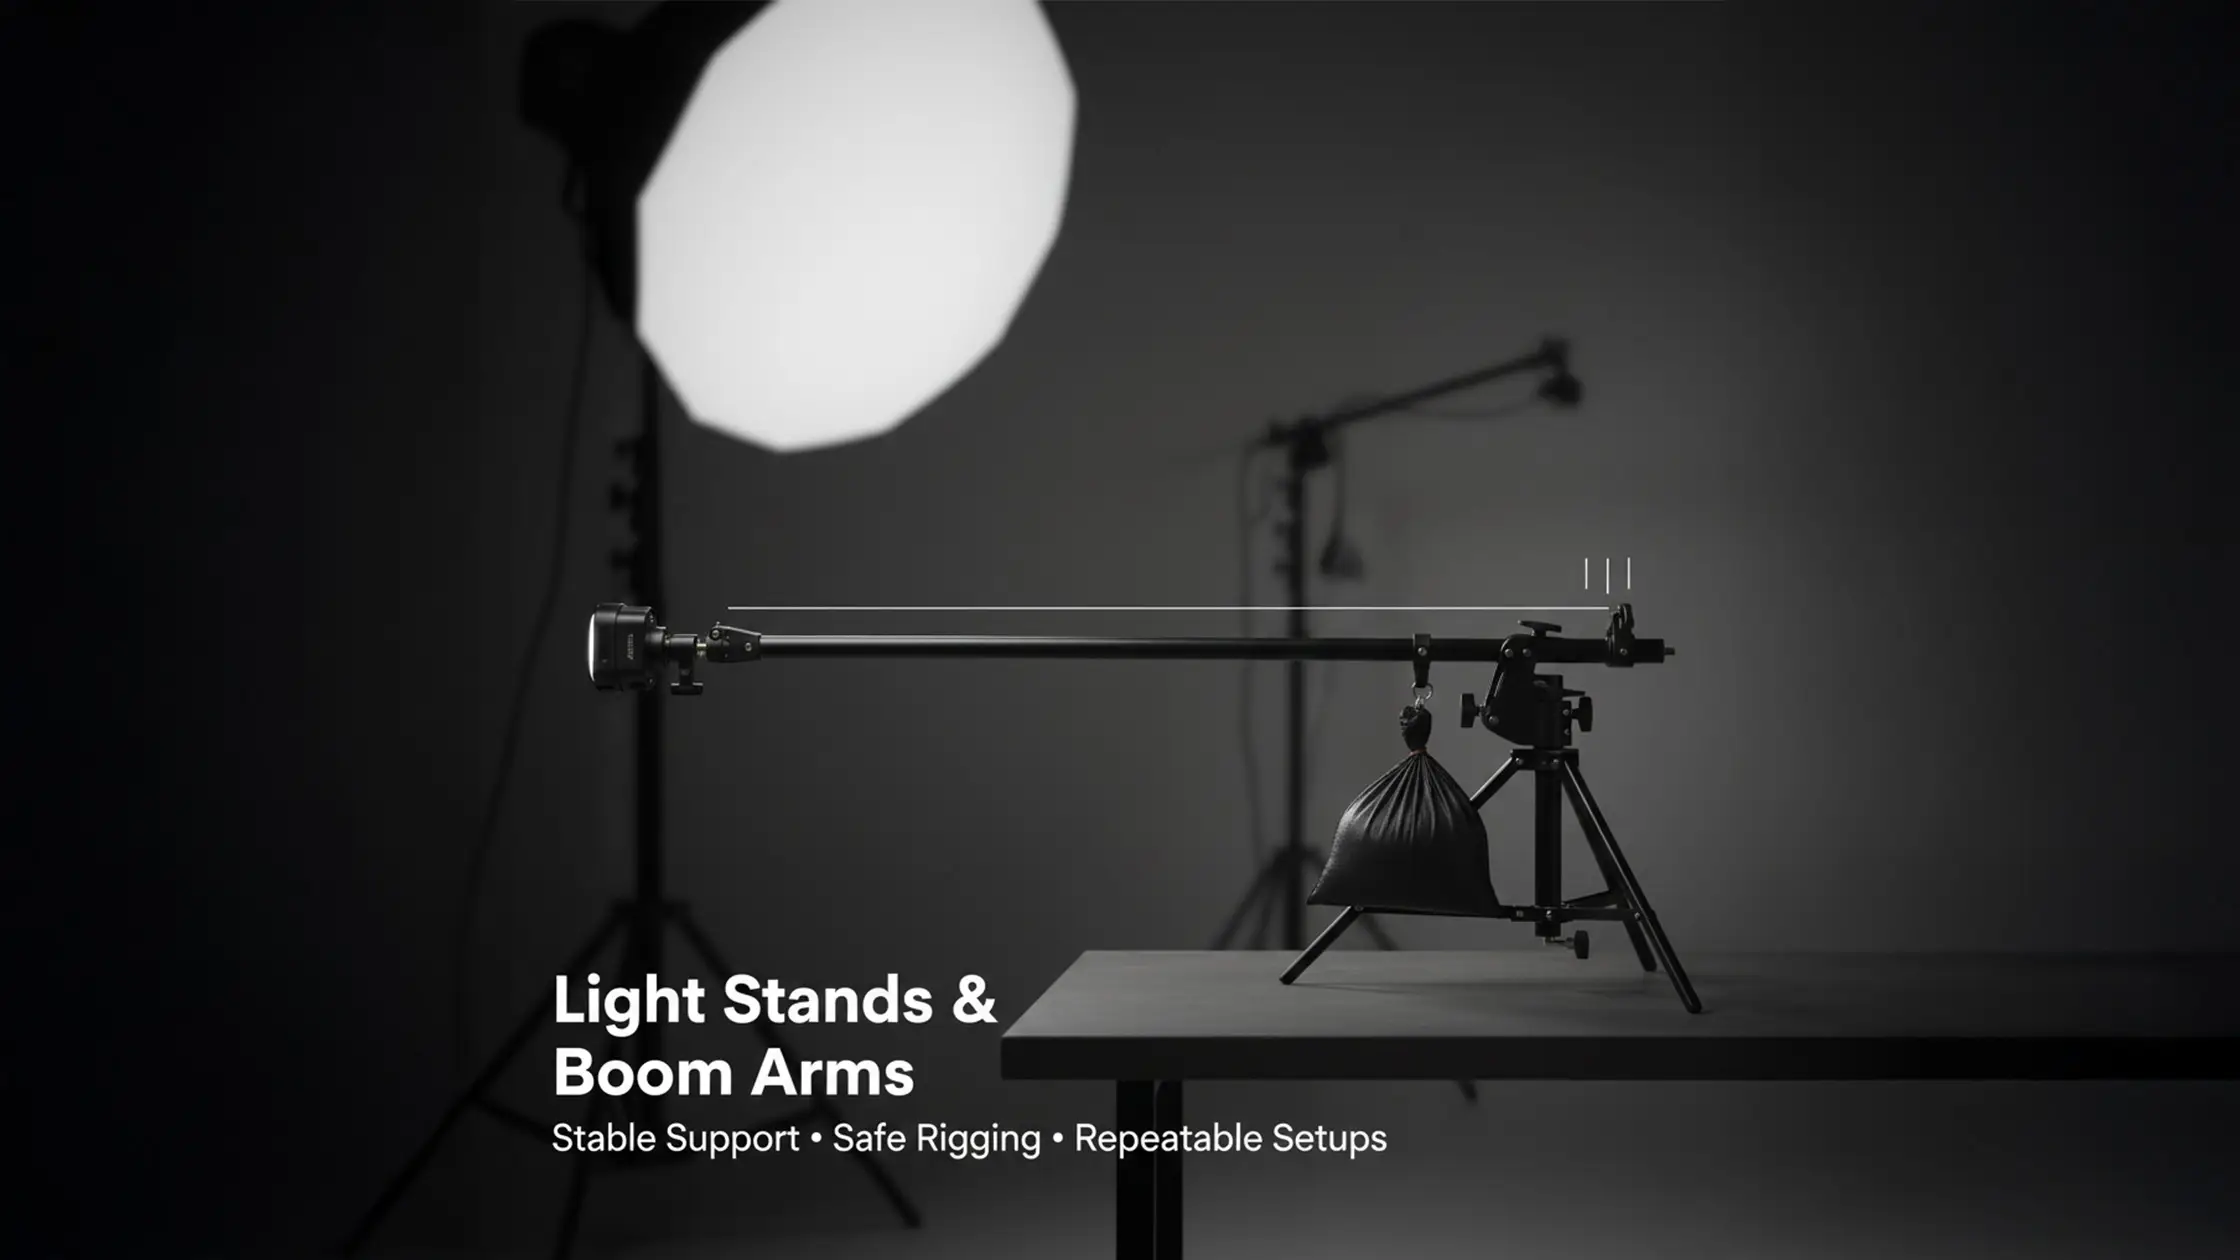
Hiring a studio that supplies professional strobes and modifiers removes transport logistics, guarantees consistent kit performance and shortens setup time so your creative team can focus on shooting. Included lighting lowers upfront costs for freelancers and small teams, and a well‑equipped space speeds collaboration with assistants and clients.
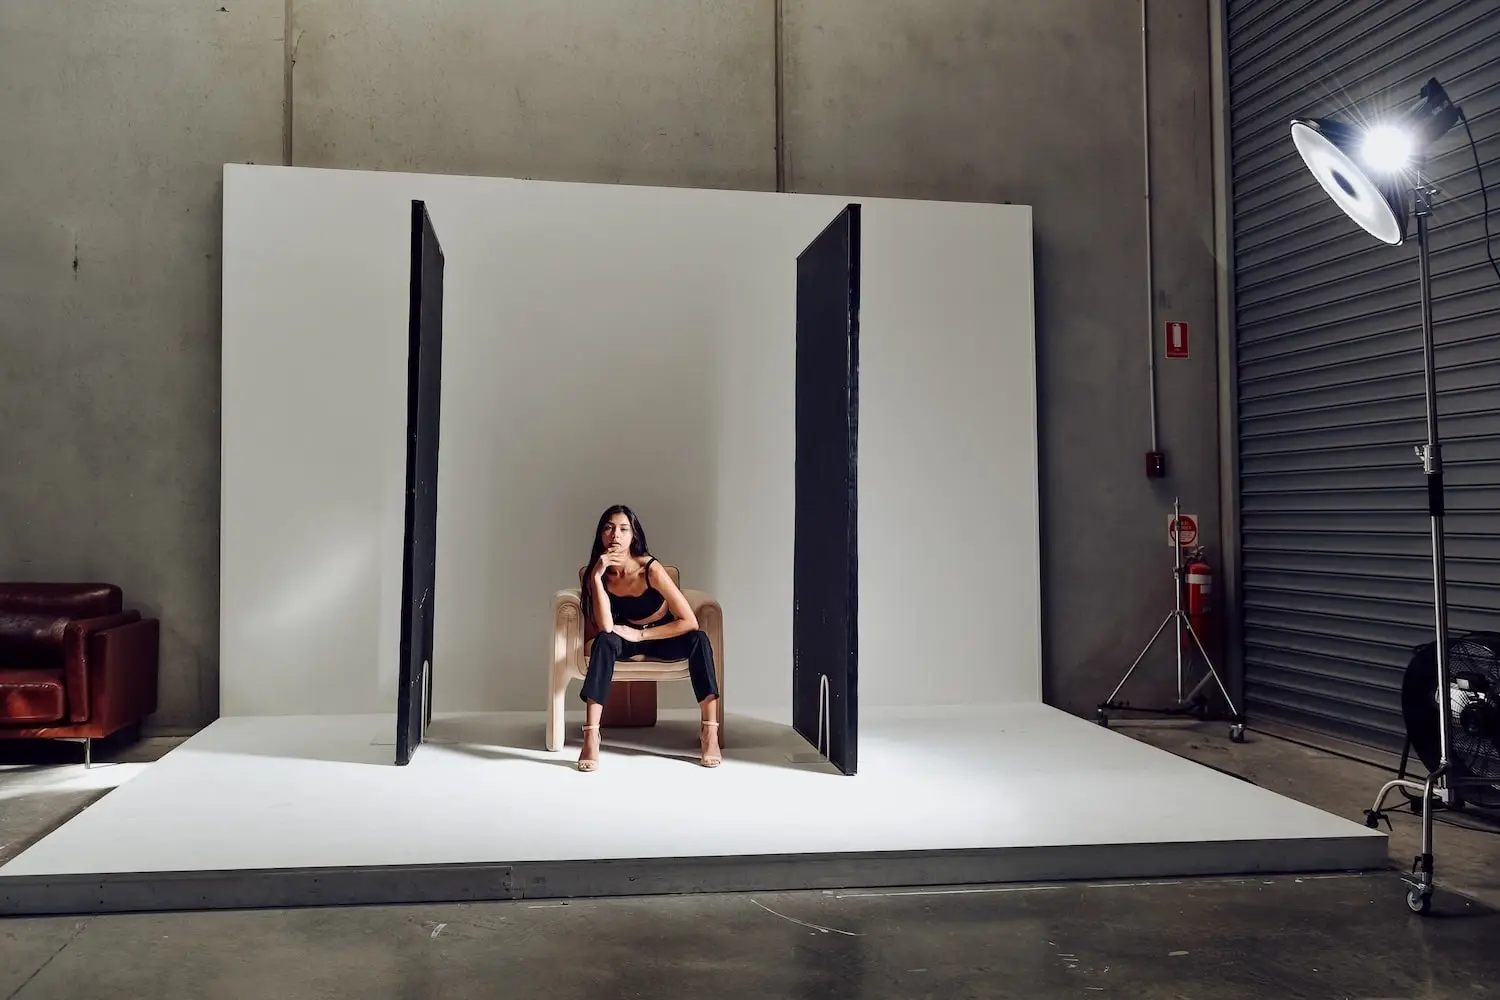
Our studio is a self‑access photography space with a white cyclorama across 160 square metres. Hourly hire includes professional strobes and modifiers as standard, covering most shoot types without needing to bring your own kit. The exact gear used in these recipes — 2× studio strobes with wireless trigger, 150cm and 90cm octaboxes, small to medium white umbrellas, 2× V‑flats/polyboards and a 5‑in‑1 circular reflector — is available in‑studio.
**Location & Access:** Unit 14/337 Bay Road, Cheltenham VIC 3192. Ground‑floor access via a 7‑metre garage roller door and free parking (3 dedicated spaces + unlimited street parking). **Hours:** Open 7am to midnight, seven days a week, 365 days per year. **Pricing:** $109/hour, with discounts for longer block bookings. **Flexibility:** Reschedule or cancel up to 1 hour before your shoot start with zero penalty. No phone calls needed — simply use the link in your confirmation email. **Buffer Times:** 15 minutes early access included free, plus 30 minutes pack‑down time after your booking (also free).
Knowing the space and included kit helps producers estimate time and crew needs before they book. Our online booking issues instant access codes to remove check‑in delays so crews can start shooting as soon as they arrive — ideal for tight commercial schedules. Extended hours reduce scheduling conflicts for talent and production teams by offering sessions outside normal business hours. These features cut logistical overhead and transport needs because teams can rely on the studio’s kit and preset zones. For producers prioritising speed and predictable results, instant access supports faster turnarounds and smooth hand‑offs between teams.
Book Your Studio Session
Book your next session and put these techniques into practice with professional equipment and a ready studio team.
FAQs
Transform your photography skills with our comprehensive guide on studio strobes. Master flash techniques and off-camera setups for stunning images today!

Studio strobes offer precise control over light intensity, direction and timing. Their short flash duration helps freeze motion for crisp results, and stable colour temperature ensures reliable skin tones. Using modifiers lets you shape flattering light that highlights facial features — giving the technical control and creative flexibility required for professional portraiture.
Create a reproducible workflow: set a camera baseline, record power settings and distances, and use lighting diagrams. Calibrate your gear regularly and run test shots to confirm consistency. Keeping a clear log of setups makes it easy to replicate successful lighting on future shoots.
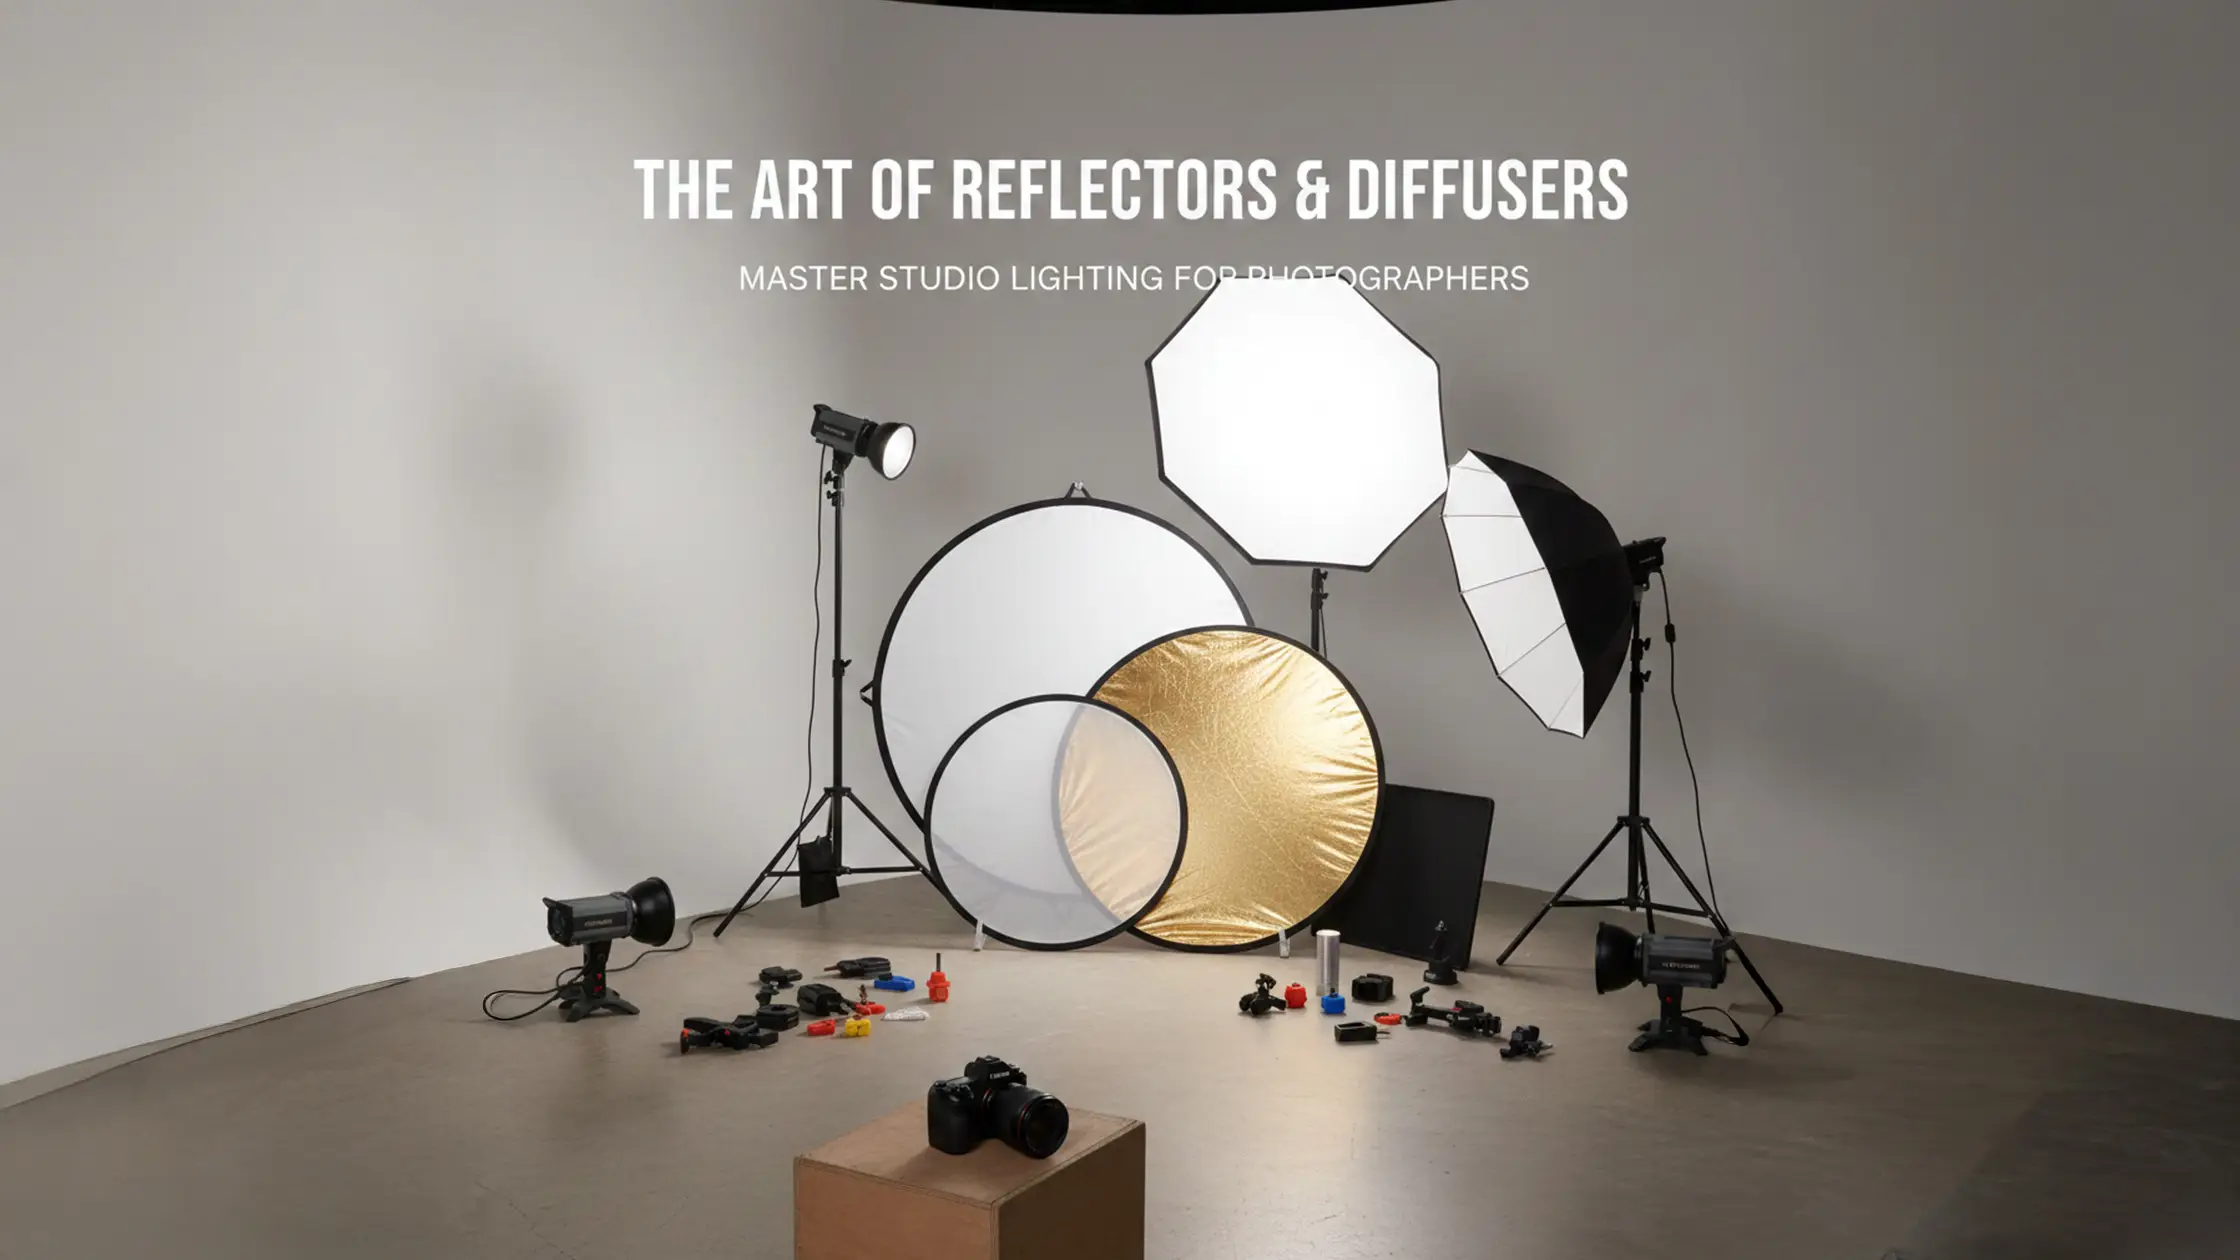
Common modifiers include softboxes, umbrellas, beauty dishes and grids. Softboxes diffuse light for a soft, even look; umbrellas give a broader spread; beauty dishes create distinctive catchlights and texture; grids narrow the beam and reduce spill for dramatic effects. Choose modifiers based on the look and control you want.
High Speed Sync (HSS) lets you use shutter speeds faster than your camera’s native sync by pulsing the strobe during the shutter travel. It’s useful for freezing very fast motion or balancing bright ambient light. The trade‑off is reduced effective power, which often requires closer lights, higher ISO, or stronger units.
Consider your shooting style, typical locations and budget. Key factors are watt‑seconds (Ws), flash duration and recycle time. Battery monolights suit on‑location work; mains strobes are better for long studio days. Decide if TTL or HSS are important to your workflow, then pick a strobe that matches your technical and creative needs.
Learn


.webp)
