Lighting problems can halt a session and eat into your shoot time — uneven illumination, harsh shadows, colour casts, misfiring flashes, distracting reflections and exposure mistakes all steal detail and momentum. This guide breaks down why those issues appear, how your lights and camera interact, and clear, studio-ready fixes you can use right away. You’ll find quick diagnostics for uneven lighting, ways to soften or shape hard light, steps to resolve colour temperature mismatches, a logical troubleshooting flow for flash misfires, tactics to tame reflections, and a simple workflow to nail exposure. Each section includes concise how-tos, immediate checklists and real studio examples using common modifiers and triggers — softboxes, grids, reflectors, strobes, LED panels and speedlights. Read on to turn recurring lighting headaches into reliable, professional setups.
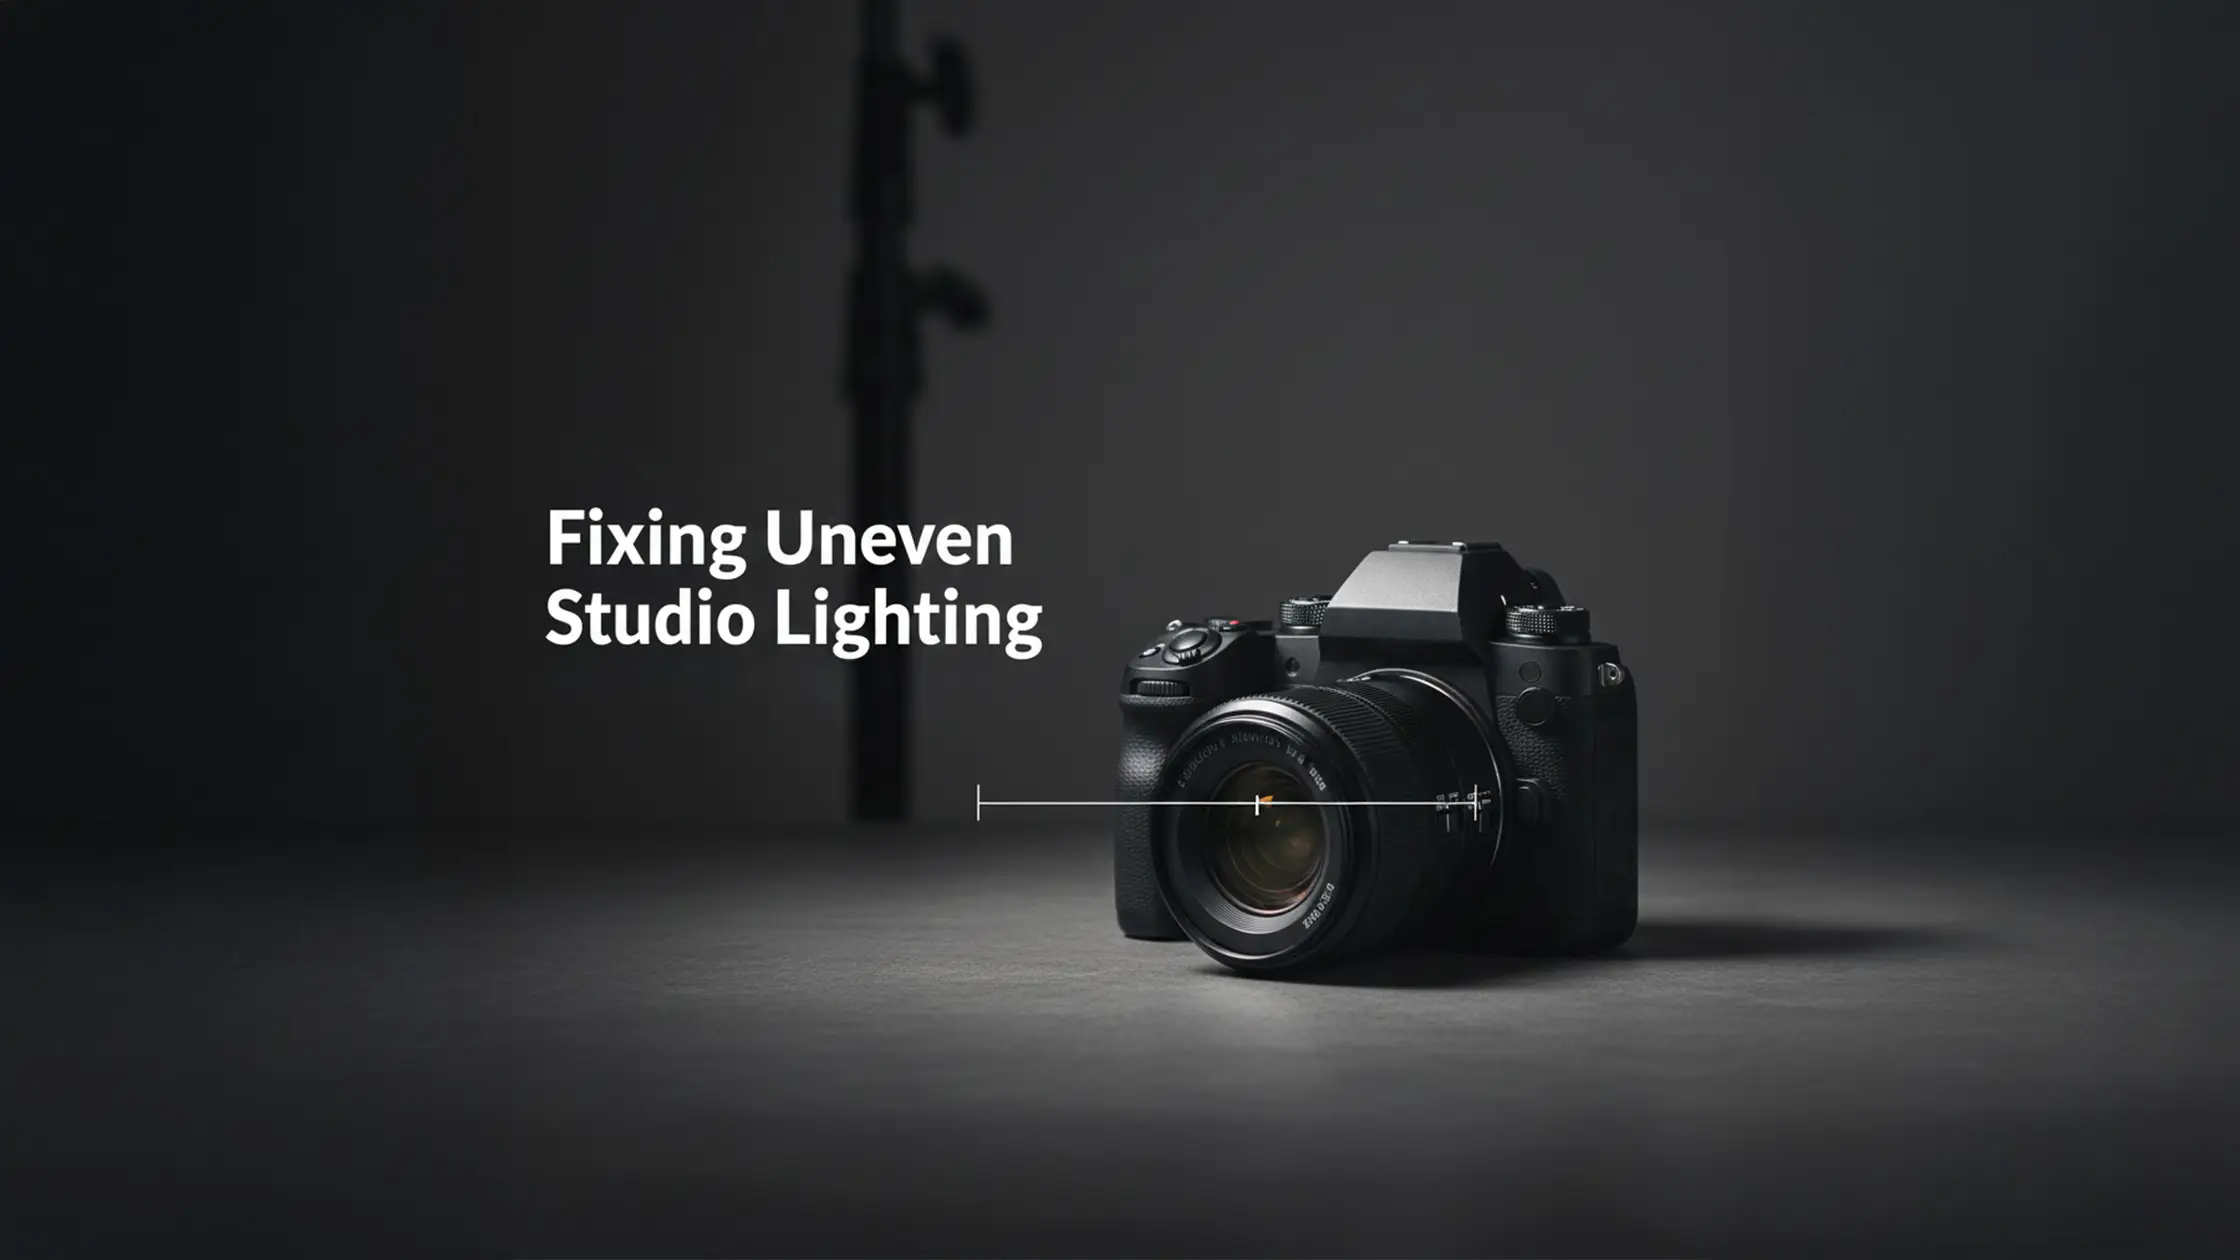
Uneven lighting shows up when parts of your subject or backdrop receive noticeably different illumination — usually due to light placement, modifier coverage or inconsistent power. The cure is redistributing light, matching modifier falloff and balancing power so highlights and shadows sit evenly. At root, unevenness comes down to distance and angular coverage: a small or misaligned modifier creates hotspots, and mispositioned background lamps produce falloff or banding. Fixing it gives steadier skin tones, cleaner exposures and less time in post. The sections below walk through quick diagnostics, fast fixes and how studio kit — softboxes, a cyclorama, grids and stands — can restore uniform coverage.
Before you move gear, run this short diagnostic checklist to find the source of uneven light: essential tips for beginners
Those quick checks tell you whether the issue is power, placement or the modifier itself, and point straight to the corrective steps.
Uneven lighting usually stems from mismatched modifier sizes, incorrect light-to-subject distances, or inconsistent power from strobes or continuous panels. Small modifiers — bare speedlights or tight grids — produce concentrated hotspots; softboxes with worn diffusers can show edge falloff. Thanks to the inverse square law, moving one light slightly closer can make one side noticeably brighter. Physical obstructions or a single misaligned background lamp will also create visible gradients. Diagnosing typically means swapping modifiers, metering at multiple points and watching how falloff changes with distance — that tells you whether to use a larger modifier, shift a stand or rebalance power.
Those diagnostic results lead to targeted fixes — reposition lights, install larger diffusion, or add background fill — which you can practice in any well-equipped studio.
At a self-access studio like Bohemia Bay Studio you’ve got the gear to iterate quickly: variable-power strobes, a white cyclorama, several softbox sizes, reflectors, grids and mobile stands. Use the cyclorama with two evenly spaced background lights for uniform backlighting, switch to a larger softbox for broader key coverage, and add a grid on a hair light to control spill. If you suspect power variance, swap heads across sync cables or test with the studio’s backup units to isolate a faulty head. Booking a short practice slot and following the equipment guide lets you test setups fast and refine placement before client time.
Try this three-step checklist when you arrive at the studio:
Working through these quick actions turns theory into reliable, repeatable setups.
Different causes produce predictable symptoms and fixes; the table below summarises them for quick on-shoot reference.
Scan this mapping before you start a shoot so you can match symptom to remedy without guesswork.
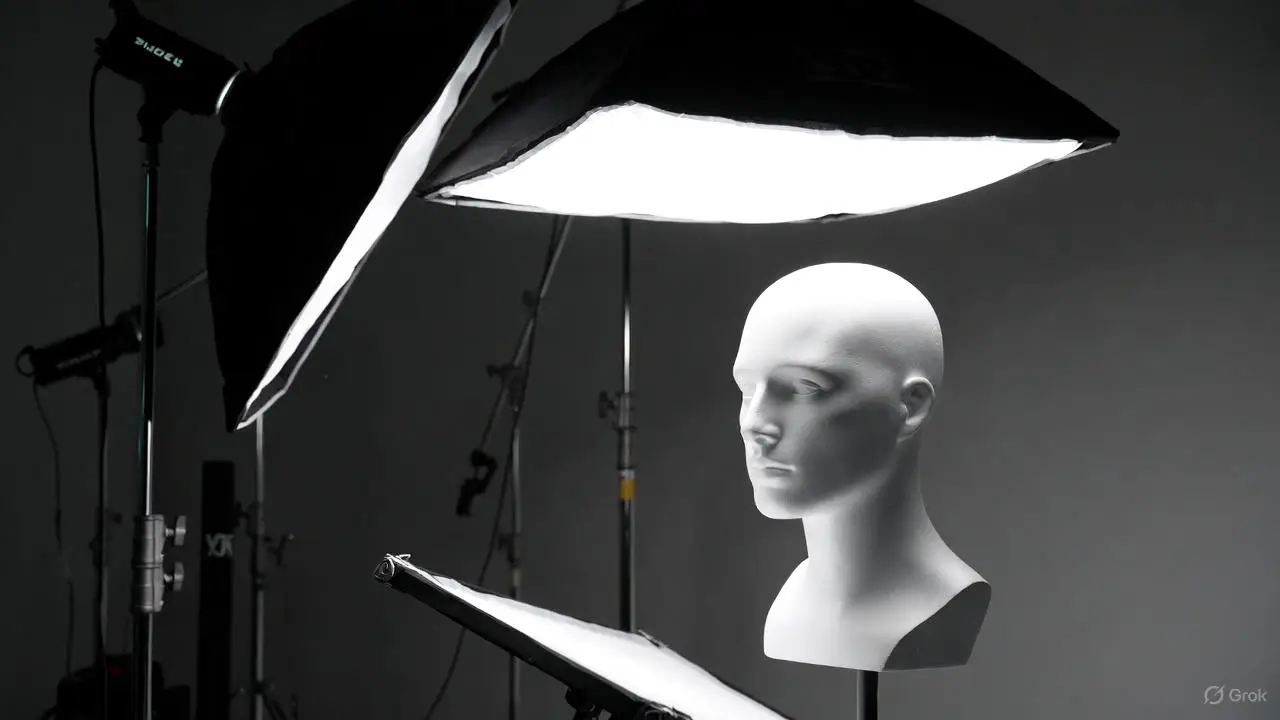
Harsh shadows occur when the light source is small relative to the subject or set at a sharp angle, producing high-contrast edges. The solution is to increase the apparent source size, diffuse the light or add controlled fill so shadow edges soften and reveal detail. Larger apparent sources wrap light around form and reduce contrast; small sources create crisp specular edges and steep luminance transitions. Softening shadows improves skin rendering, product detail and dynamic control in both portraits and products. The next sections explain causes and the practical use of fill light techniques, diffusers and scrims to get the look you want.
Three core techniques photographers use to reduce harsh shadows:
Combine these approaches depending on creative intent; the following section covers why shadows harden and how geometry guides your choices.
Harsh shadows come from a relatively small light source, short throw distance and high-intensity direct light that creates steep falloff and sharp edges. When the light-to-subject ratio is low — think a speedlight versus a large softbox — the angular spread is narrow and shadows stay crisp. Placing a light low or close emphasises cast shadows and texture — useful for drama but often unwanted for beauty or product work. Diagnose shadow hardness with a simple test: move the light closer to soften edges or farther away to harden them; the behaviour will tell you whether to change modifier size or distance. essential tips for beginners.
Once you understand the geometric relationship between source size, distance and edge hardness, you can choose the right modifier and placement strategy.
To soften shadows, pick a larger modifier, bring it closer to the subject and make sure diffusion is even. Pair that with reflectors or low-power fill lights to lift shadow tones while retaining form. Large softboxes create wrap because light arrives from more angles; an inner diffuser smooths the beam for gentler falloff. When you need directional softness, add a grid to keep shape while softening edges. A practical starting preset is a large softbox key at 45 degrees, a low-power reflector opposite, and a subtle rim light with a grid to separate the subject from the background.
When tweaking these setups, change flash power in small steps (1/3–1/2 stops) so you can judge shadow transitions without sudden exposure jumps.
Colour temperature imbalances show when multiple light sources run at different Kelvin values and produce visible casts. The fix is to identify the dominant source, gel or match secondary lights, and set camera white balance or use a grey card as a neutral reference. Spectral differences between LEDs, strobes and ambient tungsten make sensors render shifts; correcting balance restores natural skin tones, accurate product colour and consistency across frames. The sections that follow list common signs of colour issues and practical steps for white balance and gel use. Essential tips for beginners
Start with these three quick diagnostics to spot colour temperature mismatches: essential tips
Common signs include orange or amber skin from tungsten bleed, blue-green shadows from cool LEDs, or shifting whites between frames when fixtures change power. You might also see uneven colour across background and subject — one side warmer because of a background lamp or window spill. Inspect RAW files, check white points in highlights and shadows, and you’ll see whether the problem is global or local. Those cues tell you whether to gel lights, change camera white balance or swap fixtures for consistent Kelvin output.
Spotting these patterns helps you decide between in-camera correction and physical fixes like gels or fixture replacement.
Start with a calibrated reference: photograph a grey card at key-light level and set a custom white balance or record a RAW white balance profile for post. If you must mix sources, use colour-correcting gels to match Kelvin between lights. Typical studio LEDs sit roughly 3200–5600K depending on model, and strobes are usually daylight-balanced; apply CTO (orange) or CTB (blue) gels to correct major shifts. Use the Kelvin table below as a quick guide for when to gel versus when to set camera white balance. Finally, lock settings and avoid mixing ambient light during critical colour work.
Different sources fall into predictable Kelvin ranges, which helps you decide whether to gel or adjust white balance on set. Essential tips for beginners
Keep this table handy during setup and before you commit to a sequence.
White balance correction for colour casts in studio photography
White balance neutralises the colour cast created by a scene’s illumination, usually expressed as correlated colour temperature. WB is applied early in the camera pipeline and followed by nonlinear colour processing, which makes it harder to change an image’s WB later in an sRGB file without artefacts. If an sRGB image is processed with the wrong colour temperature, it can retain a strong cast that’s difficult to remove.
Inconsistent flash firing usually comes from power issues, trigger settings, sync-speed conflicts or radio interference. A step-by-step troubleshooting flow will isolate the weak link — battery, cable, trigger, receiver or camera setting — and fix the misfire. Mechanically, depleted batteries or failing capacitors reduce available energy; shutter mode or sync speed can prevent proper strobe exposure; and mismatched radio channels or incompatible TTL/HSS modes break trigger communication. Restoring dependable flash behaviour keeps exposures consistent and saves lost frames. The sections below list common causes and a studio test plan tailored for hire-studio gear.
Run this checklist to diagnose flash misfires before overhauling the setup:
Typical causes include drained batteries, miswired sync cables, wrong trigger channels, incompatible TTL/HSS modes and radio frequency interference from nearby kit. Low battery voltage leads to slow recycle times and intermittent fires; shutter speeds above the sync limit produce partial frames or no exposure from strobes. If TTL expects preflash communication but the trigger is in manual, the head won’t respond. Simple isolation tests — swap batteries, change channel, try manual power and reduce shutter speed — will usually reveal the issue and the correct remedy.
Knowing these failure modes helps you choose the right test sequence so you can get back to shooting fast.
In a hire studio, start with a safe sync speed below the camera’s max (for example 1/125s) and set flashes to manual mode to confirm steady output. Test triggers on different channels and use the studio’s spare units to isolate faulty gear. If you need high-speed sync (HSS), enable it on both camera and trigger and be prepared to lower flash power — HSS reduces effective output. For repeatability in group shoots, manual flash power is often more reliable than TTL; if TTL is inconsistent, switch to manual and meter. If problems persist, book a short practice session at the studio to test configurations on the exact strobes and triggers provided.
Work through this checklist in order to pinpoint the failure quickly and keep the session on schedule.
Reflections and glare occur when specular surfaces bounce intense light directly toward the lens. Control them by identifying the reflective geometry, using flags and gobos to block specular paths, and employing polarizers or diffusion to reduce highlights without destroying form. Because the angle of incidence equals the angle of reflection, moving the light or camera, adding polarisation, or interrupting the specular path with flags will change the visible highlight. Minimising glare preserves texture and colour fidelity for glass, metal and glossy skin. The next sections cover common causes and practical tools for taming specular highlights.
When preparing to shoot reflective materials, use this quick decision list to choose the right tool:
Specular surfaces reflect light back to the lens when the source, subject and camera sit in a reflective geometry; small, high-intensity sources and hard edges amplify those peaks. Glass, polished metal and glossy fabric produce bright highlights when struck directly; skin will glare if directional lights hit at shallow angles. Diagnose by moving the light or camera slightly — if the highlight moves with the geometry, it’s a specular reflection and should be managed by angle, diffusion or polarisation.
That diagnosis points to precise remedies such as repositioning or blocking the offending light, described next. light stands
Flags and gobos stop unwanted specular paths without changing overall scene lighting; reflectors provide controlled fill without adding new specular peaks; polarizers reduce reflections off non‑metallic surfaces when camera angle and light orientation allow. Place a flag between the offending light and the reflective surface to remove hotspots while keeping the subject lit. Use reflectors opposite the key to lift shadow detail without creating extra highlights, and fit a circular polariser for glass or water when polarization is effective. Combine tools where needed: a diffuser to soften intensity, a flag to block direct specular, and a reflector to recover shadow information.
Quickly test combinations during setup to remove glare while maintaining the tonal modelling you want.
Optimising exposure in the studio is about balancing camera settings (shutter, aperture, ISO) with light power so highlights stay intact and shadow detail is preserved. Start by setting a baseline exposure for the key light, check the histogram and highlight warnings, then tweak power in calibrated steps to keep exposures consistent across frames. The process links the exposure triangle with light output: aperture sets depth and amount of light, shutter controls ambient contribution and sync limits, and ISO sets sensor gain. Correct exposure reduces clipping, keeps colour fidelity and speeds retouch. The sections that follow outline signs of exposure issues and offer a stepwise workflow with practical starting settings for common scenarios.
Use this five-step workflow for dependable studio exposure:
Following this workflow gives repeatable exposure, smoother production and easier post-processing.
Overexposure shows as blown highlights, loss of texture in whites and washed-out colour; underexposure produces blocked shadows, noisy recoveries and weak saturation. Histograms pushed to one side and persistent highlight warnings confirm these conditions. While RAW files allow some recovery, sustained blown highlights on skin or product surfaces mean you should reduce light or stop down. Likewise, excessive noise in shadow areas indicates you should raise ISO or increase light power. Spotting these signs early saves time and prevents unusable frames.
Those diagnostics lead directly to the corrective adjustments covered next.
For consistent exposure, choose the aperture for your desired depth of field, keep shutter speed within flash sync limits, and use the lowest ISO that preserves dynamic range. Then fine-tune flash or continuous light power in 1/3-stop steps while checking the histogram. For portraits, start around f/5.6, 1/125s, ISO 100 and adjust flash power so the key falls near a mid-tone; for product macro work try f/8–f/11 and meter lights carefully to protect specular highlights. Make small power changes and compare test frames instead of big jumps, and lock settings when the readback is consistent to maintain exposure across the shoot.
These measured adjustments keep exposure predictable and cut down retouch time.
Use these starting points to get rolling quickly, then refine with metering and histogram checks.
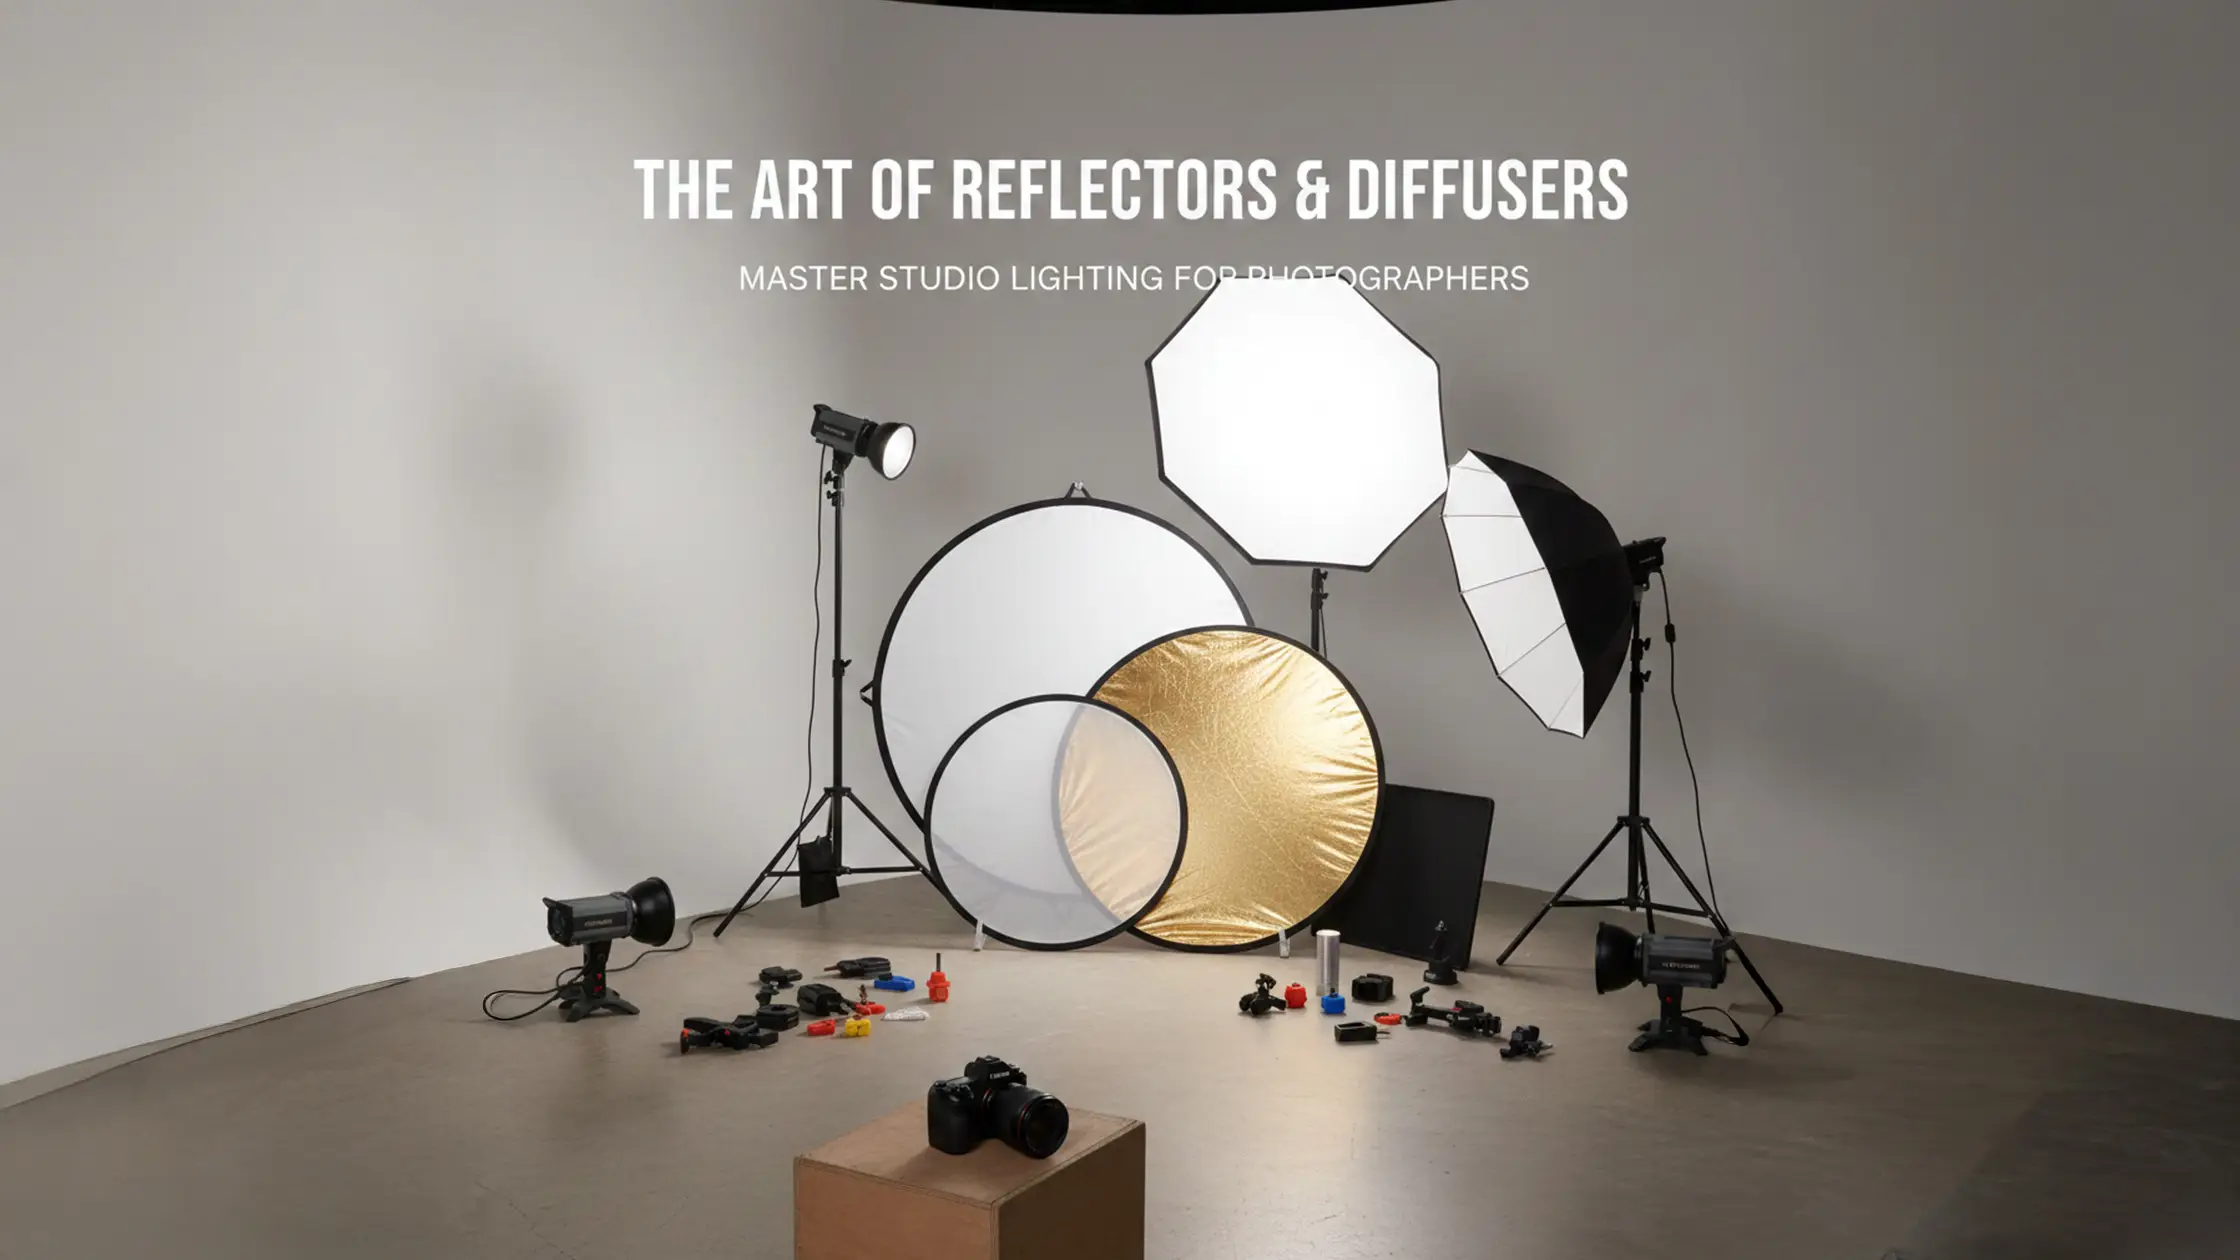
Bohemia Bay Studio is a fully equipped, self-access space in Bayside, Melbourne — ideal for practising these techniques. The studio kit includes professional lights, a white cyclorama for even backgrounds, a selection of softboxes, grids, reflectors, mobile stands and compatible triggers so you can test modifier sizes, sync speeds and gel setups. If you want hands-on practice with these troubleshooting steps, consult the equipment guide and book a session through the studio’s booking page to reserve time with the exact gear described.
FAQs
Struggling with uneven lighting in your studio? Learn effective troubleshooting tips to fix flash issues and achieve consistent, professional lighting results.

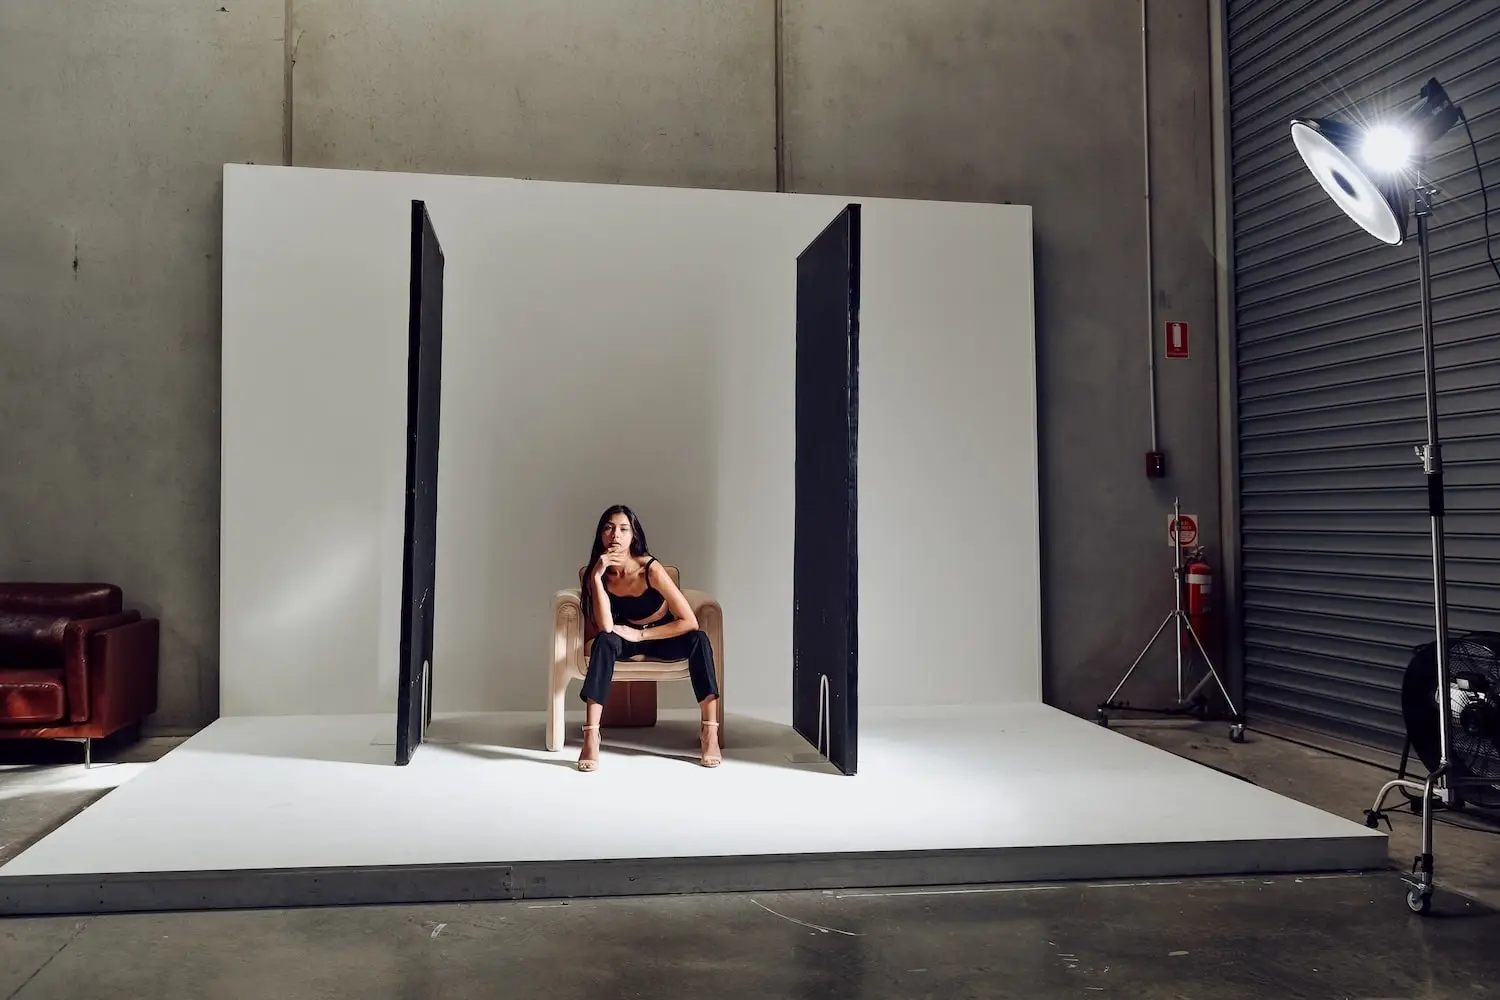
Keep it simple: start with a three-point setup — key, fill and backlight. Position the key roughly 45 degrees for depth, use a fill opposite to soften shadows and add a backlight to separate the subject from the background. Try different modifiers (softboxes, reflectors) to see how each changes quality. Always meter your lights to confirm exposure and adjust as you go.
Prevent colour casts by matching colour temperatures across your light sources. Use a grey card to set a custom white balance in-camera, or apply colour-correcting gels when mixing fixtures. Regularly check neutral tones and tweak until whites and skin tones look consistent across frames.
If images are underexposed, first check camera settings: raise ISO if needed, open the aperture or use a slower shutter (within sync limits) to let in more light. Confirm your lighting is adequate and that flashes are firing at the correct power. Meter the scene and adjust lights or camera settings until exposure reads correctly.
Choose modifiers by the effect you want. Softboxes give soft, even light; umbrellas spread light widely; grids control spill and tighten the beam for drama. Reflectors add controlled fill without creating new highlights. Consider subject size and mood, then experiment with combinations to find what suits your style.
To manage shadows for products, use soft, diffused lighting to minimise hard edges. Angle lights to avoid direct shadows on the product, and add fill lights or reflectors to lift shadow areas without flattening shape. For small items, a light tent or box creates very even lighting that reduces unwanted shadows and highlights.
Learn


.webp)
