Studio photography gives you control: light, background and composition are all predictable, which makes learning faster and results more consistent than shooting on location. This guide walks you through the essentials — core techniques, must-have kit and repeatable setups — so you can plan and run your first studio session with confidence. If you’re local to Bayside Melbourne, Bohemia Bay Studio is a self-access space with a white cyclorama and pro lighting available to hire. Instant online booking and included gear remove common barriers to practice. Plenty of beginners struggle with inconsistent light and limited equipment; this article solves those issues by breaking lighting types, modifier choices, camera settings, workflow checklists and posing basics into practical, repeatable recipes. The guide follows these H2 sections: what studio photography is and why it’s great for beginners; the lighting gear to consider; one-light and three-point setups; camera and backdrop choices; starter camera settings; pre-shoot planning and posing; and how to make the most of a booked studio session. Read on to build a reliable practice routine and turn what you learn into consistent images during your first studio hire.
Studio photography means making images in a controlled indoor space where light, background and scene elements can be repeated and adjusted. That control lets you isolate variables — light angle, intensity and modifier — and learn cause and effect quickly. For beginners, predictable setups shorten the feedback loop between change and result, speeding skill growth and producing professional-looking portraits and product shots. The next sections compare studio work with other photography styles and explain the practical advantages of renting a professional studio when you want focused practice.
What sets studio work apart from lifestyle, outdoor or documentary styles is predictability. Outdoors, ambient light shifts constantly and forces quick adjustments; in a studio you can change one thing at a time and see the effect. Studio shoots are common for product, portrait and fashion work where consistency matters and clients expect uniform results. Knowing these differences helps you choose when to practise in-studio versus on location to meet specific learning goals.
Hiring a professional studio gives you access to gear, dedicated shooting zones and a distraction‑free environment that speeds learning and supports production-level work. Bohemia Bay Studio provides a white cyclorama and professional lighting in a self-access setup, so you can practise outside normal hours and learn on real equipment without a big upfront cost. The studio’s flexible booking and included kit reduce setup friction so you can focus on technique rather than logistics. For beginners, a studio hire is a practical bridge from theory to hands-on shooting.
Location: Unit 14/337 Bay Road, Cheltenham VIC 3192, Bayside Melbourne
Hours: 7am to midnight, 7 days a week, 365 days a year
Space: 160m² shooting area
Cyclorama: 4.5m × 3m square white cyclorama
Ceiling height: 8 meters
Natural light: 7-meter south-facing garage door + north-facing window
Access: Self-access via unique keycode (sent 24 hours before booking)
Load-in: Drive-up through 7m garage door, ground floor, no stairs
Parking: 3 dedicated spaces + unlimited free street parking
"Bohemia was easily the best photography studio I have ever used. Beautiful, clean and modern space with everything you could need." — Simone Shiers, Photographer
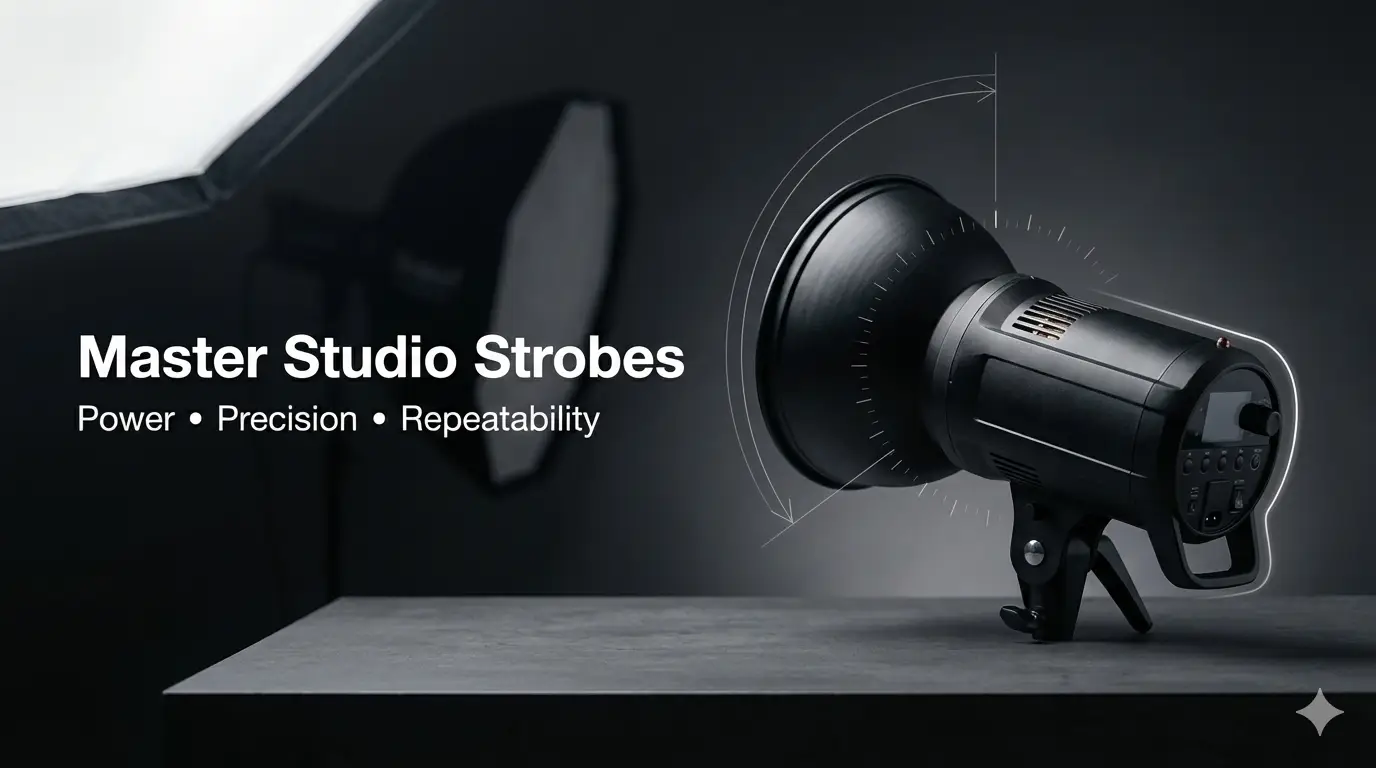
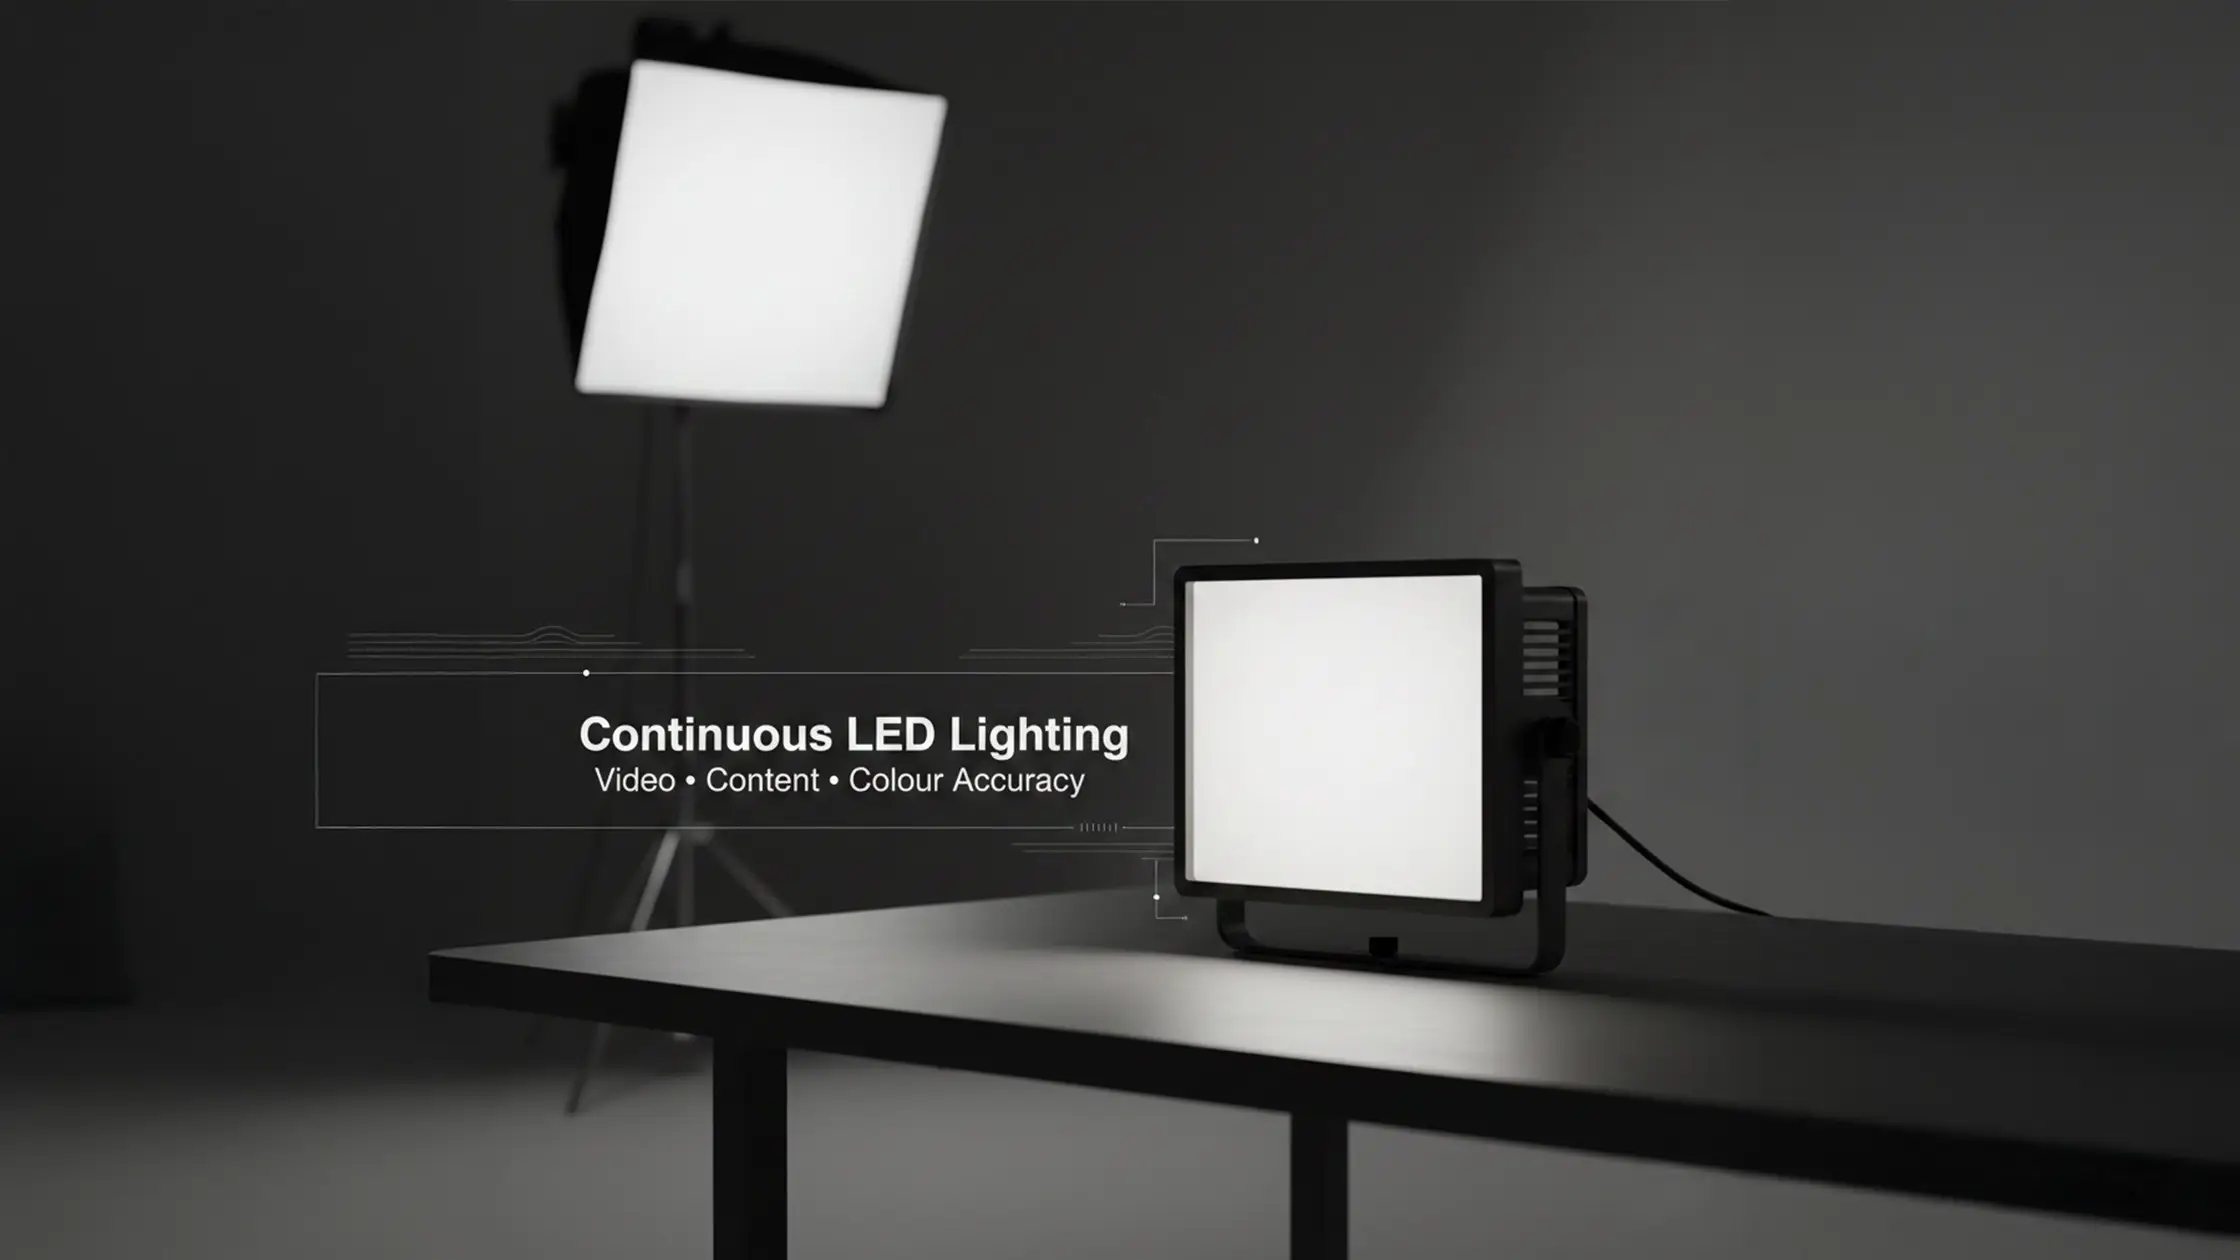
Studio lighting falls into three main categories — strobe, continuous and LED — and each has different advantages for beginners. Understanding these types and the common modifiers that go with them helps you pick a setup that matches your learning goals: strobes for power and freeze, continuous lights for WYSIWYG feedback and LEDs for video or mixed workflows. Below is a short comparison to help you prioritise gear for portraits or product work, followed by tips on modifiers and practical examples.
Before the table, a concise list of the core lighting items beginners should consider and why they matter.
Together these three categories form a baseline kit that covers most beginner exercises and prepares you to reproduce consistent results in the studio.
This comparison shows the trade-offs: strobes give power and control, while continuous gear offers immediate visual feedback. The next section explains when to choose each based on your shoot goals and constraints.
Strobes fire short, powerful bursts — ideal for freezing motion and overpowering ambient light. Continuous LEDs show exactly how light falls in real time, which is invaluable when testing placement or working with video. Portable on-camera LEDs and small fixtures are great for quick product previews or adding subtle fill. Choose strobes for crisp portrait work, LEDs for setup and video; matching the light type to the task keeps your learning focused and efficient. For a deeper comparison of when to use each type, see our Strobe vs Continuous Lighting guide.
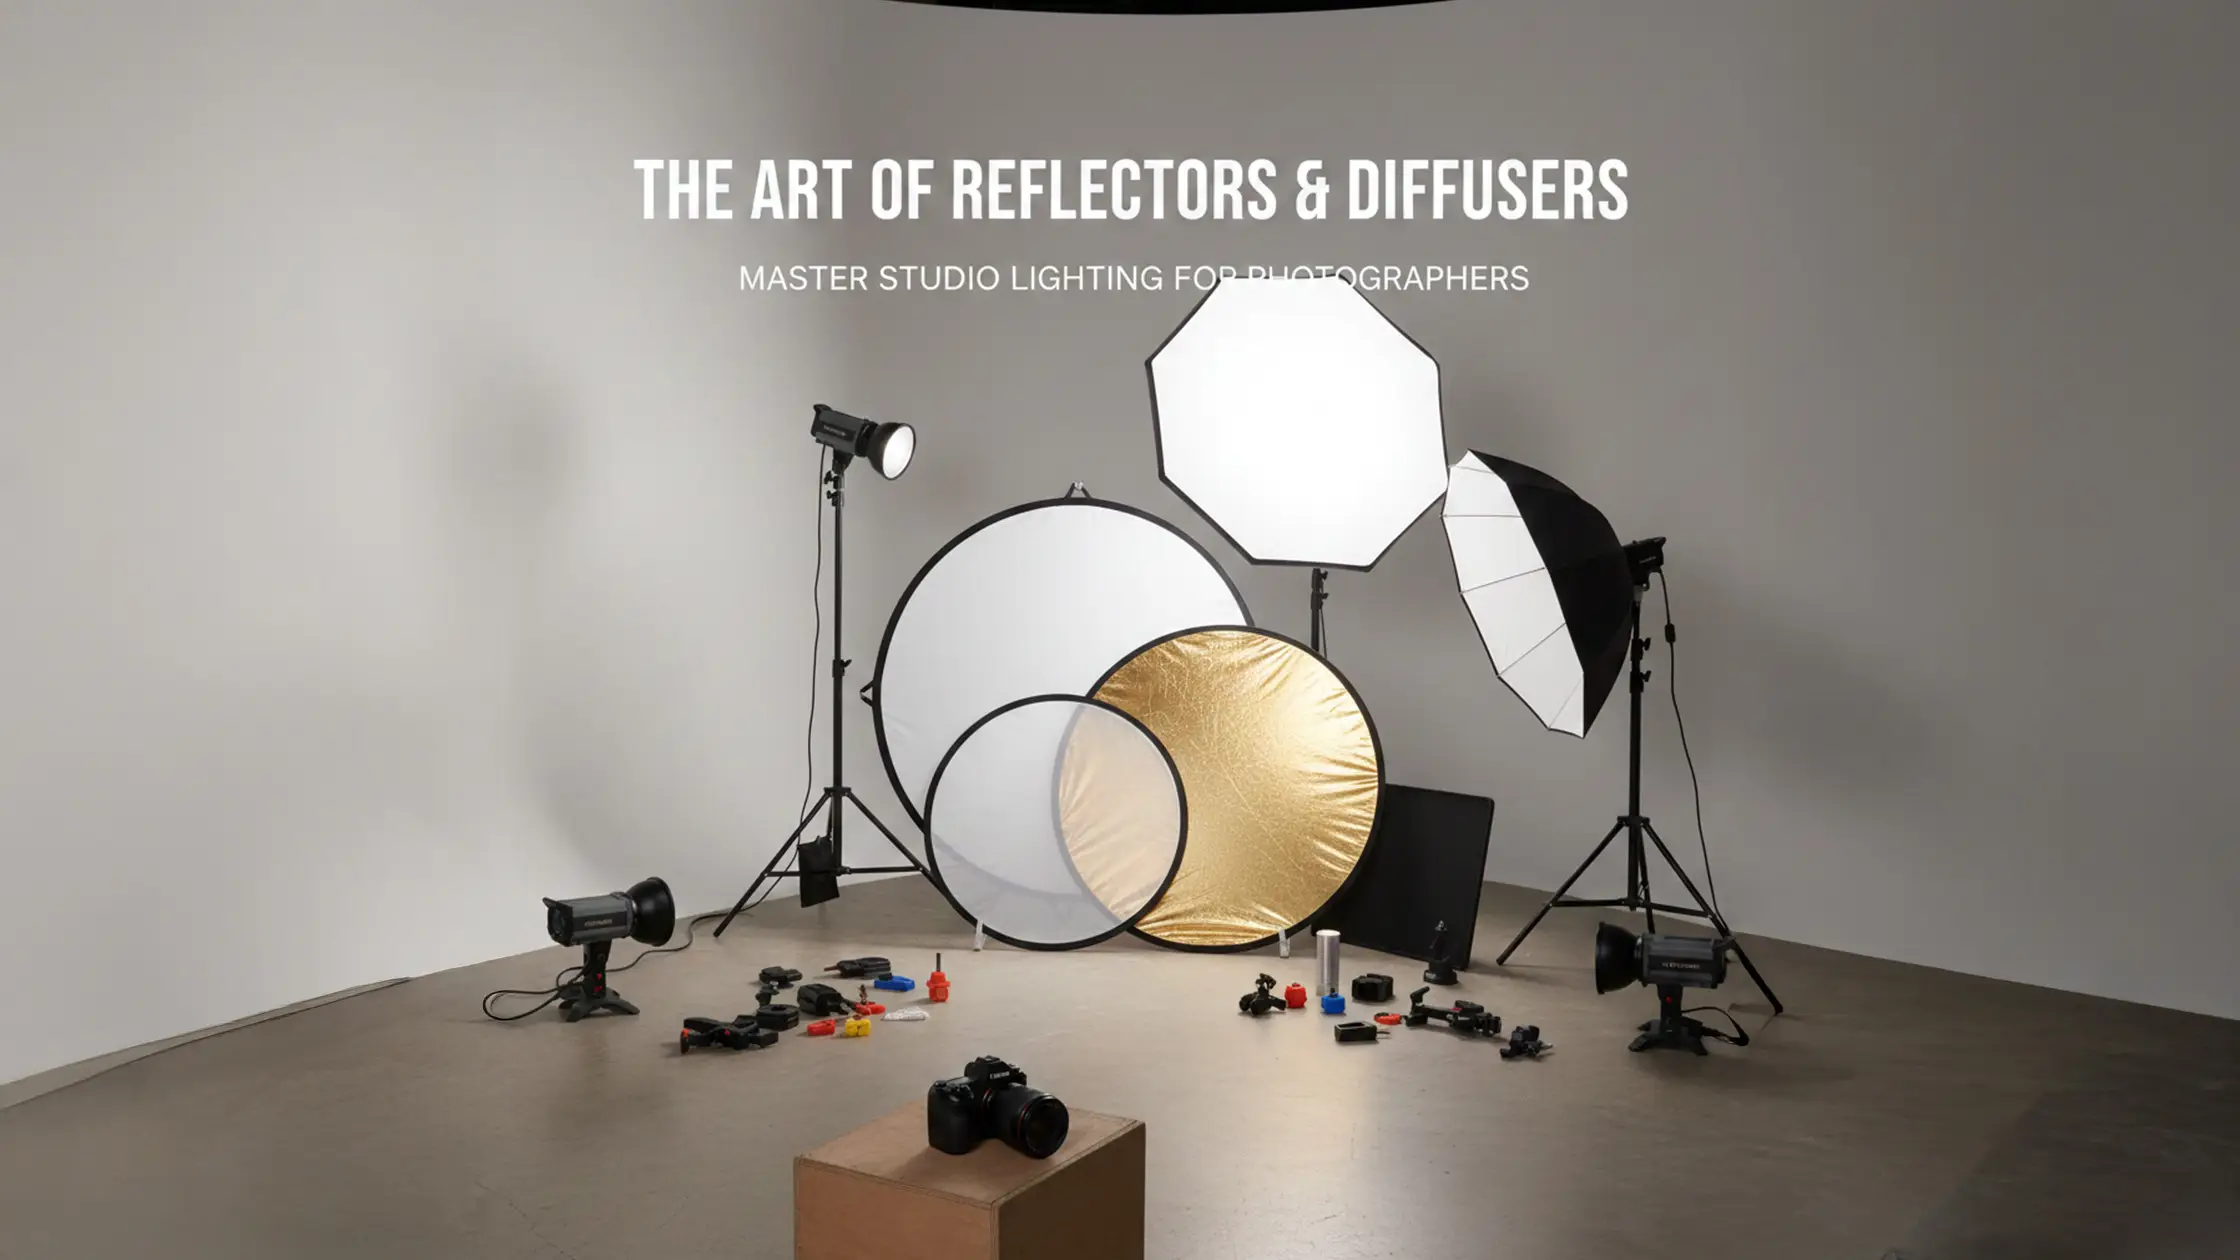
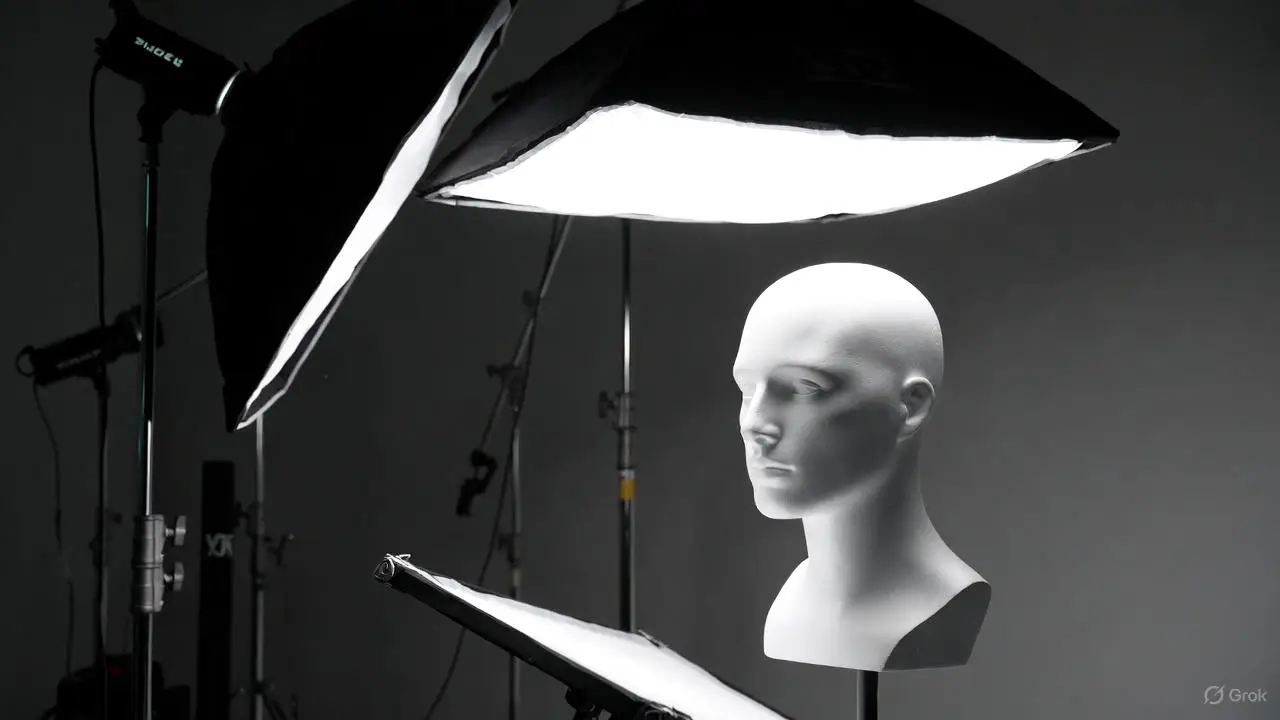
Modifiers shape the quality, size and direction of light. A large softbox produces broad, soft light with gentle falloff that flatters faces; a small bare strobe creates harder light with strong shadows and texture. Modifier distance and relative size determine softness — moving a modifier closer makes light softer and lowers contrast. Grids and snoots tighten the spread for dramatic accents. Beginners should start with a large softbox and a reflector to learn flattering light and shadow fill before moving to specialist tools. For detailed techniques on using reflectors and fill cards, see our Polyboard Studio Lighting Guide and V-Flats Guide. Practical placement tips later will show how modifier choice and light angle set mood and reveal product detail.
A clear routine keeps setup simple: decide the subject and desired look, pick one dominant light, attach a modifier for the right softness, then make small adjustments while testing exposures. Change one variable at a time so you can link cause and effect — that iterative testing is the fastest way to learn. Below are two reproducible recipes: a straight‑forward one-light setup and a three-point portrait setup, followed by troubleshooting tips for shadows, exposure and hotspots.
First, a numbered how-to for a simple one-light setup suitable for headshots and small product shots.
This step-by-step recipe delivers predictable portraits and clear troubleshooting cues; the next subsection expands this into three-point lighting variations. We're developing a dedicated One Light Setups guide with more recipes — check back soon.
A one-light setup uses a single key source — usually a strobe with a large softbox at roughly 45 degrees — to produce flattering, controllable light with soft shadow transitions. Begin at a moderate power, check your histogram and highlight detail, and change aperture or flash power rather than ISO for cleaner files. A reflector or fill card lifts shadows without adding a competing light source, which keeps contrast and depth intact. Learn more about bounce and negative fill techniques in our Ultimate V-Flats Guide. Repeating this setup helps you learn how modifier size and distance affect softness and falloff.
Three-point lighting adds fill and a rim/backlight to the key, giving dimensional separation and stylistic control: the key defines form, the fill lowers contrast at a reduced power, and the backlight highlights edges and hair. A common starting ratio is key:fill:back = 2:1:0.5 to keep natural contrast while separating subject from background. Adjust distances and angles to refine shadow shape and rim strength. Variations — high-key (more fill and background light) or low-key (less fill, stronger key) — expand the look while keeping the same principles. Learning these roles prepares you for both portrait and product work. For simpler two-light variations, our upcoming Two Light Setups guide will cover key-and-fill recipes in detail.
Using a three-point lighting system isn’t just about focus — it also reveals texture, separates colours and helps show action or subtle facial reactions.
3-Point Lighting Technique in Studio Photography Analysis
This analysis finds that a 3‑point lighting system is deployed not only to guide viewer attention to main characters or actions, but also to emphasise costume texture, distinguish object colours and reveal physical or facial details within selected scenes.
Manifestation and Analysis of a 3 Point Lighting System in “The Wedding Party”, HK Afabor, 2023
Beginners need a tight checklist that balances flexibility, cost and portability. Key categories are: a camera body with manual control, a small lens selection covering common focal lengths, sturdy supports like tripods and light stands, reliable triggers and sync gear, and backdrop options such as seamless paper or a cyclorama. Below is a table summarising recommended camera and lens choices for common studio tasks, followed by a short note on backdrops and props to help you pick the right surface for your shoot.
Intro list of must-have items for a first studio session:
These tools make a compact kit that supports both portrait and small-product work while keeping setup time manageable.
This table helps you weigh gear trade-offs and decide what to buy or rent. The next section explains how backdrops and props affect the final image and workflow.
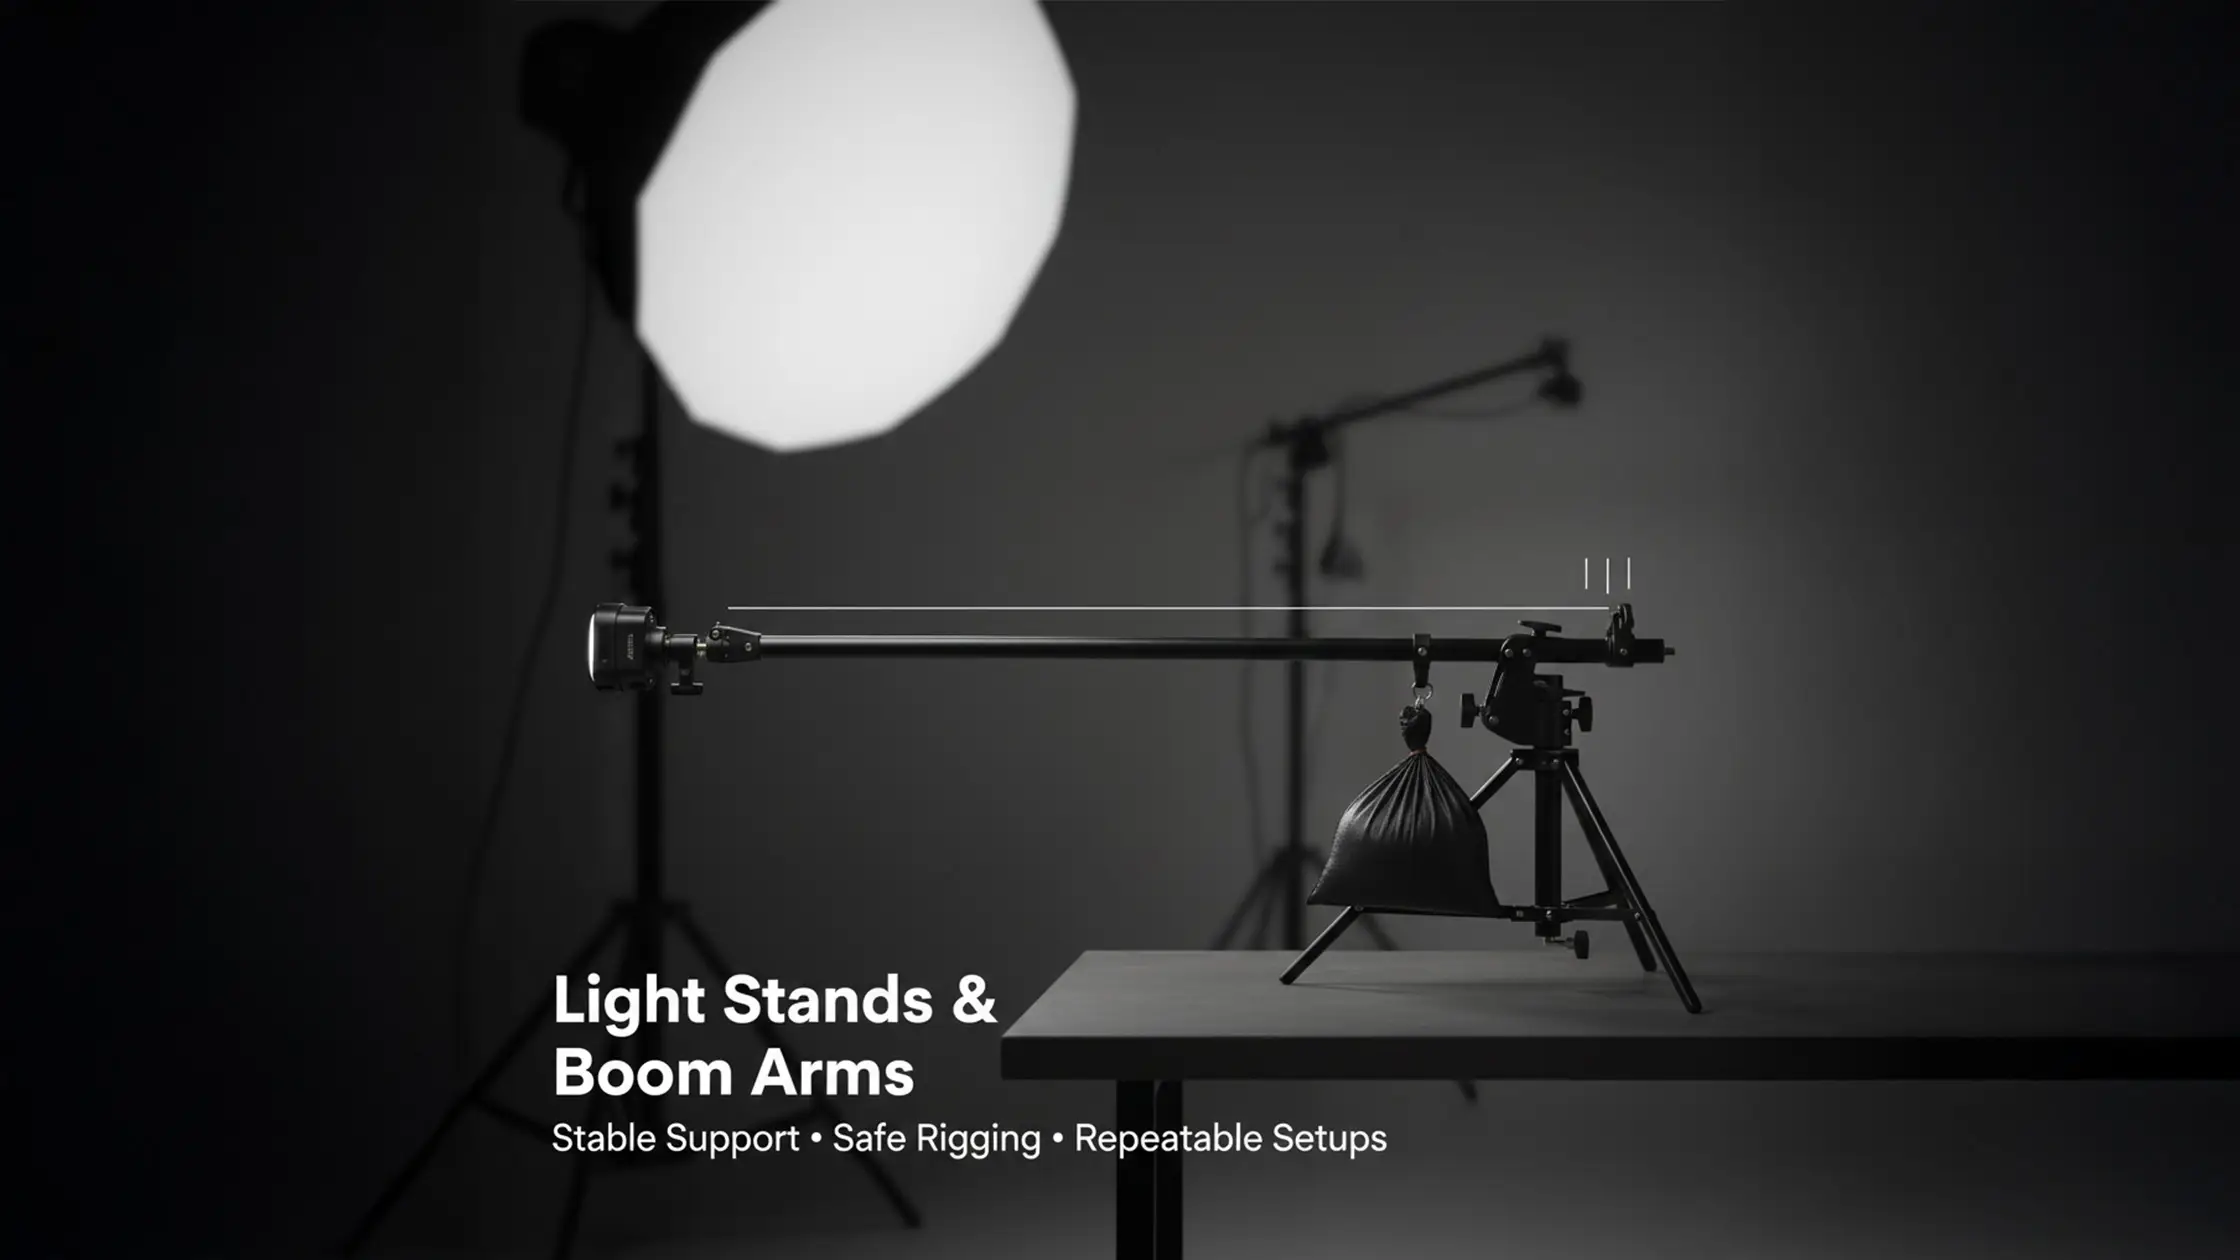
A camera that gives full manual control and reliable flash sync is more useful than top-tier resolution when you’re learning lighting fundamentals. Beginners benefit from bodies with quick exposure testing and live histogram feedback. Lens choices usually centre on a 50mm for versatility and an 85mm for flattering headshots, with a 24–70mm zoom for solo shooters who need framing flexibility. Supports — stable tripods for the camera and robust light stands — keep setups safe and repeatable; clamps and sandbags help avoid accidents that waste time. Choosing gear for repeatability and safety reduces variables so you can focus on light and posing.
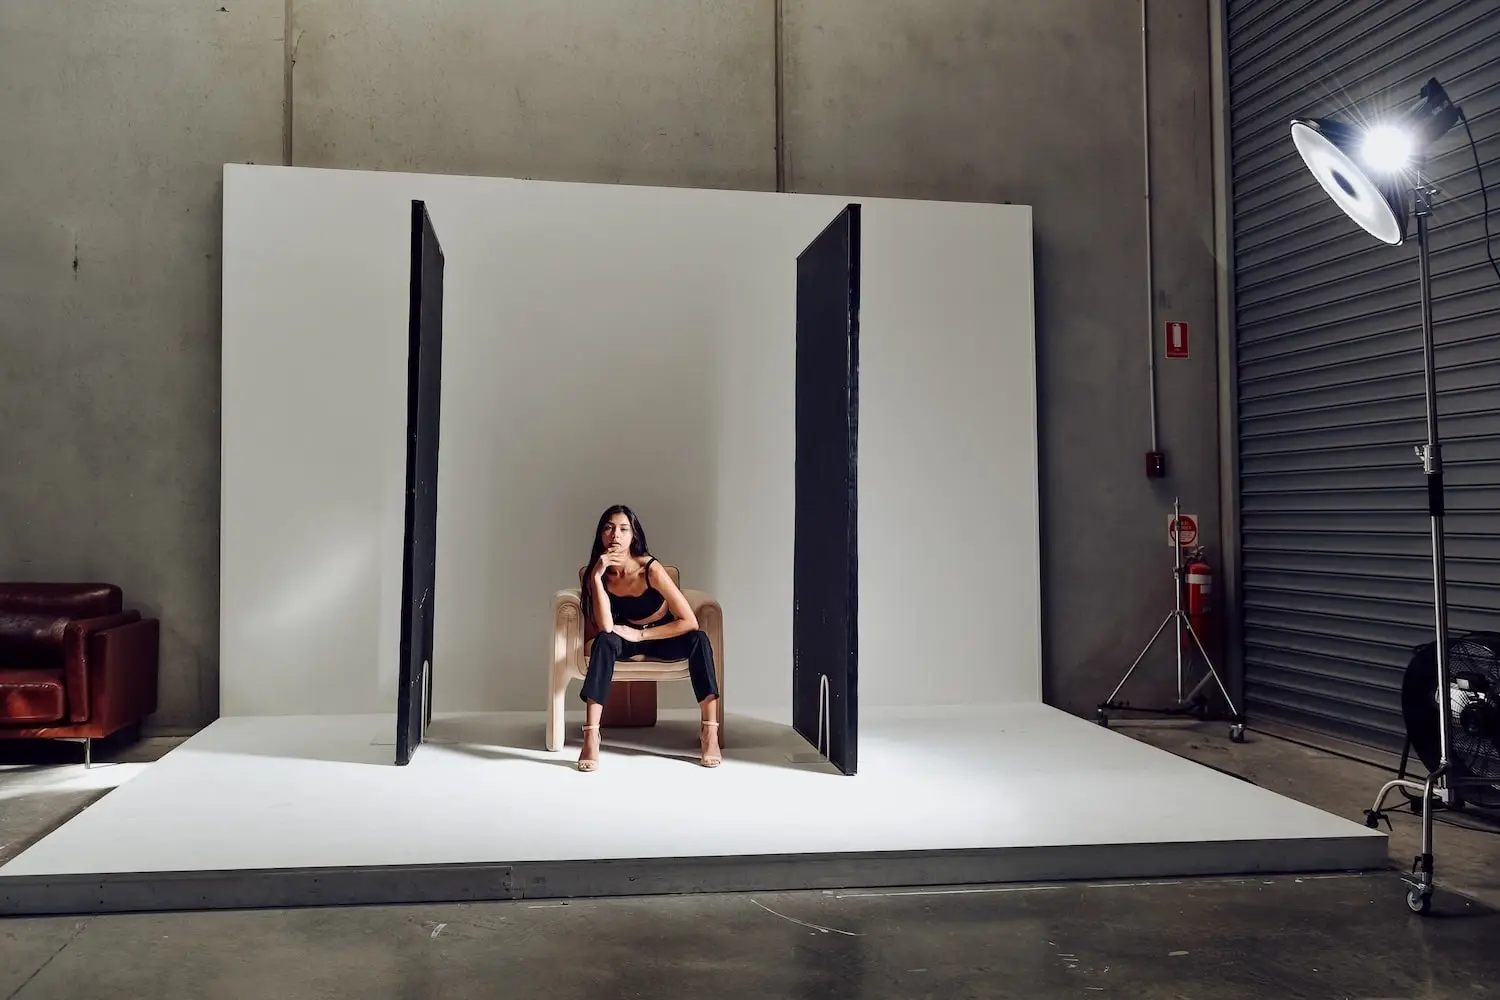
Backdrops set the visual context: seamless paper and muslin give even fields, while a white cyclorama creates an edge-to-edge infinity useful for commercial product and fashion work. Props provide compositional anchors, but keep them minimal early on to avoid distracting from your subject or complicating lighting. Practical tips: pre-roll a spare paper background, bring extra clamps and tape, and pick neutral prop colours that complement your subject. Thoughtful backdrop and prop choices speed changeovers and keep images consistent across a shoot. For techniques combining window light with studio strobes, see our upcoming Natural Light Setups guide.
Teaching studio lighting remotely can be difficult because beginners learn fastest by physically manipulating lights and seeing immediate results.
Teaching Studio Photography Virtually: Tools and Techniques
Studio practice is central to many graphic arts courses. When in-person labs weren’t possible during COVID, instructors adapted by creating remote tools and exercises. Beginners often find lighting abstract at first and need hands-on opportunities to move lights and see how adjustments affect the image.
LEARNING WITHOUT A LAB: TOOLS FOR TEACHING STUDIO PHOTOGRAPHY VIRTUALLY, E Walker, 2021
Studio settings aim for predictable exposure and the best image quality: start with a low ISO (100), moderate apertures for sharpness (f/5.6–f/11) and a shutter speed at or below your flash sync to avoid banding. Flash exposure is tied to aperture while ambient exposure relates to shutter speed, so balancing those controls is key. Below is a quick reference table for common studio scenarios and a short note on flash sync and white balance to avoid colour casts and flicker.
Start settings table and short guidance for extraction by featured snippets.
Use this quick reference as a practical starting point; the following section explains how ISO, aperture and shutter interact in the studio and when to change each for creative effect.
ISO controls sensor sensitivity and noise — keep it low to preserve detail and tonal range, which is especially important for commercial work. Aperture sets depth of field and the plane of sharpness — wider apertures isolate the subject, smaller ones increase overall sharpness for product shots. Shutter speed limits ambient contribution and is constrained by flash sync; when using strobes, changing shutter speed mainly affects background exposure. Understanding these relationships lets you make deliberate creative choices without sacrificing image quality.
Flash sync speed is the fastest shutter at which the camera can fully expose the sensor while the flash fires; going faster can create dark bands or partial exposures. Stay at or below your sync speed unless you use high-speed sync. White balance controls colour neutrality — set a custom balance with a grey card or use a flash-balanced preset to avoid colour casts, especially when mixing continuous and flash sources. If you see flicker or colour mismatch, isolate light types and measure colour temperature to create consistent frames. Correct sync handling and white balance deliver predictable colour and exposure across a shoot. Our upcoming Constant Light Setups guide will expand on LED-only workflows for video and product photography.
Good shoots start with simple pre-production: build a moodboard, make a prioritized shot list, prepare test shots and a lighting diagram, and pack backups like batteries and memory cards. The efficient mechanism here is timeboxing tasks and rehearsing key shots early so you don’t run out of booked studio time.
Before the checklist, a short numbered pre-shoot plan to help manage time during a booked session:
Following this plan keeps booked time focused on creative work rather than technical fixes.
Pre-shoot prep should include a compact shot list, labelled wardrobe options, talent contact details and a simple lighting diagram that maps power ratios and modifier choices to intended looks. Assign time estimates to each shot and build in buffer time for wardrobe changes and unforeseen delays — timeboxing prevents rushed decisions that hurt image quality. Test your equipment before the session (especially triggers and sync cables) to reduce downtime and keep attention on creative direction. Clear preparation improves communication with talent and helps you capture the core shots when time is limited.
Great posing starts with three fundamentals: chin angle, shoulder orientation and weight distribution — together these shape flattering lines and dynamic posture. Use short, actionable directions such as “tilt chin down slightly, drop the shoulder toward the camera, shift weight to the back foot” to avoid over-instruction. Demonstrate poses when possible and use mirror checks so models can see small adjustments. Vary poses by small degrees to capture natural variety. Practised posing frameworks speed the process and reduce the need for heavy retouching later.
To get the most from a studio hire, know what’s included, plan your session around the available gear and adopt time-saving habits that prioritise learning and shoot efficiency. Bohemia Bay Studio supplies a white cyclorama, professional strobes and modifiers and operates on a self-access model with extended hours, letting beginners practise at convenient times and iterate quickly. Below is a table mapping included items to practical tips for first-time users, followed by a short list of actions to help you make the most of your booking.
Introductory list of practical maximisation tips before the table:
These steps translate studio features into practical learning outcomes; the table below details included items with hands-on tips.
This table links included features to behaviours that speed learning and improve shoot quality. The following section explains booking and preparation for your first session in practical detail.
Bohemia Bay Studio includes a white cyclorama, professional lighting and a selection of modifiers, plus stands and basic grip — enough kit to practise headshot, fashion and product recipes without hauling heavy equipment. See the full equipment list for details. The studio runs a self-access model with extended hours so you can book flexible practice sessions outside typical business times. Pricing is transparent: $109/hour (2-hour minimum), $349 for a half-day (4 hours), or $649 for a full-day (8 hours). All prices include GST with no weekend surcharges, making focused practice sessions affordable for building skills. Knowing what’s included helps you plan sessions that focus on technique rather than gear logistics.
Booking is instant and self-served via the studio’s online system; you receive unique access codes so you can arrive and start setup without waiting for staff. This streamlined access reduces friction for beginners who want to practise regularly.
Prepare by packing camera backups, a shot list, clothing options and any props you need; arrive early to mark the shooting zone and test the studio’s lighting. Manage your time — spend the opening of your booking on tests, then move through your prioritized shots to get the most from the hour.
These steps turn a general plan into an actionable session blueprint so you leave with usable images and clearer technique.
Book a beginner-friendly slot at our Cheltenham studio. Self-access from $109/hr, all lighting and modifiers included, and Flexibook means you can reschedule up to 1 hour before if plans change.
FAQs
Unlock the secrets of studio photography with essential tips for beginners. Elevate your skills and enjoy your first studio shoot with easy setup advice.

Choose a studio that’s convenient to get to, stocks essential lighting gear and backdrops, and feels calm and focused. A self-access model gives booking flexibility, and included modifiers and stands reduce the hassle of bringing gear. Check pricing and session lengths to make sure the studio suits your practice schedule and budget.
Outside the studio, practise with natural light in different settings, shoot a variety of subjects and study composition. Join local photo groups or online communities for feedback. Watch tutorials and read practical guides on lighting and posing. Regularly review and critique your own images to spot patterns and track progress.
Common issues are skipping exposure tests, over-complicating setups, and poor communication with models. Beginners also often misuse modifiers, producing unflattering light, or get overwhelmed by gear choices. Keep setups simple, test early and focus on one technique at a time to avoid these pitfalls.
Post-processing is important for refining images, correcting exposure and balancing colour. Tools like Lightroom and Photoshop help polish details and ensure consistency across a series. That said, aim for clean captures in-camera — heavy editing can’t always fix poor lighting or composition.
Keep directions short and specific. Focus on chin, shoulders and weight distribution, demonstrate poses when helpful, and create a relaxed atmosphere so expressions stay natural. Offer positive feedback to build confidence and vary prompts slightly to find the most genuine moments.
Learn


.webp)
