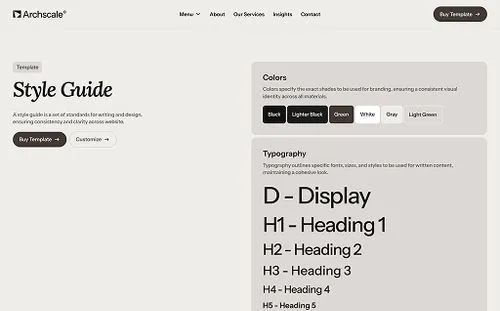
Continuous LED lighting describes studio fixtures that deliver a steady, controllable beam so you can see exposure, colour and shadow as you work. This guide walks through practical techniques, gear choices and dependable setups that flatter skin tones, reveal product detail and create cinematic separation for interviews, YouTube, beauty and e‑commerce shoots. If you’ve battled colour drift, hotspots or slow rig changes, the sections below give clear three‑point, interview and product workflows plus suggested modifier pairings to solve those problems. You’ll also find a plain‑spoken overview of LED panels, bi‑colour and RGB fixtures, and why high CRI and flexible CCT matter during long sessions. For a quick foundation, try our Essential Tips for Beginners guide.
Continuous LEDs provide a constant, predictable light source that helps filmmakers and creators judge exposure and colour while rolling. Bi‑colour and RGB control make it easy to match ambient light, refine skin rendering or add creative accents without gels, and high‑CRI panels reduce grading time. LEDs also run cooler and draw less power than tungsten or HMI, keeping the studio more comfortable during long days while output stays steady. Those practical wins mean faster setups, fewer retakes from lighting surprises and more consistent deliverables when clients expect reliable brand colour and natural skin tones. This guide focuses on studio use; outdoor and mixed‑light shoots need extra considerations.
With continuous lighting you watch exactly how light behaves before you hit record — so you can dial exposure, catchlights and shadow falloff while talent performs. That cuts guesswork and trimming grading time because accurate CCT and high CRI fixtures preserve natural skin and product colours. Continuous rigs are also ideal for multi‑camera shoots and live streams where strobes aren’t suitable, and they let you add subtle motion or highlights in product demos without worrying about sync. Knowing these advantages helps you choose fixtures and modifiers that work best for interviews, beauty shoots and e‑commerce jobs — and lets you use bi‑colour and RGB tools creatively.
Bi‑colour LEDs give you adjustable CCT (usually 2700K–6500K), so matching room practicals or daylight and keeping white balance consistent is straightforward. Many modern panels also include RGB control for hue and saturation, handy for stylised backgrounds, accents or quick brand colours without gels — and often controllable via apps or presets for repeatable looks. In practice, treat bi‑colour as your go‑to for faithful skin tones and use RGB mainly for background separation and mood. Together they speed the workflow and expand the stylistic range available to creators.
A standard continuous lighting kit pairs versatile LED fixtures with a selection of modifiers to shape and control light. The exact brand matters less than knowing how to position and modify the source. Most professional LEDs offer adjustable output and colour temperature, typically with high CRI for accurate reproduction. Many also use a Bowens mount — a common standard for attaching softboxes, beauty dishes and other modifiers.
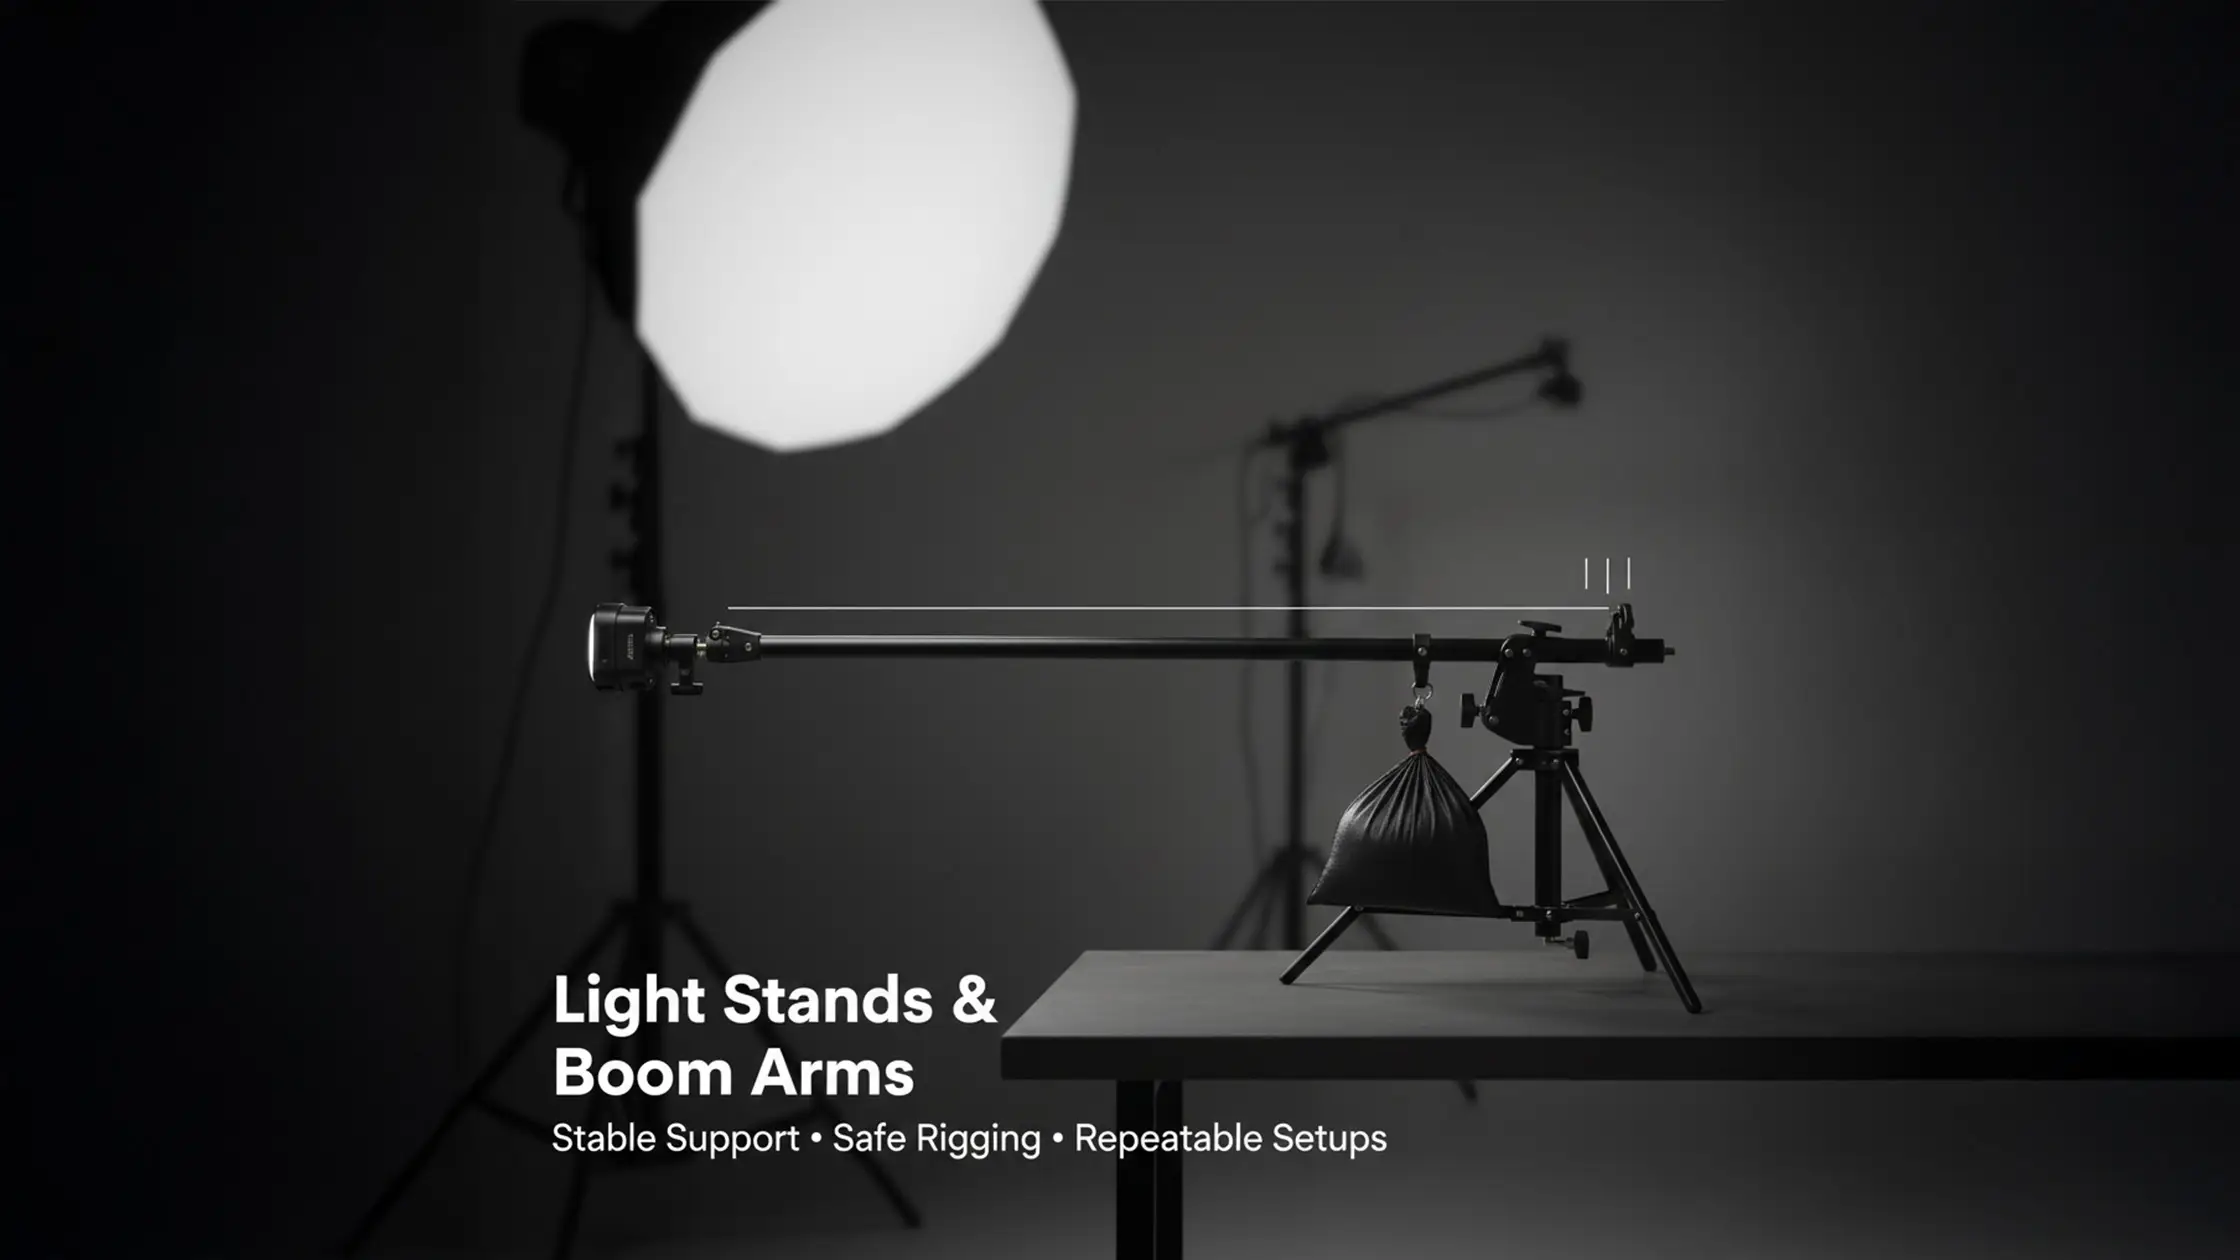
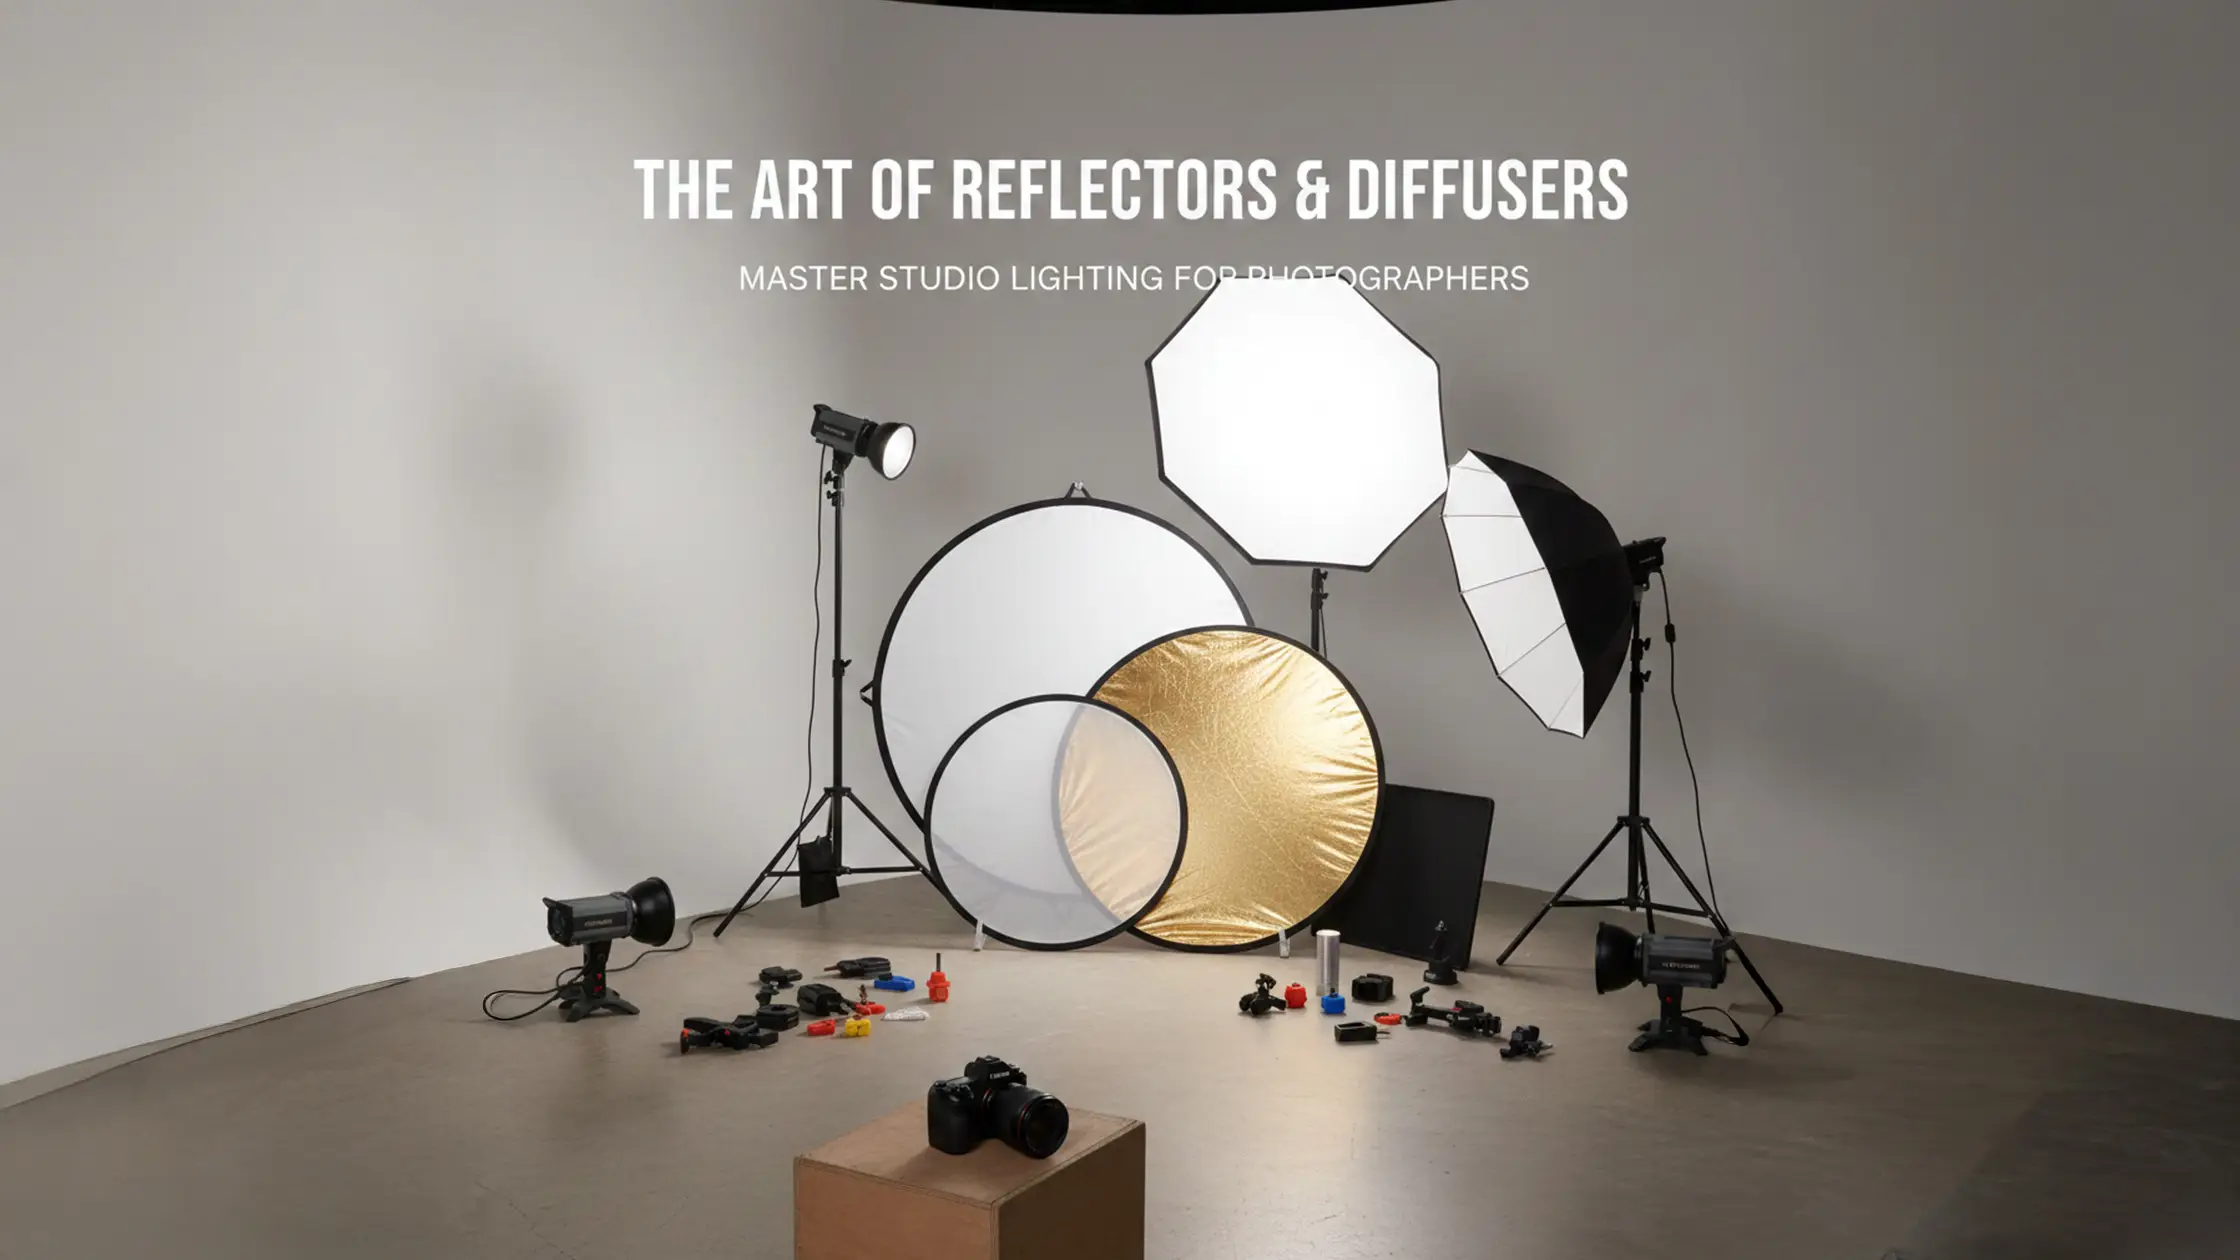
Build a modifier kit for flexibility: large softboxes (150cm and 90cm octaboxes) and small‑to‑medium white umbrellas for broad, even keys; grids and barn doors for tighter control; beauty dishes and reflectors for flattering portrait shaping. A complete kit also includes sturdy stands, boom arms, sandbags and clamps so you can secure rigs and fine‑tune height, angle and falloff. Diffusion produces softer fills, while grids control contrast — letting you switch quickly between low‑contrast interview looks and punchy product shots. Good modifiers speed setup and make repeat bookings more reliable.
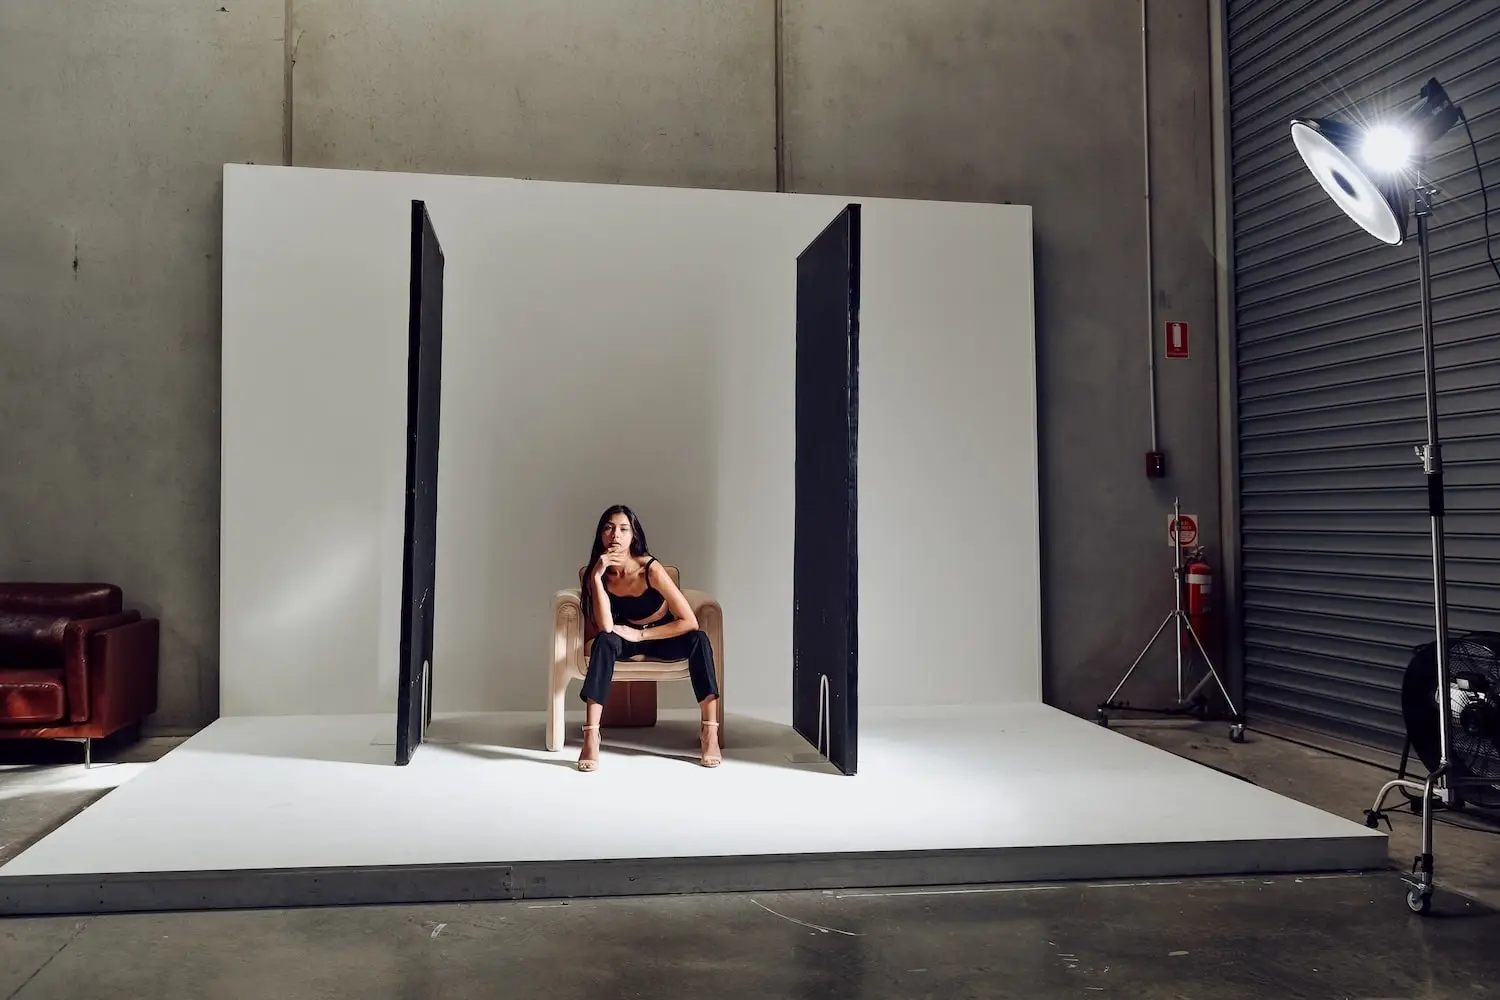
For precise fill control and background shaping, V‑Flats are indispensable for both negative fill and bounce. Likewise, Polyboards are simple, effective surfaces for bouncing and sculpting light.
Start by defining your subject and the mood you want, then choose fixtures and modifiers that shape shadows, manage specular highlights and keep colour consistent. Sketching a lighting diagram before you rig saves time on the day; standard patterns — three‑point, loop or butterfly for beauty — deliver consistent results across takes. Run a preflight checklist (check batteries and fixtures, verify CCT, test camera white balance and any monitor LUTs) to avoid surprises, and use a simple numeric workflow so teams hit a repeatable standard. The table below links setup types with typical gear so you can pick a starting point and scale from there.
Three‑point lighting is a foundational setup using a key, a fill and a back/hair light to model your subject and separate them from the background. Place the key about 45° to camera and slightly above eye level to create natural catchlights and pleasing shadow falloff. Studying Rembrandt lighting principles helps with key placement for interviews. Put the fill on the opposite side at lower intensity to soften shadows without flattening form. Finally, position a back or hair light behind the subject aimed at the shoulders or hair for rim separation — it should be visible but never brighter than the key. If you notice hotspots, harsh shadows or colour mismatch, add diffusion, lower the power or match CCT across fixtures to resolve it.
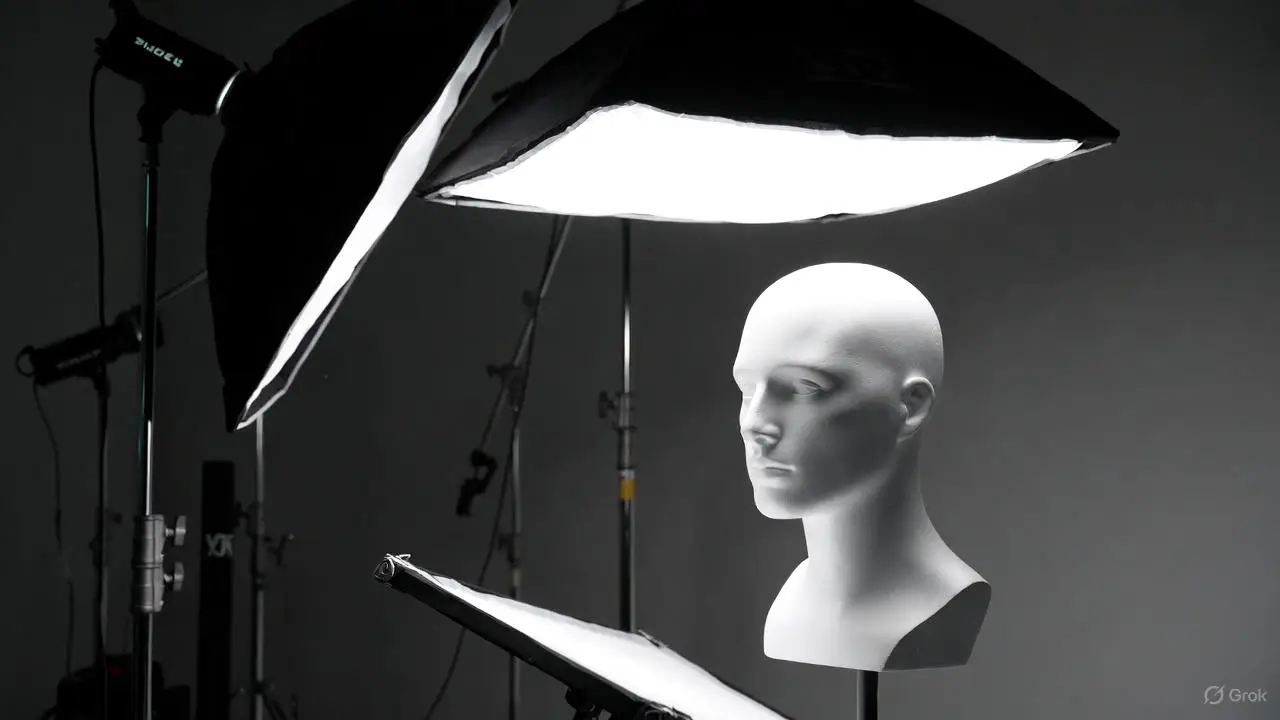
For interviews, use a soft key (large softbox or diffused panel), a neutral fill to retain dimensionality, and a subtle hair light for depth; aim for a key‑to‑fill ratio around 2:1 for natural contrast. Corporate work often prefers a flatter 1.5:1 ratio. Product shoots need tighter control: grids, snoots or smaller focused sources for highlights, and diffusion or light tents for reflective items to avoid hotspots while preserving texture. For both approaches, run a colour check and lock camera white balance to the dominant CCT so colours remain consistent across plates and edits. To speed setup, preconfigure two starter kits — interview and product — with lights, modifiers and stands ready to go.
Continuous lighting adapts across content types by making highlight shape, shadow density and colour temperature visible and adjustable — essential for consistent brand presentation and faster production. Solo creators benefit from compact panel rigs that cut setup time and give flattering soft skin tones for vlogs and tutorials. E‑commerce teams gain from LED stability and high CRI, which reduce colour correction and enable precise, repeatable catalogue setups. Knowing which fixtures and modifiers suit each project helps you book the right kit and deliver footage that needs minimal post work.
Vlog setups prioritise quick rigging, flattering skin tones and portability so creators can shoot reliably in short studio blocks. A typical rig uses a large softbox panel as the key, a smaller fill panel or reflector to soften shadows, and a compact accent light on the background for separation and brand colour. Beauty and YouTube creators often use a version of clamshell lighting with continuous LEDs for even, flattering coverage. Keep CCT consistent when realism is required, or change background accent colours deliberately to differentiate shows or series. Use manual exposure and a fixed white balance with stable LED CCT to ensure consistent uploads from episode to episode.
Product video needs controlled diffusion, carefully placed highlights and locked colour temperature so product colours read true on screen. Use softboxes or light tents for even coverage on matte surfaces, and focused sources with grids for controlled specular highlights on glossy items; a turntable with synced capture helps for 360° views. When shooting on a cyclorama, lower the key angle to avoid casting shadows on the curved background. Colour management — shooting a colour chart and locking LED CCT — ensures brand colours reproduce reliably across batches. For small items, close‑up lenses and micro‑softboxes deliver smooth highlights while keeping texture and edge detail crisp.
If you’re in Melbourne and want hands‑on practice, a self‑access studio with included continuous lighting is ideal. Bohemia Bay Studio in Cheltenham, Bayside Melbourne, provides a professional space with the essential gear.
Our self‑access model reduces coordination overhead so small teams can run efficient, repeatable shoots with professional continuous lighting and a white cyclorama included.
FAQs
Unlock stunning visuals with expert video lighting techniques! Master LED studio lights and continuous lighting setups to enhance your productions today.

Continuous LEDs differ from tungsten and HMI in a few clear ways. LEDs give a visible, constant light so you can judge exposure and colour in real time — crucial for video. They run cooler, use less power and have longer lifespans. Where older fixtures often need gels to change colour, LEDs offer bi‑colour and RGB control for quick shifts. That flexibility, plus energy efficiency and low heat, makes LEDs the go‑to for modern content production.
Start with high CRI LED lights to preserve skin tones and product hues. Lock your camera’s white balance to the dominant CCT on set and shoot a colour chart for post reference. Keep lighting setups consistent between shoots and calibrate monitors regularly. These steps, along with logging CCT and fixture settings, reduce surprises in grading and keep colours reliable across projects.
Pick modifiers based on shot type and mood. Softboxes give flattering, even light; grids control spill and sharpen highlights; reflectors add gentle fill. For product work, light tents or tight diffusion help even reflections. Match modifiers to your lights and consider size and distance to manage falloff and specular behaviour. Choosing the right modifier speeds setup and improves reproducibility.
Yes — continuous LEDs work well on location, especially battery‑capable panels that are easy to move. Watch the ambient light: bi‑colour control helps match daylight and keep white balance steady. Bring diffusion, softboxes or reflectors to tame harsh sun and shape the light for a flatter result. In bright sun you may still need ND filters or larger power sources, but LEDs offer a convenient, controllable option outdoors.
Common errors include poor placement (which creates unflattering shadows or hotspots), over‑bright fills that flatten the subject, and mismatched colour temperatures across fixtures. Always test your setup before rolling, use a colour chart for reference, and keep rigs simple — fewer, well‑placed lights often outperform complex arrays. Finally, check power and battery levels so lights don’t drift mid‑shoot.
Learn


.webp)
