Polyboards (or “poly boards”, “polyboards”, “foam core boards”, or simply “foamies”) are one of the most cost-effective, powerful lighting tools you can add to your studio. They’re cheap, lightweight, incredibly versatile — and yet still massively misunderstood by newer photographers.
Whether you shoot beauty, fashion, portraits, eCommerce or products, polyboards give you the perfect mix of light control, shadow control, and repeatability. This guide breaks down exactly what they do, how to set them up, and why nearly every professional studio relies on them.
By the end of this Ultimate Guide, you’ll know:
Let’s get started.
A polyboard is a large, rigid sheet of polystyrene foam — usually around 2400 × 1200 mm (4 ft × 8 ft) and 50 mm thick. They’re extremely lightweight yet sturdy enough to stand upright with minimal support.
In photography, polyboards are used for light shaping, specifically:
They’re sometimes sold pre-painted, but in Australia most polystyrene sheets come white on both sides. You simply paint one side matte black for negative fill.
For most photographers, polyboards become a permanent part of their studio lighting toolkit.
Everything polyboards do comes down to two core lighting functions — bounce and subtractive lighting. If you understand these two roles, you can shape your light with total confidence.
Bounce is about adding soft light into your shadows.
The white side reflects light from your key or fill source back onto the subject in a smooth, low-contrast way. Unlike small reflectors, polyboards create a big, diffused surface — meaning the fill is soft, natural and flattering.
Even if your key light is hard, a polyboard can bring gentle fill into the scene.
Negative fill is about removing light, not adding it.
In white studios or spaces with reflective surfaces, light bounces everywhere, often leading to flat, low-contrast lighting. The black side of a polyboard absorbs this spill, creating shape and depth.
This is the secret weapon behind premium-looking beauty and fashion lighting.
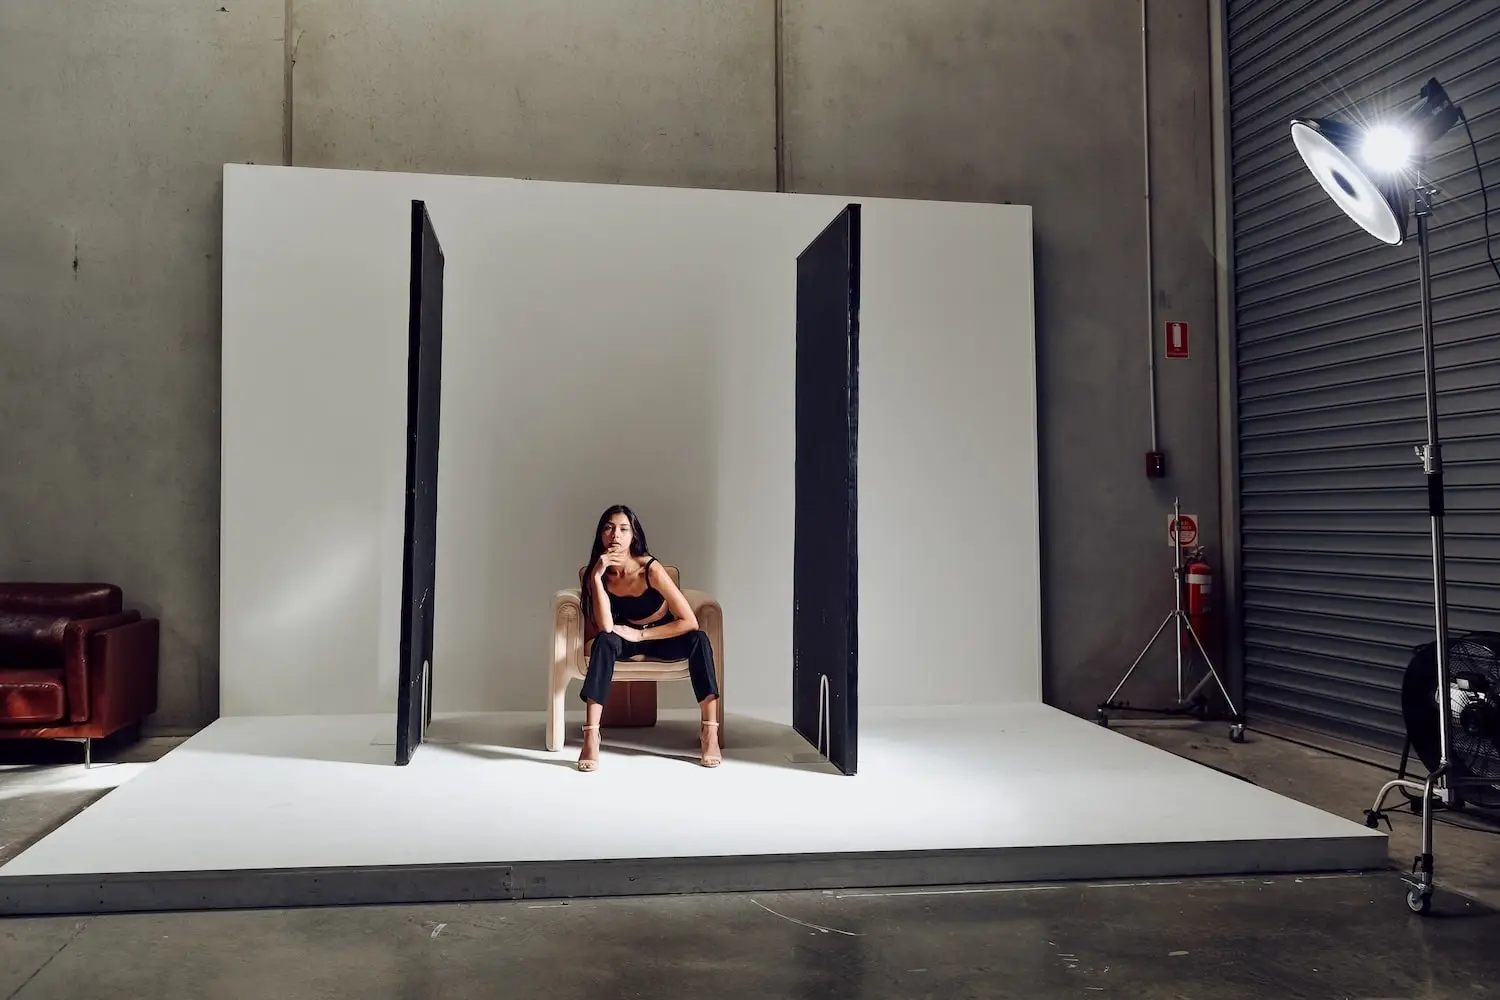
Polyboards can be used in many configurations, but the most common and practical is the V-flat.
A V-flat is two polyboards joined together by tape or gaffer hinges, forming a V shape that can stand on its own.
Every studio should have at least one pair of V-flats.
This creates a sturdy, portable, and extremely functional lighting modifier.
This is where polyboards become powerful.
Below are real-world lighting setups using polyboards for portraits, fashion, beauty, products and eCommerce.
Perfect for headshots, beauty, and fashion lookbooks.
This is Extremely effective in white studios, where spill normally flattens the image.
Using two V-flats around your subject:
This creates repeatable lighting for fashion lookbooks, campaigns and eCommerce.
For products, light reflection and shadow control is everything.
Polyboards are especially effective for cosmetics and skincare packaging.
They’re cheap, lightweight, and easy to repaint.
Not all foam boards are equal. Here’s what actually matters.
Most photographers use:
Smaller boards exist, but they don’t provide enough bounce or shadow control.
Choose 50 mm (2 inch) minimum.
Thinner boards:
50 mm boards are significantly more stable, especially when standing upright.
For the white side:
For the black side:
For coloured boards:
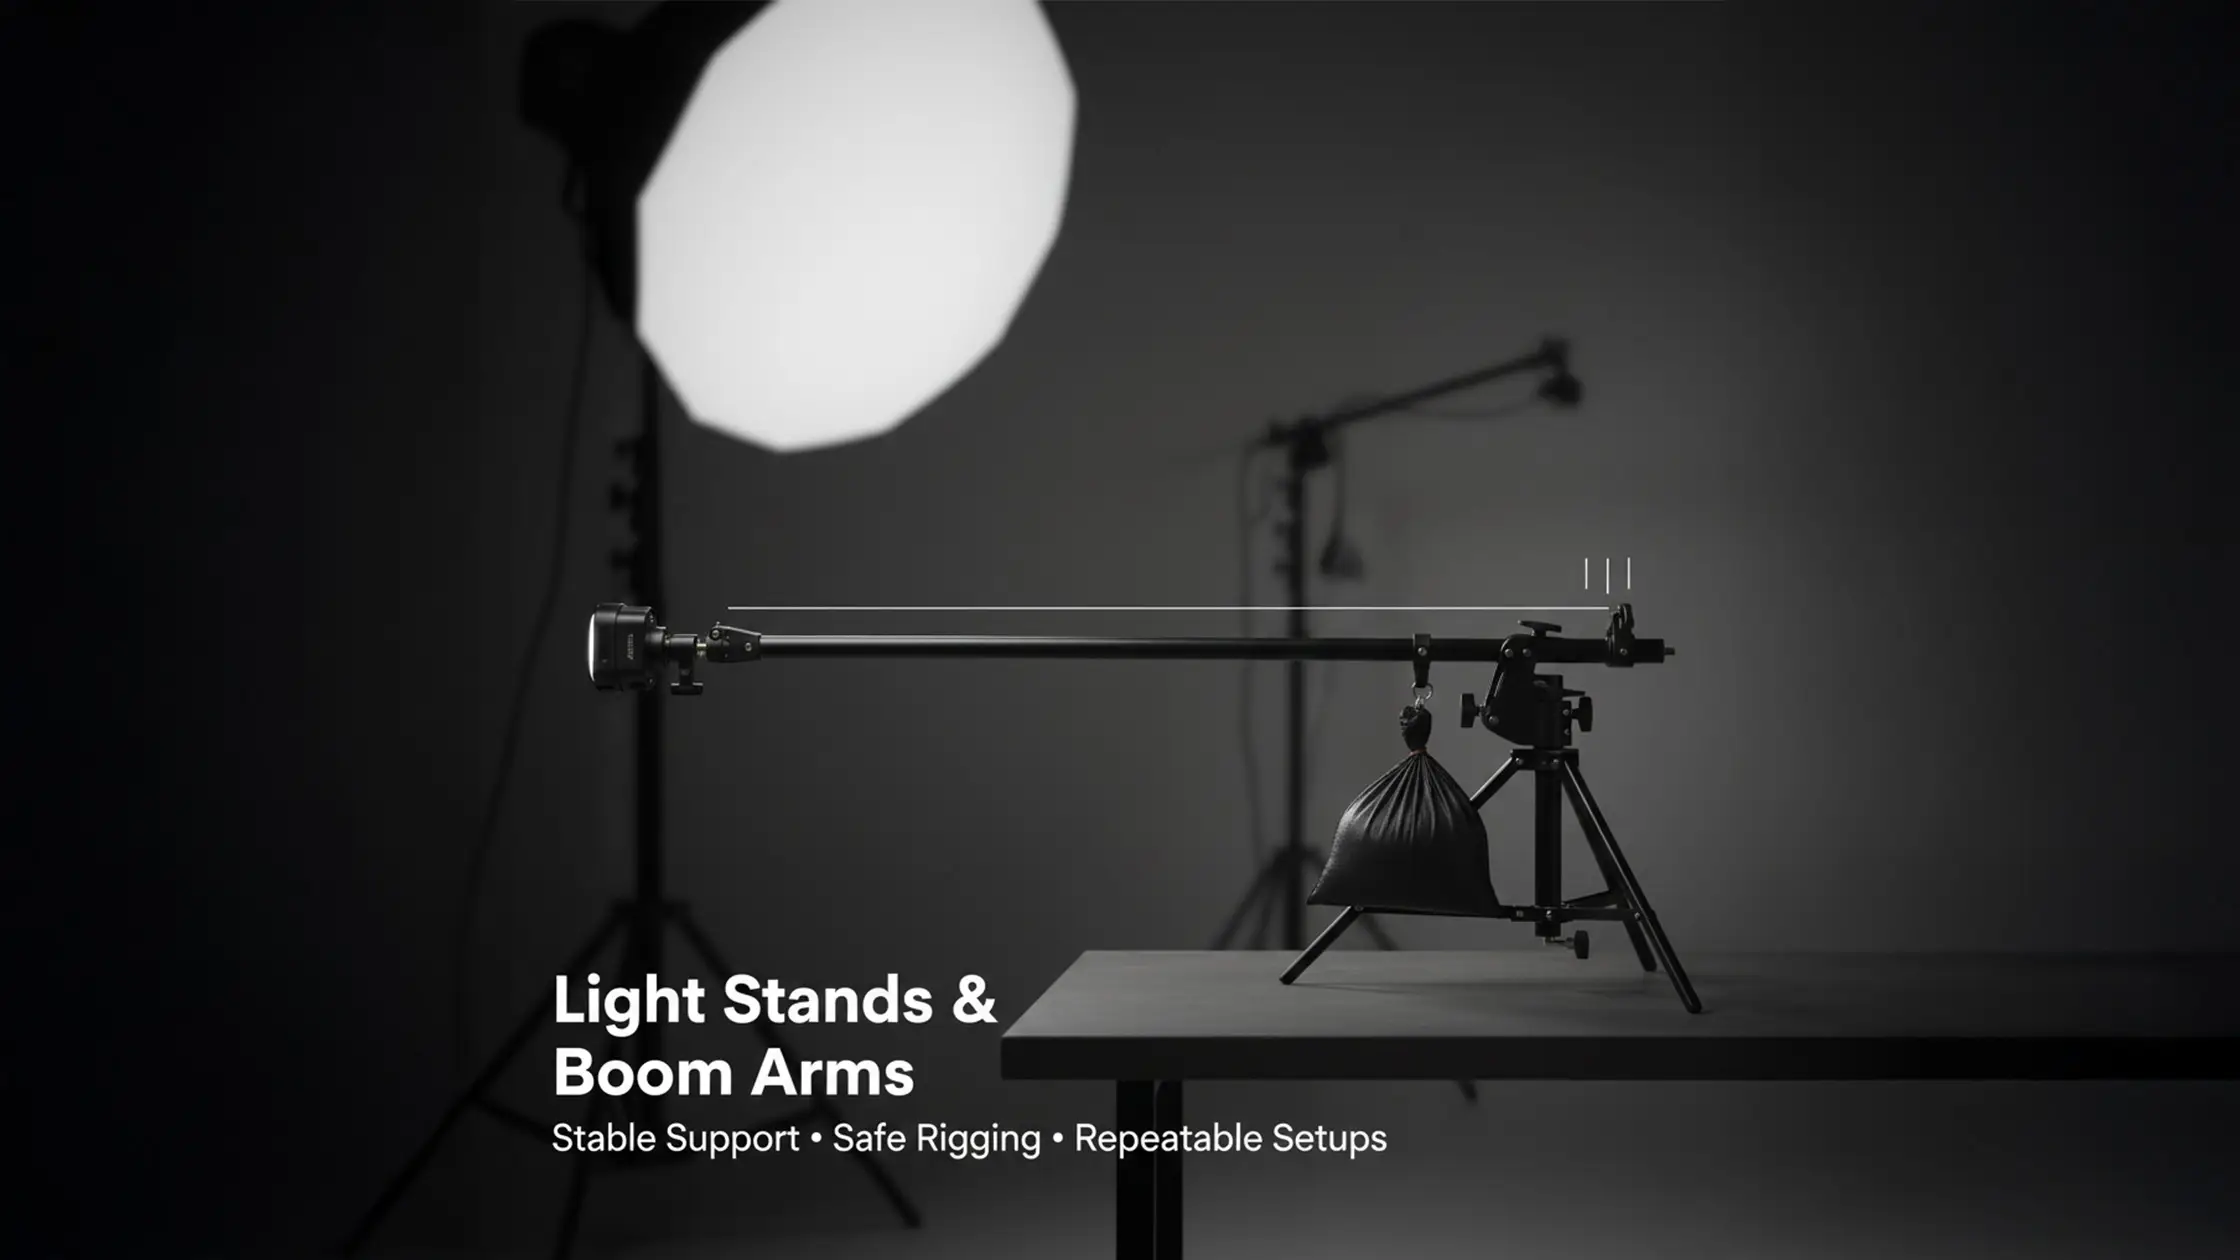
Keep polyboards upright using:
Never rely on them to stand freely — they will fall.
They bow, warp, and don’t stand upright.
Causes unwanted reflections.
Falling boards can damage gear or injure talent.
Polyboards work best close, usually within 30–80 cm.
Beginners often add fill when they should be removing light to create shape.
These sources consistently carry photography-friendly polystyrene:
Foldable V-flats, ready-made, both colours.
Thick, durable polystyrene sheets.
White panels you can paint yourself.
Rent polyboards and V-flats short-term.
Often cheaper for bulk.
Polyboards give you control, consistency, and professional lighting quality at a fraction of the cost of traditional modifiers.
Every studio — from small home setups to full campaign productions — can benefit from having at least two boards or a pair of V-flats.
If you understand bounce and negative fill, you effectively understand 90% of light shaping.
FAQs
Learn how to use polyboards for studio lighting—bounce vs negative fill, setup tips, sizes, common mistakes, and pro techniques for portraits, eCommerce and fashion.

Polyboards are large, rigid polystyrene sheets commonly used in Australian studios. They provide strong bounce on the white side and deep, clean negative fill on the black side. V-flats are typically lighter and pre-folded versions of the same concept, popular in the US. Functionally, both do the same job — control light — but polyboards offer bigger surface area and stronger results for full-body fashion, beauty, and eCommerce.
Use white when you want soft, glowing, flattering light with minimal shadows (beauty, skincare, corporate, lifestyle). Use black when you want mood, depth, jawline definition, contrast, or sculpted lighting (menswear, editorial, fitness, dramatic branding). If you’re unsure, start with white, then slowly bring in black to add shape.
There’s no “one distance fits all,” but a good rule: Closer = stronger effect (stronger fill or deeper negative fill) Further = softer effect For most portraits, 30–90 cm from the subject works well. For full-body setups, position them 1–1.5 metres away for a more natural look.
Yes — polyboards are one of the easiest lighting tools for beginners. They instantly improve shadow control, increase light quality, and make setups more predictable. Even with just one key light or natural light, polyboards give you professional-looking results without needing advanced gear.
Polyboards are sold at most local hardware stores (Bunnings, Bowens, Mitre 10). The standard size is 2400 × 1200 × 50 mm. Many studios paint one side matte black. If you don’t want to DIY, some Melbourne prop houses and photo studios (like Bohemia Bay) offer pre-painted versions or rental options.
Learn


.webp)