Clamshell lighting pairs a soft key above your subject with a gentle fill beneath to wrap light around the face, smooth shadow transitions and create bright, natural catchlights. This guide breaks down the optics behind the look, gives a reliable studio setup, and offers practical tweaks for different face shapes and portrait styles. If you’ve battled uneven shadow falloff or spent hours retouching skin, clamshell gives you a predictable way to balance top‑down modelling with frontal fill so shots are camera‑ready sooner. We cover exact placement, modifier choices, metered ratios, common fixes, studio practice exercises, an equipment checklist, quick‑reference tables for key/fill/reflector roles, and local booking details for Bohemia Bay Studio so you can try everything in our 160m² self‑access space.
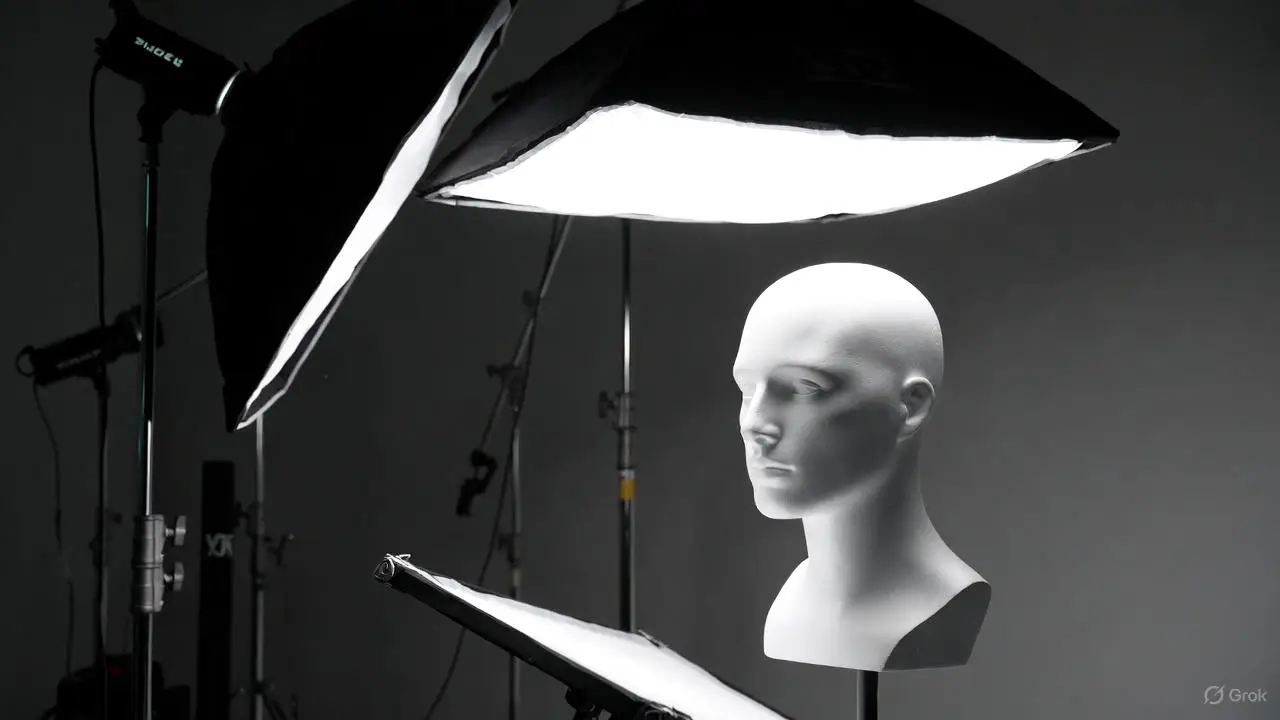
Clamshell is a straightforward, purposeful setup: a key light sits above and just in front of the subject while a fill source sits below, forming a “sandwich” that gently wraps facial features. The high, soft key sculpts the forehead, nose and cheekbones; the lower fill lifts shadows under the eyes and chin. Together they reduce contrast without flattening form, creating even skin tones and dependable eye catch that read well across formats. Photographers favour clamshell because it speeds retouching and reliably flatters both beauty and headshot work.
Understanding how clamshell shapes light makes choosing modifiers, dialing power ratios and setting your camera much easier — so you can reproduce a consistent beauty or headshot look on set.
Here are the core reasons clamshell is a go‑to for flattering portraits.
Those advantages explain why this geometry produces flattering, dependable illumination — and why small placement changes matter for different facial features.
Softness and falloff are driven by modifier size, distance and angle. A larger modifier placed closer yields broader, softer light; a smaller or more distant one produces harder edges. The top key typically sits about 30–45° above the subject’s eye line and angles down to model the forehead, nose and cheekbones. The lower fill belongs under the chin at roughly 0–20°, tilted up to gently lift shadowed areas. Softboxes and beauty dishes behave differently: large softboxes give very soft gradation, while beauty dishes preserve more modelling with slightly stronger specular highlights. Moving the fill a touch closer than the key, for example, increases lift and changes perceived depth and skin texture in the final frame.
Clamshell reduces the appearance of heavier texture by evening midtones and filling shadowed areas, which shortens skin‑retouch time. The dual catchlights from top and bottom sources are especially effective in tight headshots and beauty frames, improving presence and eye engagement. For commercial shoots the setup’s predictability helps you deliver consistent images across sessions; for beauty work it lets makeup and skin finishes read accurately while still flattering the subject.
With those benefits in mind, the next section gives a practical, studio‑ready setup you can reproduce reliably.
Start by choosing the right modifiers and supports, position the key and fill around your subject, then set an initial power ratio that favours a soft key with balanced fill. A common baseline is 1:1 or 2:1 key:fill depending on desired modelling; refine that with an incident meter or by checking your camera histogram. Use an 85–105mm equivalent focal length for flattering head proportions and keep a subject‑to‑camera distance that avoids perspective distortion. Metering from a skin midtone or using an incident reading ensures repeatable exposures.
Below are the essential tools for a clamshell setup and when to use each.
These items form the foundation of a reliable clamshell workflow and lead into a quick‑reference equipment table you can use on set.
Intro to equipment table: The table below summarises the main clamshell components, typical placement and their purpose so you can check settings quickly during a shoot.
This quick‑reference clarifies each role on set and leads into the step‑by‑step positioning sequence that follows.
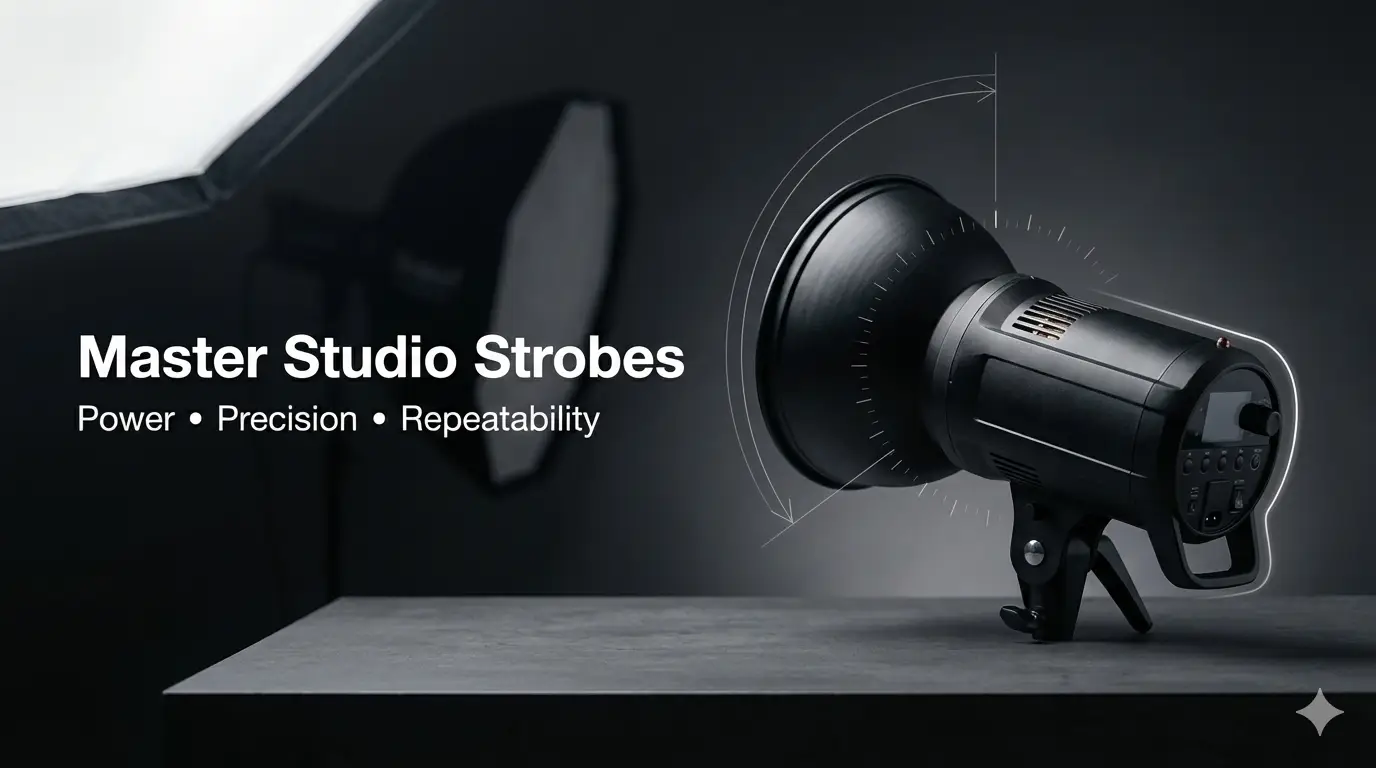
A dependable key source, a solid fill option and sturdy supports are the minimum. Strobe versus continuous light changes your workflow — strobes deliver short flash duration and high power while LEDs let you preview the effect in real time. Large softboxes (or a beauty dish for slightly more contrast) are common keys because their diffusion flatters skin. For fill, use a smaller softbox, an LED panel, or a white/silver reflector for passive lift. Boom arms, grids, extra diffusion and sandbags help with repeatable placement and controlling spill and background separation.
Use this routine as a starting point, then adapt for different face shapes and portrait styles.
Small shifts to key height, fill strength and modifier size have a big visual impact. For oval faces keep the key central with moderate fill to preserve balance. For round faces raise the key slightly and tighten the softbox or add subtle negative fill to introduce vertical modelling. For square faces use a slightly higher key and softer fill to soften the jawline. For long or rectangular faces lower the key a touch and broaden the fill to shorten perceived length. Modifier choice also affects genre: beauty favours large, close diffusion; fashion benefits from rim or hair lights for separation; corporate headshots often use smaller modifiers and tighter framing for an approachable, professional result. The quick comparison table below makes these tweaks easy to apply on set.
Intro to face-shape table: The table translates common face shapes into modifier and placement tweaks so you can make targeted adjustments during a session.
Apply these targeted changes on set, then experiment with advanced modifiers and ratios to fine‑tune mood and contrast.
Beauty work calls for the softest light and strong eye catch. Fashion often pairs a soft key with accenting rim or hair lights to add texture and shape. Corporate headshots favour moderate contrast and steady catchlights to communicate approachability.
For beauty portraits, use a large softbox or beauty dish above and a broad fill below to showcase skin finish and makeup detail.
For fashion, add a hair or rim light behind the subject to separate hair from the background and consider background lights or gels for creative colour.
For corporate sessions, use slightly tighter key‑to‑fill ratios and a small hair light to keep the look professional yet approachable.
Grids, snoots, negative fill panels and beauty dishes let you sculpt contrast without changing the clamshell geometry. Adding a grid to the key narrows spread for stronger modelling while keeping the fill broad preserves shadow lift — useful for controlled 2:1 or 3:1 effects. Negative fill at the sides deepens shadows to enhance cheek definition for fashion or sculptural portraits. Gels and background lights alter mood without changing facial exposure when placed behind the subject; careful metering keeps skin exposure consistent. These techniques let clamshell move from pure beauty into more dramatic or editorial territory.
Bohemia Bay Studio is a self-access professional space built for photographers, makeup artists and production teams. Located at Unit 14/337 Bay Road, Cheltenham VIC 3192, Bayside Melbourne, we’re open 7am to midnight, 7 days a week, 365 days a year. Our roomy 160m² shooting area includes a pristine 4.5m × 3m square white cyclorama and an 8‑metre ceiling, which helps minimise colour contamination and supports clean background separation for portrait work. Natural light is abundant via a 7‑metre south‑facing garage door and a north‑facing window. Access is self‑service with a unique keycode sent 24 hours before your booking, and load‑in is easy with drive‑up access through the 7m garage door on the ground floor — no stairs. We provide 3 dedicated parking spaces plus plenty of free street parking.
"Bohemia Bay was easily the best photography studio I have ever used. Beautiful, clean and modern space with everything you could need."
— Simone Shiers, Photographer
Our inventory includes professional strobes, large softboxes, reflectors and sturdy stands ideal for clamshell setups, plus reliable power and an open floorplan that accommodates booms and background lights. Instant online booking means photographers, makeup artists and small crews can practise and refine clamshell arrangements without supervised hours. The space, included kit and flexible booking make it easy to recreate the setups we describe in this guide.
Intro to gear table: The table below matches available studio gear to typical clamshell uses and recommended starting settings so you can plan your session efficiently.
This inventory shows how the studio’s gear maps to clamshell components and helps you choose what to request when booking.
We stock professional strobes, several large softboxes and a range of reflectors — enough to cover the core clamshell roles without external rentals. Boom arms and heavy‑duty stands let you position a top modifier safely over a seated subject, and our reflector options make it quick to switch between matte white and higher‑specular silver depending on catchlight and skin finish. LED panels are available if you prefer to preview the effect continuously before committing to flash ratios. Knowing what’s on hand speeds setup and lets you focus on angles and power.
Our 160m² studio gives you room for background separation, multiple light positions and safe movement — ideal for tight headshots or wider lifestyle frames with additional rim or background lights. The white cyclorama creates a neutral backdrop that prevents colour casts and simplifies white balance for varied skin tones and makeup. Self‑access booking lets you test multiple clamshell permutations without rush, making iterative learning practical. These spatial features support the mechanical choices we discussed — modifier distance, background control and accent lights — so you can achieve predictable, flattering results.
Booking a session is the fastest way to put these techniques into practice. Bohemia Bay Studio uses an instant online booking system so creatives can reserve time without back‑and‑forth. Sessions run across extended hours; the standard hire rate is $109/hour (2‑hour minimum), $349 for a half‑day (4 hours), or $649 for a full‑day (8 hours). All prices include GST and there are no weekend surcharges. Discounts apply for longer bookings to support full practice or production days.
The self‑access model suits solo photographers, small teams and stylists who want to set up and run through multiple clamshell configurations in one booked slot. Below is a short booking flow and practical notes to help you plan your session.
Practical steps to book and prepare for a session:
These steps keep booking predictable and efficient; the hourly rate with discounts for longer blocks encourages extended practice to master clamshell lighting.
The online booking flow focuses on instant confirmation and self‑access, so you can reserve space quickly and start working without admin delays. After choosing a slot, verify the equipment inventory assigned to that hire to avoid surprises on arrival. Once booked, you’ll receive entry instructions that let you access the space during your session. Preparing a shot list and a short equipment checklist before you arrive keeps the session efficient and productive.
Yes — our standard rate is $109/hour (2‑hour minimum) and discounts are available for longer bookings, making multi‑hour practice or production days more cost‑effective. Longer blocks let you test different modifier sizes, lighting ratios and camera distances without rushing — useful when practising face‑shape tweaks or genre‑specific looks. For current packages and discount thresholds, check the booking interface when you reserve your session.
Book a session at our Cheltenham studio. Self‑access from $109/hr, all lighting and modifiers included, and Flexibook lets you reschedule up to 1 hour before if plans change.
Book Studio Time View Equipment
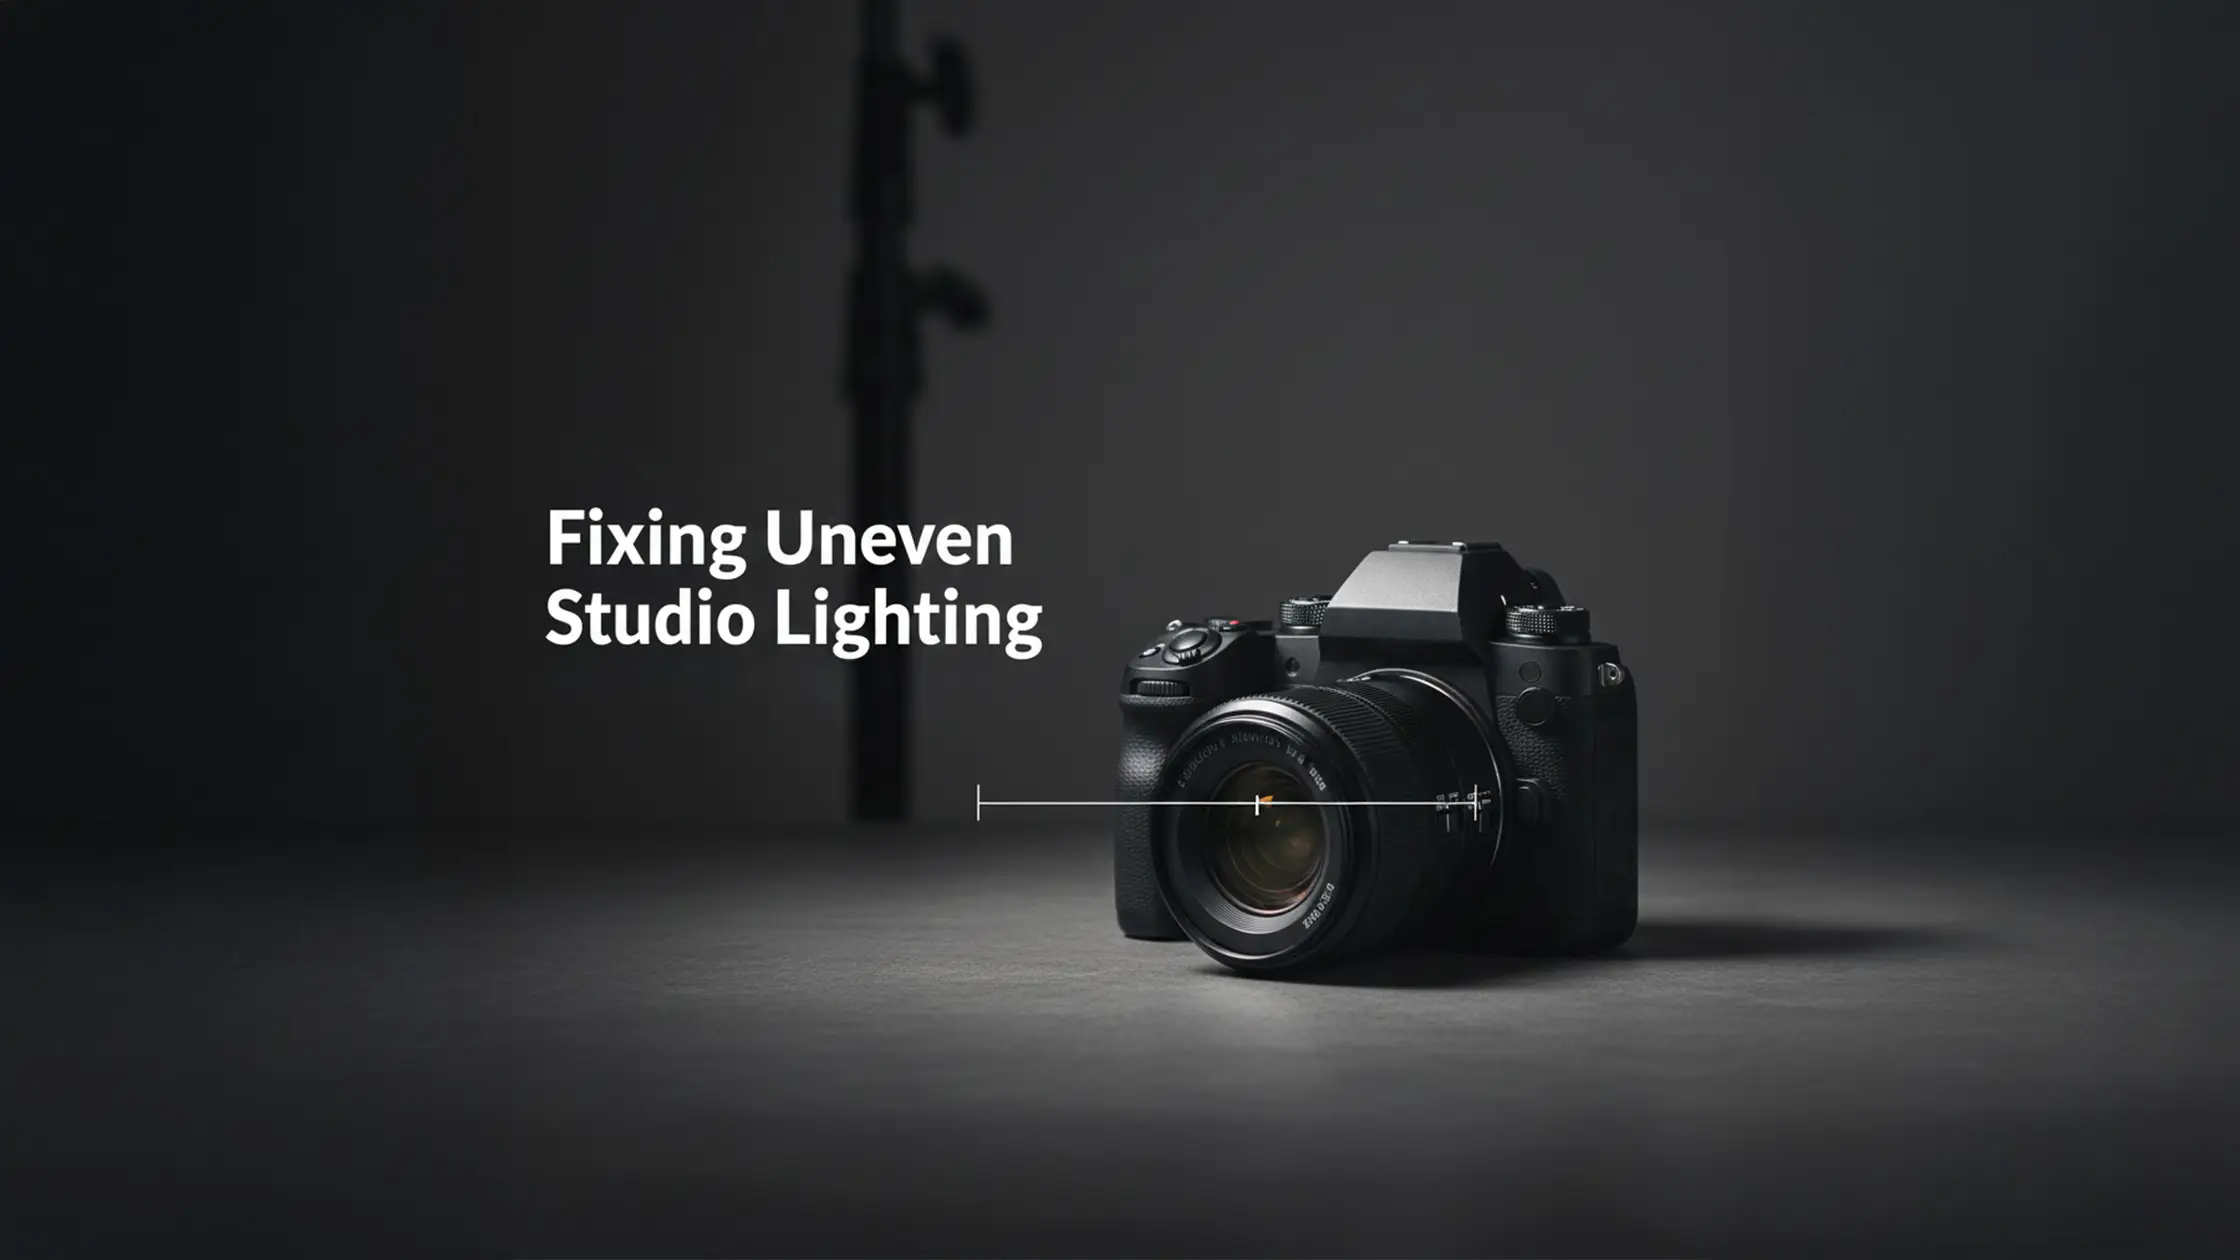
Common issues include specular hotspots, flattened features, background spill or uneven catchlights. Most problems are fixed by measured changes to modifier size, angle and power balance. Hotspots usually come from a key that’s too close or a beauty dish with insufficient diffusion — add diffusion, move the modifier back or switch to a larger softbox to soften specularity. Faces can look flat if the fill overpowers modelling; reduce fill power or introduce subtle negative fill at the sides to restore depth. The checklist below targets frequent pitfalls and quick fixes to keep your session moving.
These checks resolve most on‑set issues and lead into metering and camera placement best practices that ensure consistent exposures.
Prioritise diffusion and careful distances: larger, closer softboxes reduce shadow contrast while a balanced fill keeps highlights under control. Swap specular reflectors for matte white surfaces with oily or reflective skin, and consider polarisation in post if needed. If glare appears on the forehead or nose, lower the key a touch or reduce its power and compensate by gently raising the fill. Take quick test shots and inspect 100% crops to confirm highlight preservation before proceeding with the full shoot.
Meter with an incident reading at the subject’s position or take a spot reading from a neutral midtone area of the face, then bracket to protect highlights and skin detail. For headshots use an 85–105mm equivalent focal length and keep a camera‑to‑subject distance that avoids perspective distortion. Suggested starting settings: ISO 100–200, aperture f/4–f/8 depending on desired depth of field, and shutter speed synced to flash or ambient. Always review histograms and 100% previews to ensure skin highlights are preserved. Consistent metering and framing give repeatable results and let you focus on creative choices.
This guide was written by Brendan, founder of Bohemia Bay Studio and a professional photographer with over 8 years of experience in commercial and wedding photography.
FAQs
Transform your portraits with clamshell lighting techniques! This guide offers tips on studio setups and beauty lighting to elevate your photography skills.

Clamshell works outdoors with the right portable kit. Use a portable softbox or LED as the key and a reflector or LED panel as the fill. Position the key to complement natural light (golden hour is ideal) and use the reflector to bounce light back into the face and reduce shadows. Watch the sun’s angle to avoid harsh backlighting or strong side shadows, and adjust fill strength so the result stays natural.
Keep a session log with exact light positions, power ratios and camera settings. Use the same gear and modifiers where possible and recreate the studio environment consistently. Take test shots before the shoot and compare histograms and 100% previews. Regular practice and a standardised checklist make your setups repeatable.
Soften your light with larger modifiers or extra diffusion — softer light is generally more forgiving across skin tones. Watch colour temperature and white balance to avoid casts, and adjust fill intensity so shadows are lifted without washing out natural tone. Meter carefully and review histograms to preserve highlight detail for all skin types.
Yes, but it requires adaptation. Raise the key and widen the fill to cover multiple faces, or use a larger softbox so the light wraps across the group. Keep subjects at similar distances from the lights to maintain even coverage and check for consistent catchlights across faces.
Avoid placing the key too close (which creates hotspots), mismatching power ratios, or skipping meter checks. Don’t let the fill overpower modelling to the point features flatten, and always check for catchlights — they’re crucial for engaging portraits. Take test shots and iterate before the client arrives.
Learn


.webp)
