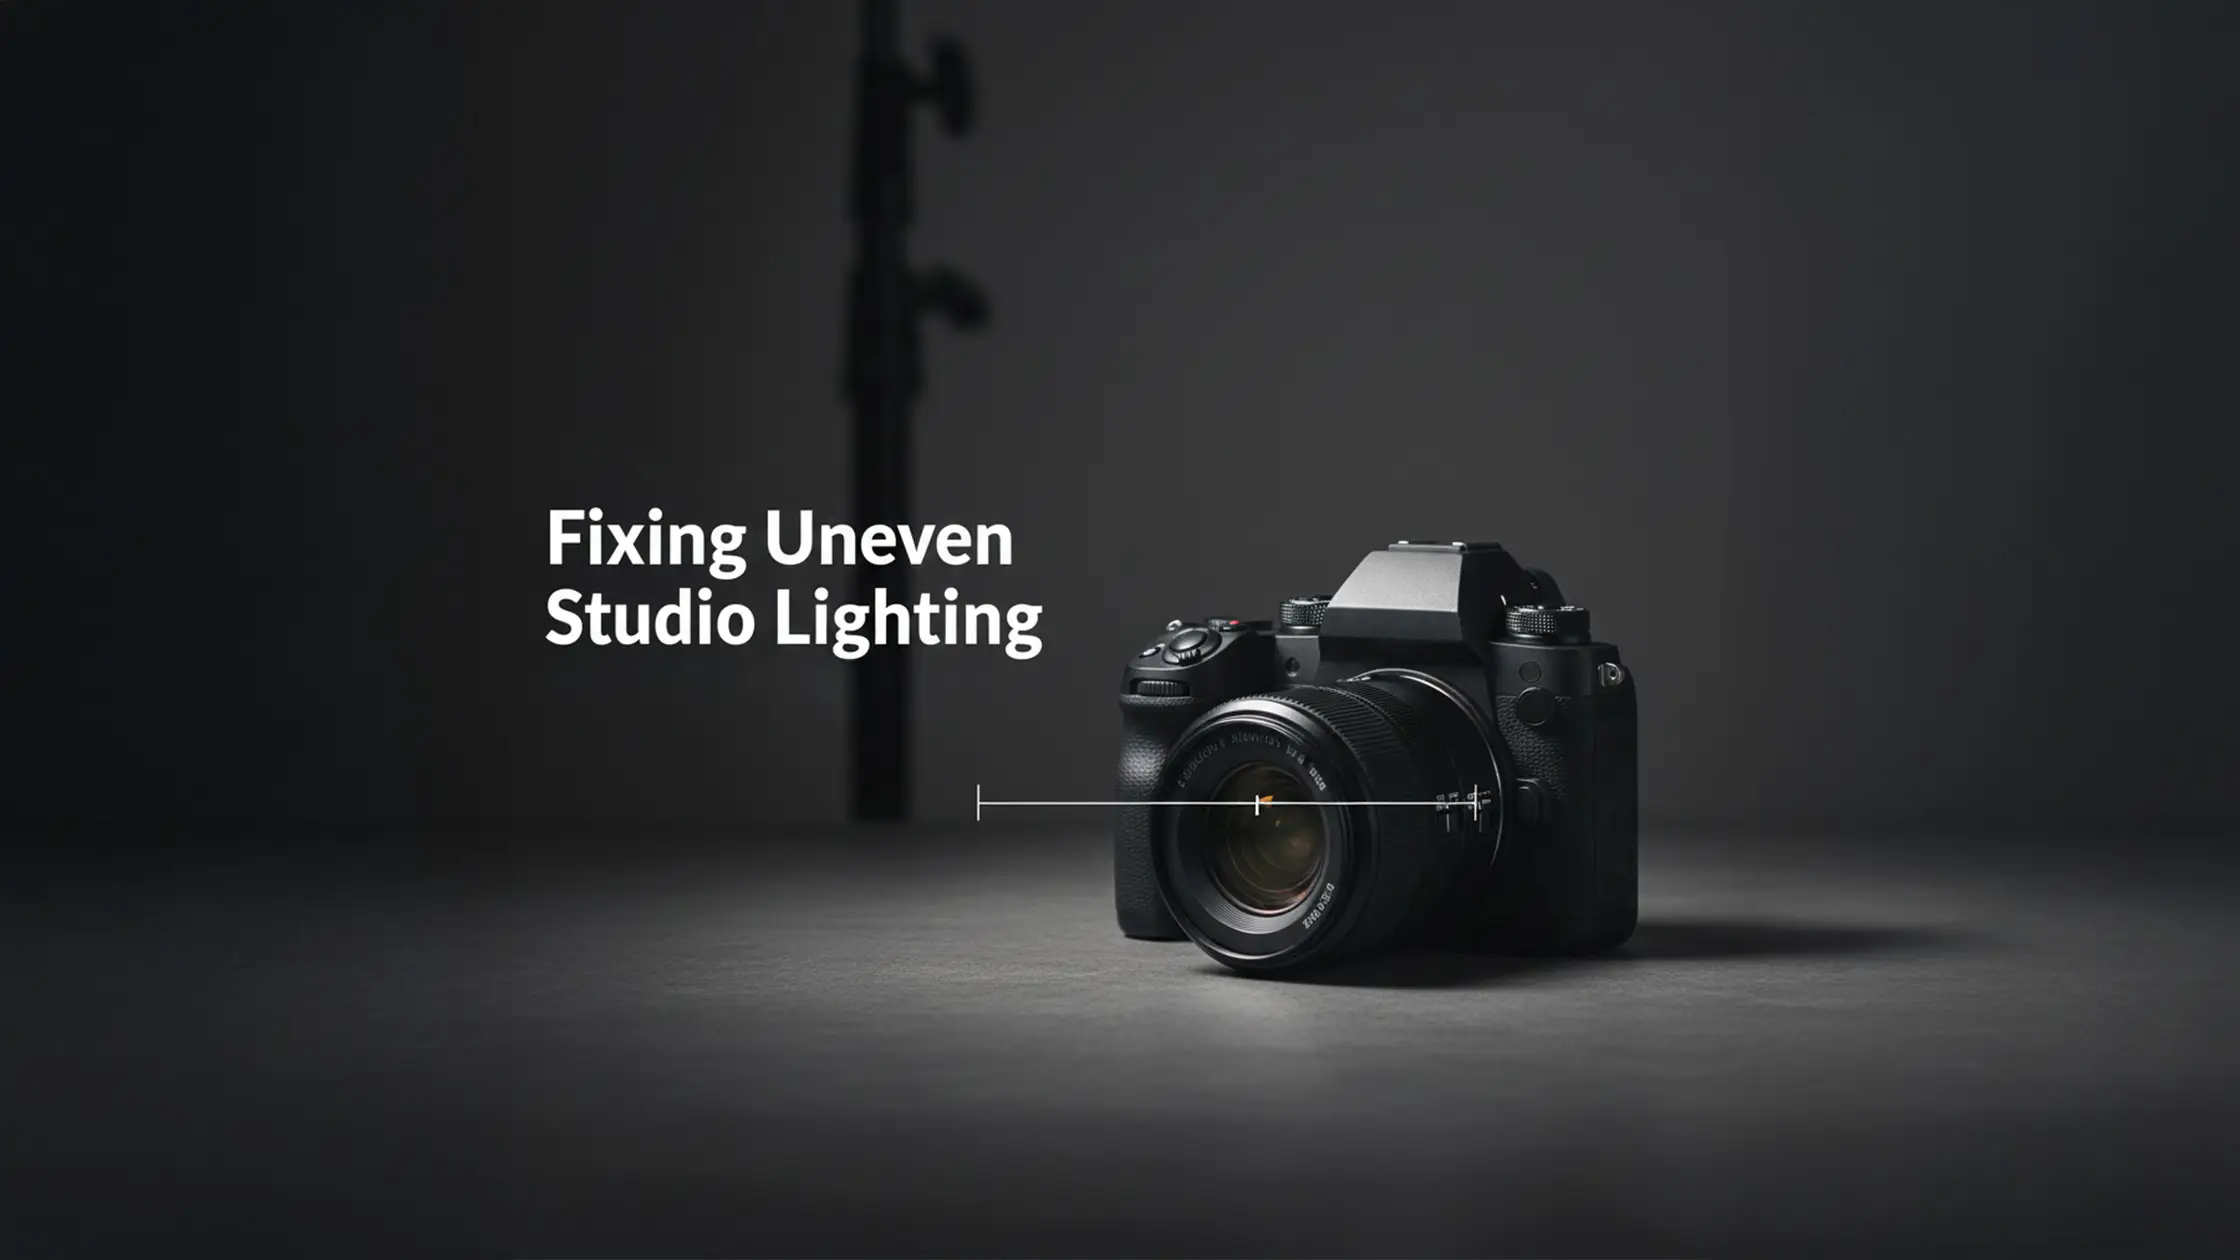
Dependable lighting support — your light stands and boom arms — is what keeps a studio shoot moving smoothly. The right support lets you place lights precisely, recreate setups reliably, and protect both people and kit. This guide explains what sturdy support does, how common stands and booms work, and why smart choices matter for safety, image quality and creative freedom. You’ll get practical setup steps, counterbalance workflows and safety checks that cut rigging time and lower risk. Sections cover why stability matters, how different stands compare, how booms expand creative options, a safety-first checklist, and how to pick gear to match your production. We also include clear spec guidance so you can match payload, reach and mounting to the job — with smooth transitions to keep planning friction-free. For a quick refresher, see our Essential Tips for Beginners guide.
Stable lighting support combines the right hardware with steady on-set habits so lights stay exactly where you set them. That means choosing stands sized for the payload, spreading weight across legs and counterweights, and reducing leverage that causes tipping. Stability matters because wobbling or drifting fixtures give inconsistent light, increase the chance of damage or injury, and slow down repeatable workflows. In practice, most stand failures come not from overloading but from insufficient sandbagging on extended boom arms. When your supports are reliable you can fine-tune feathering, fall-off and background separation predictably — speeding client approvals and simplifying post for portraits and product shots. The next section outlines the stand features that deliver that safety and precision.
When support is solid, studio lighting gives three practical benefits every shoot needs:
Those benefits lead straight into the hands-on setup steps that follow.
Light stands deliver safety and accuracy through rated payloads, reliable locks and leg geometry that spreads loads and resists tipping. Always pick a stand with a payload rating comfortably above the combined weight of head, modifier and any clamps — a 20–30% margin is a sensible rule. For example, a standard light stand will typically hold 2–4kg, while a C-stand can manage 10–20kg or more. Point the wider side of tripod legs toward likely torque, and avoid raising the centre column unless you need the extra height; keeping the centre of gravity low is safer. Use sandbags or counterweights on legs and keep cables tidy to remove trip hazards. These simple precautions protect people and preserve the exact light positions you need for repeatable setups — and they make adding booms far less risky. This guide focuses on studio-based support; location work with wind or uneven ground needs additional precautions.
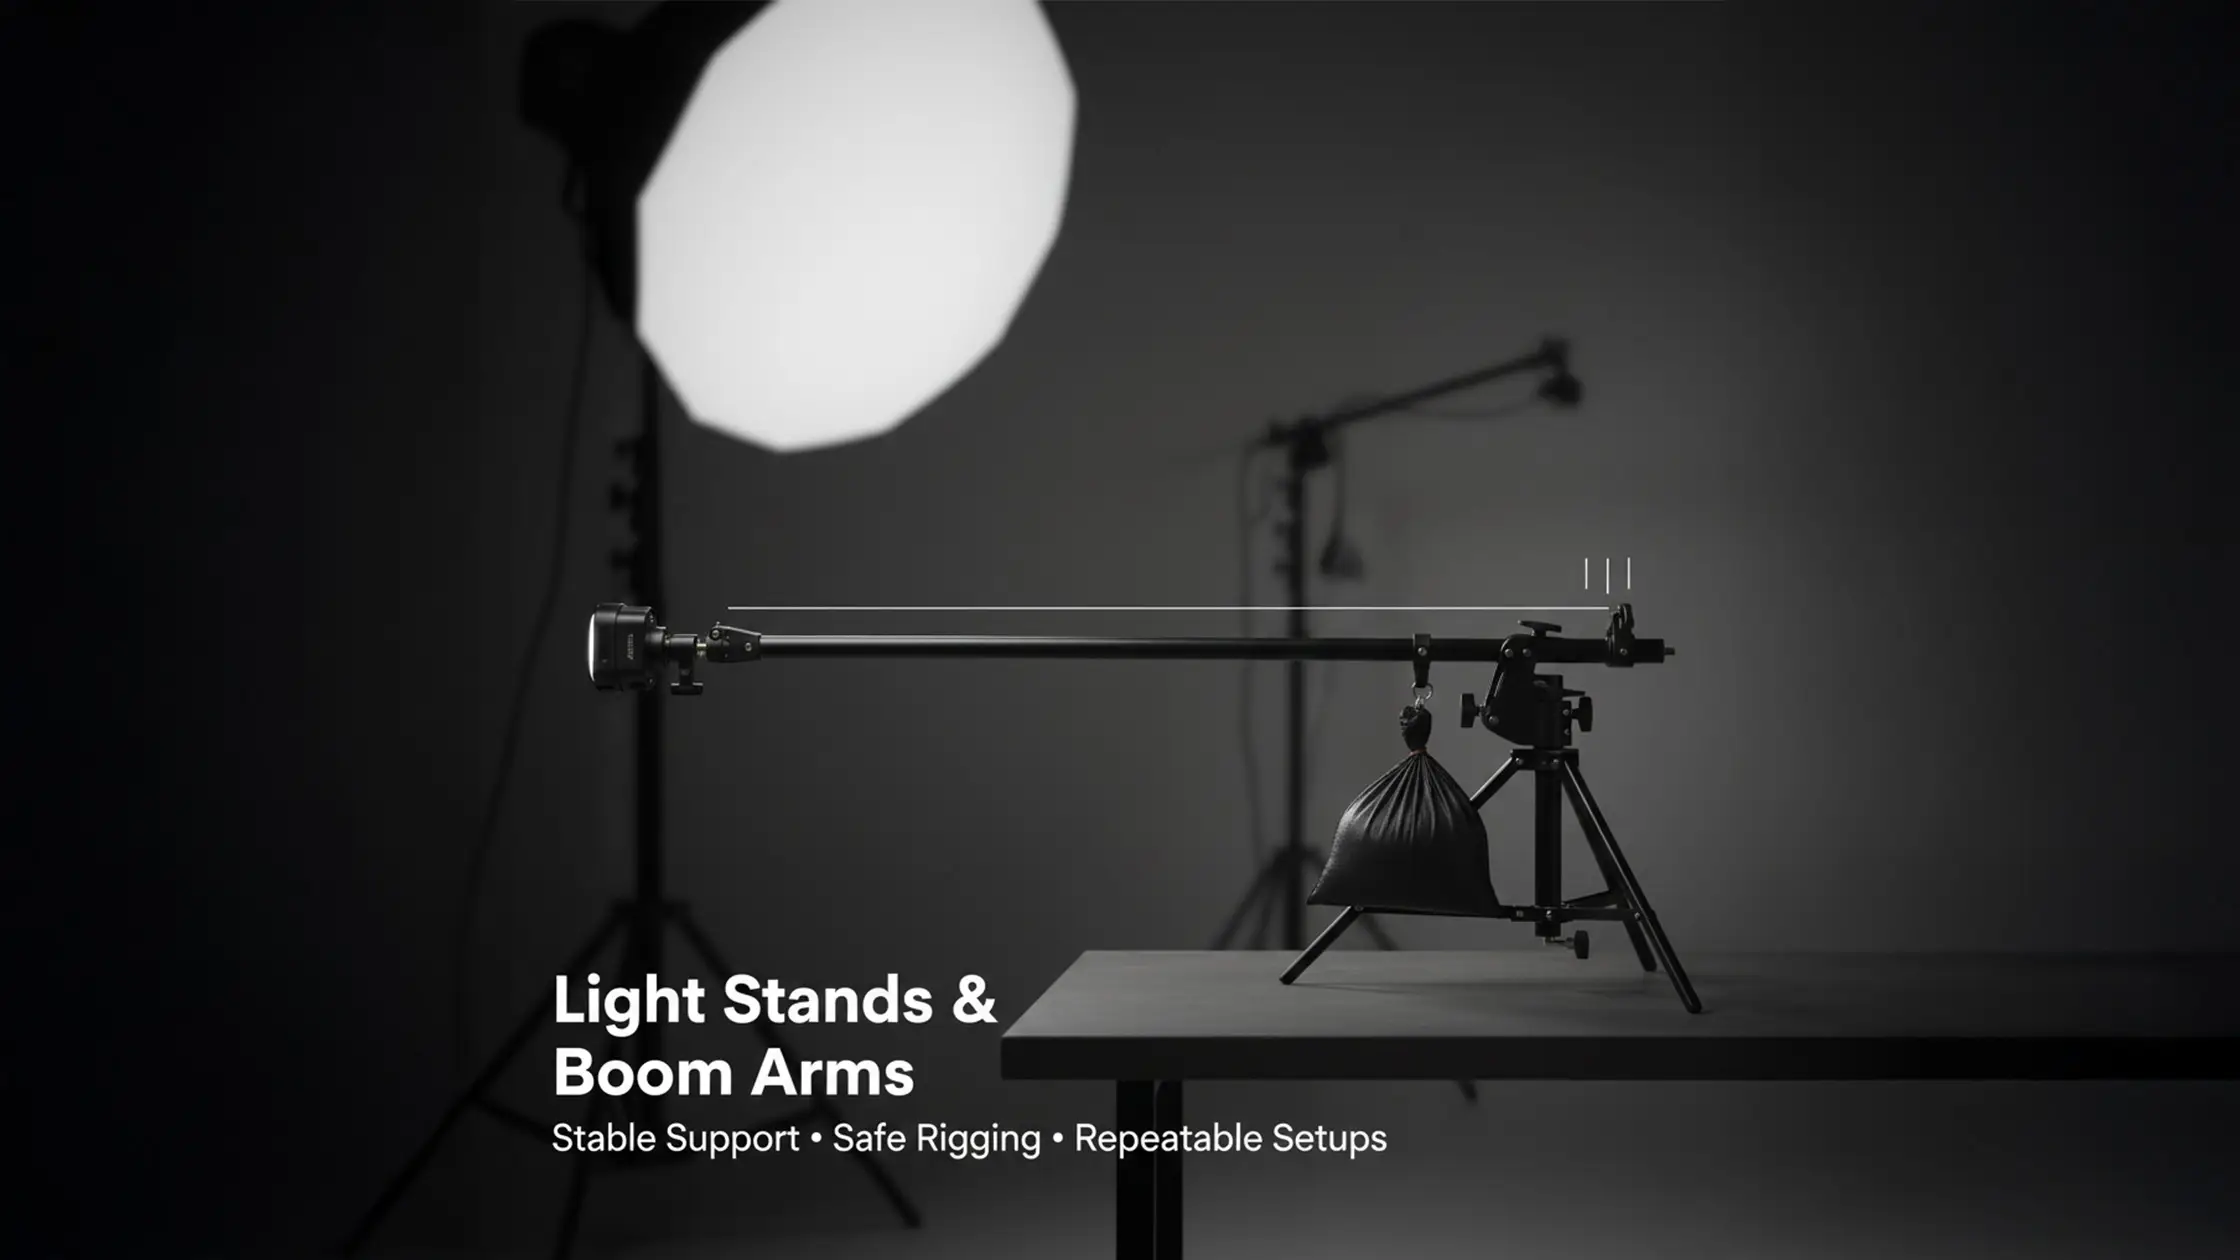
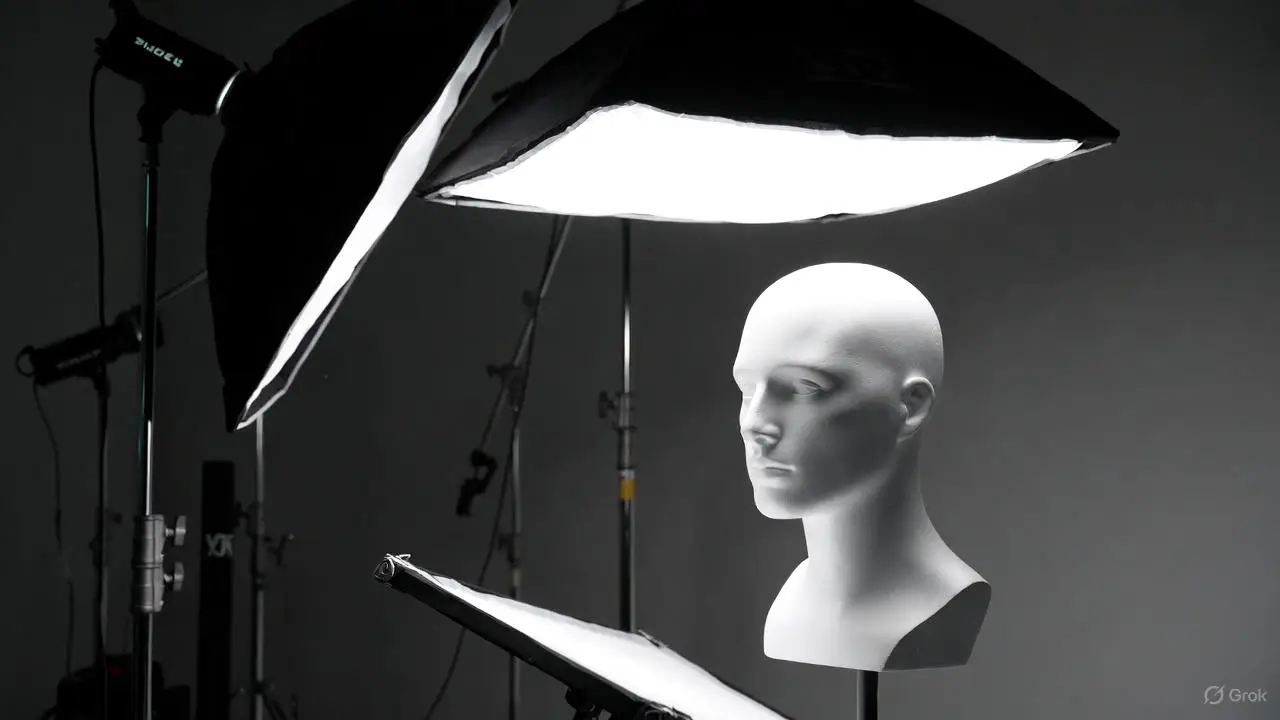
Boom arms let you place lights beyond the stand’s footprint — enabling overhead hair lights, high rim lights and clean background illumination while keeping stands out of frame. Booms are especially useful for clamshell lighting, where the overhead position creates that classic catchlight. Mechanically, a boom trades reach for leverage: longer extensions increase torque, so a robust stand and correct counterweights are essential. For example, a 2kg light on a 1.5m boom generates roughly 3kg·m of torque — counter with at least 5kg of sandbags on the opposite leg. Booms let you feather light across faces, place tight modifiers for product highlights and craft dramatic top-down patterns for fashion and beauty. When planning a boom, factor in payload, reach and mount so the arm supports the modifier without noticeable sag. Knowing those limits makes choosing the right boom and counterbalance strategy much easier.
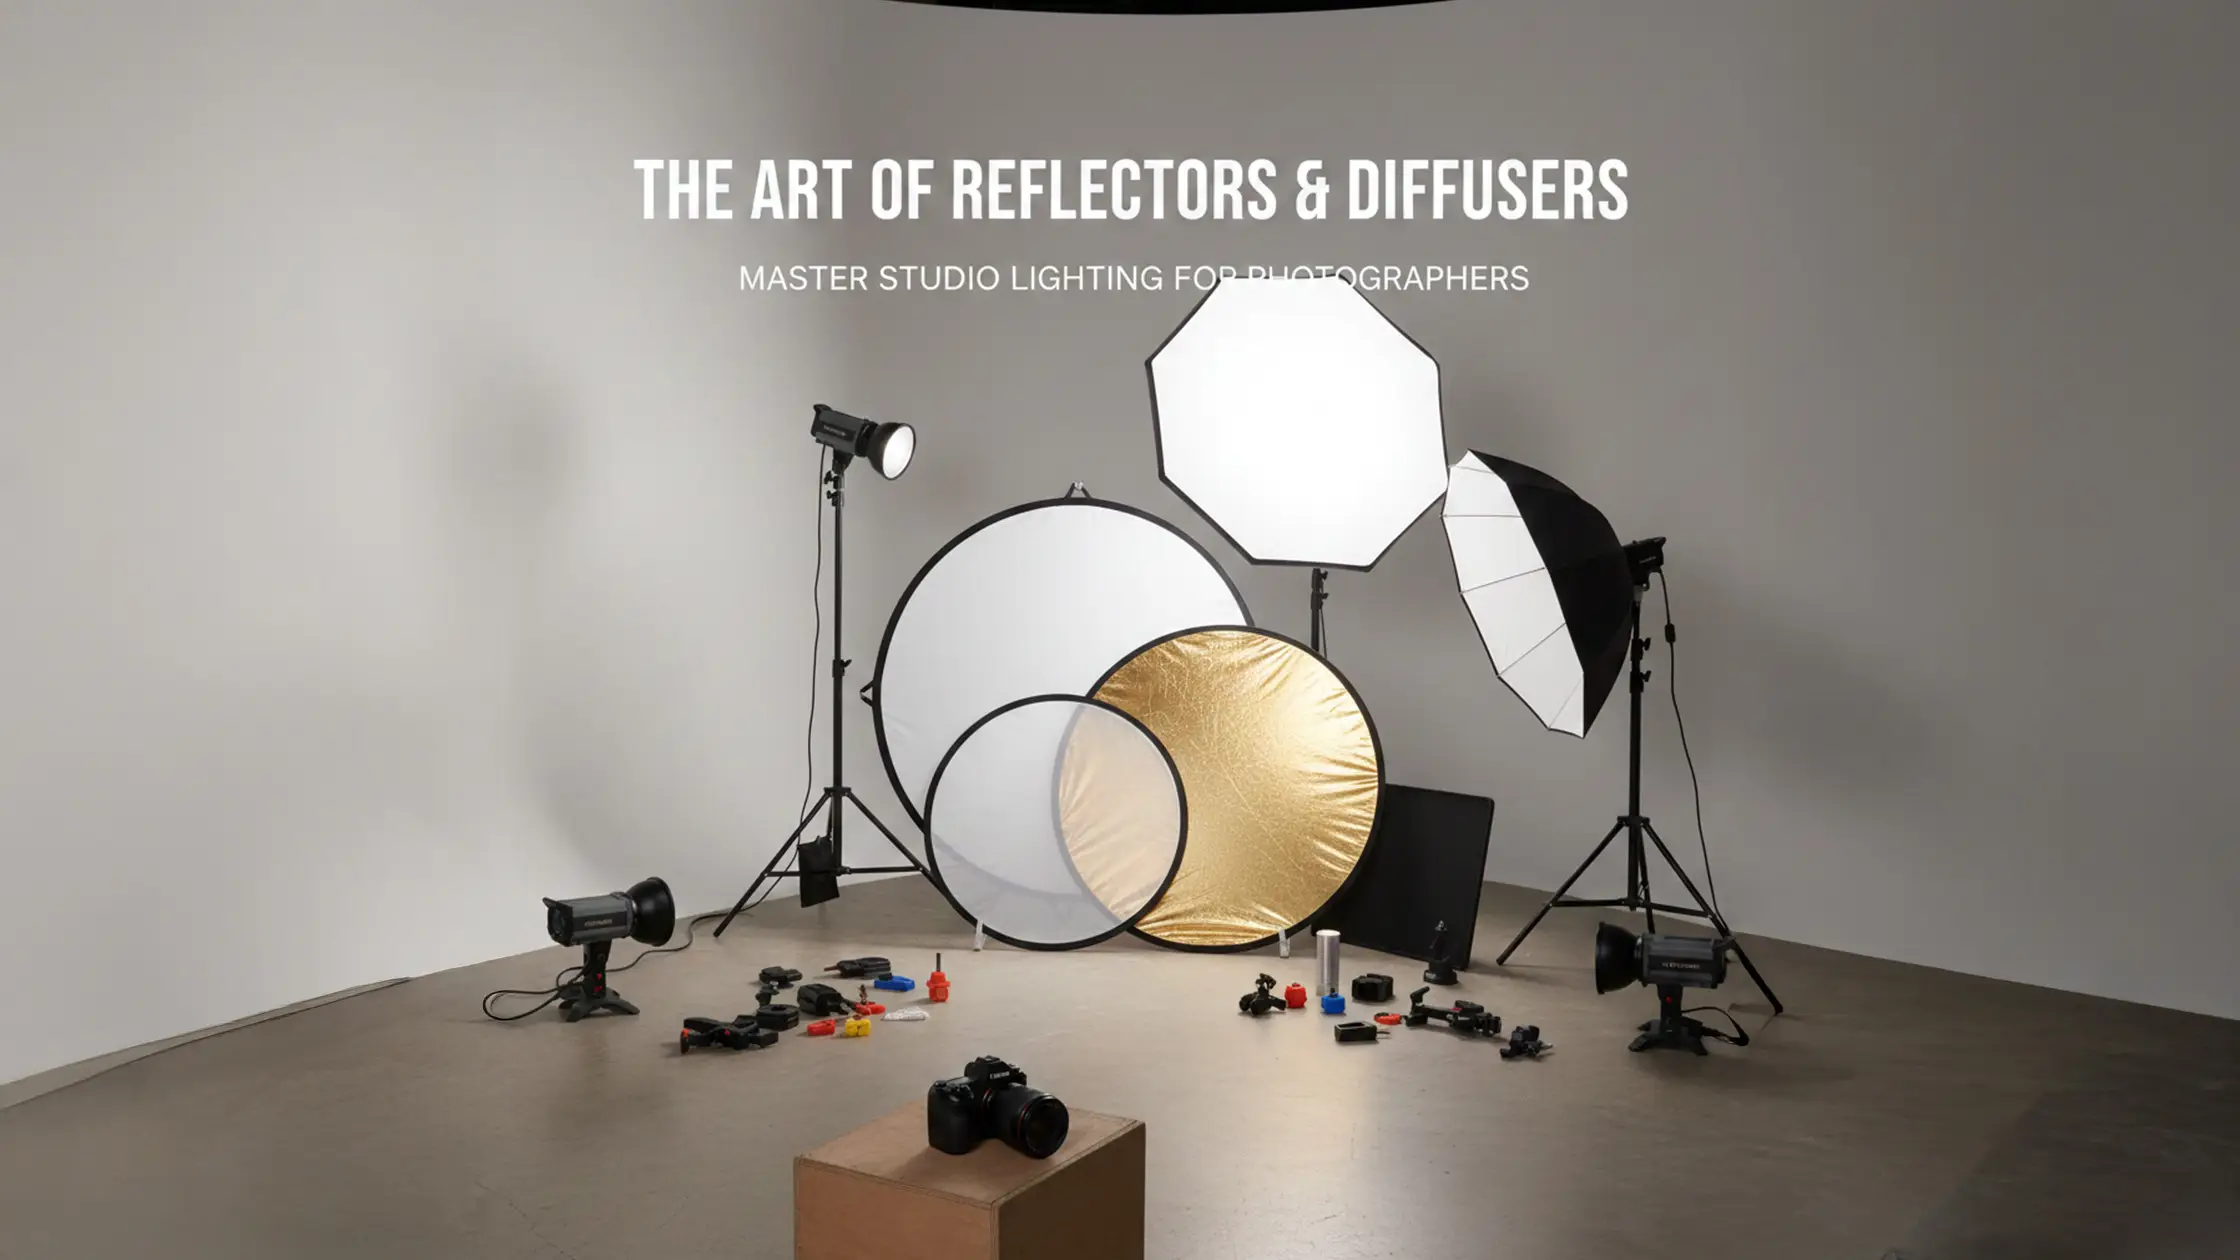
Studios typically use a few stand classes — standard light stands, C-stands (century stands), roller stands and floor stands — each suited to different payloads, mobility and stability needs. Trusted brands like Manfrotto cover a wide range of options for studio work. The right choice depends on modifier size, required height and whether you’ll be moving lights during a take. C-stands, for example, are very stable but heavier and less portable than standard stands. Below we compare the common options, offer a clear spec-style table to match attributes to use-cases, and list practical pros and cons to guide gear selection.
Introductory table comparing common light stands:
This table helps you see which stand prioritises portability, payload, reach or mobility so you can pick the right support for your shoot. Below are the practical decision points to consider.
Next are concise practical descriptions to help with everyday studio choices.
Standard light stands are fast to set up and easy to move, so they’re the go-to for product shoots and quick continuous-light rigs. Their telescoping sections and lightweight tripod legs let you change height quickly, but they carry lower payloads than C-stands — making them best for smaller softboxes, umbrellas and lighter strobes (for example, Godox heads). You can add boom adapters and sandbags to improve functionality, but always check attachments stay within the stand’s rating. For e‑commerce and straightforward portrait work, standard stands strike a good balance of cost, speed and performance when you manage cables carefully. Their lighter build does make them less resistant to tipping with heavy or extended loads.
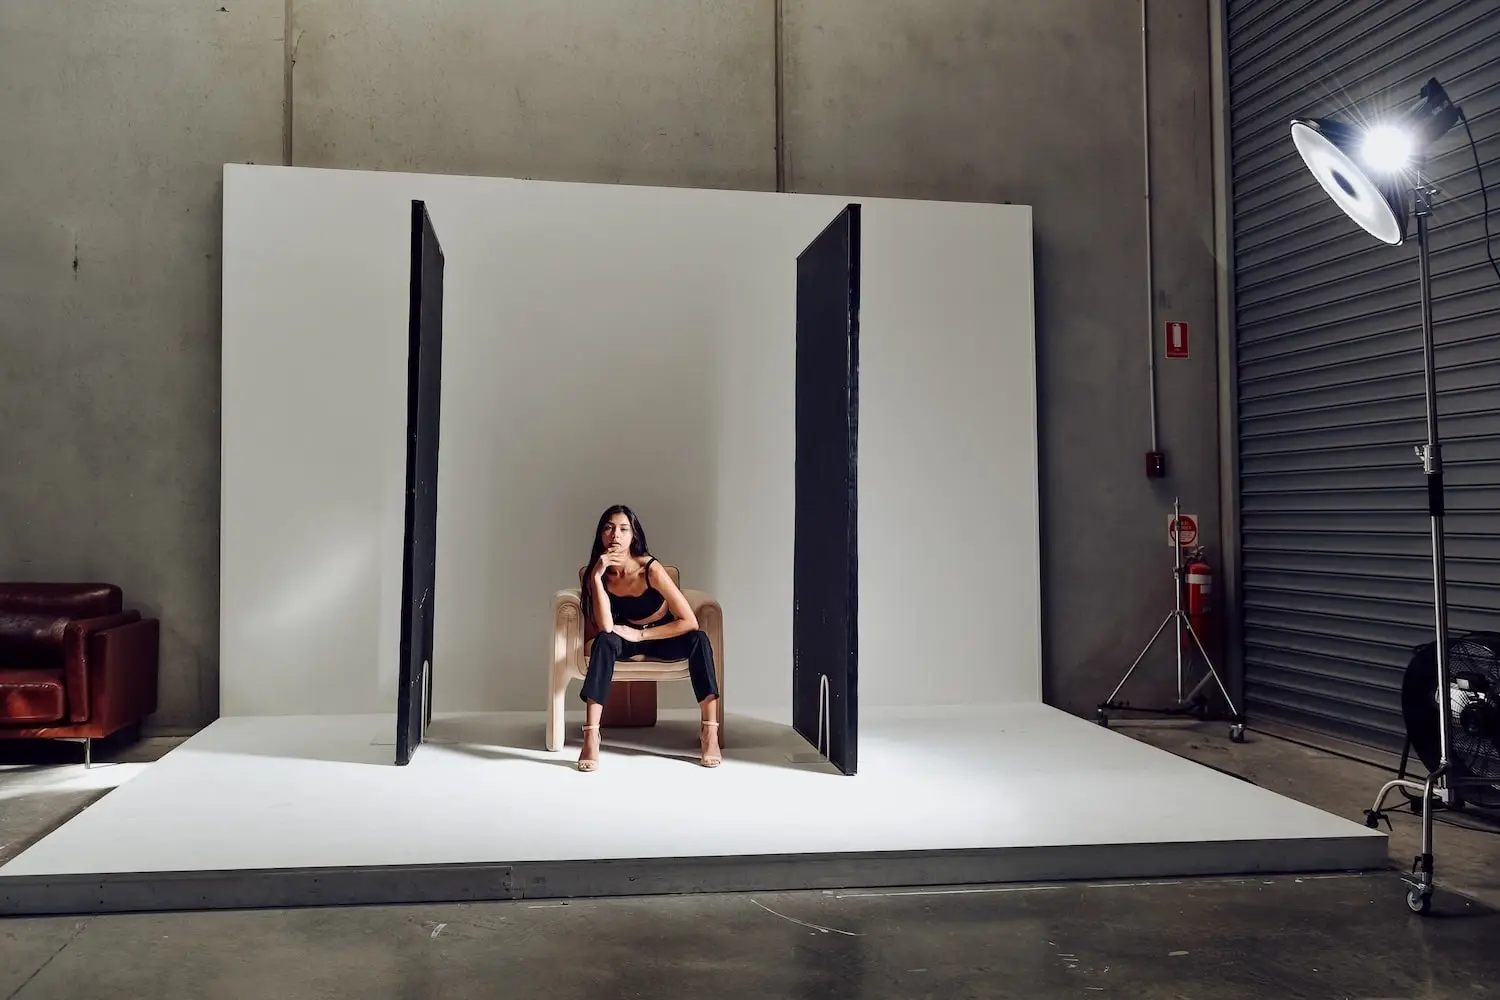
C-stands are made for stability and load-bearing: offset legs and a low centre of gravity make them resistant to tipping when supporting booms and larger modifiers. Their grip heads and risers provide secure clamping and fine angle adjustment, which is why they’re the preferred choice for overhead hair lights, flags and big modifiers that need precision. When setting up classic portrait lighting like Rembrandt patterns, the key light stand position determines facial shadow angle. When mounting a boom to a C-stand, use a proper grip arm and forked clamps, and place counterweights over the legs opposite the boom to neutralise torque. When rigging a boom over a cyclorama, leave clearance for the curve — placing sandbags too close risks marking the surface. Their robustness speeds rigging for complex setups and keeps the set safer so you can push creative lighting without losing control.
Roller and floor stands answer mobility and low-angle needs: roller stands offer wheeled, height-adjustable support for shoots that require moving lights, while floor stands give a stable low mount for background and product work. Use careful braking and sensible weight management when moving roller stands with fixtures attached — always move them with power off to avoid torque surprises. Floor stands are ideal when you need a low, compact base close to the ground for dramatic rim or base lighting; their small footprint keeps clutter down and lets you work near cyclorama curves. When mobility or ground-level positioning matters, these stands do jobs standard stands or C-stands can’t.
Boom arms extend reach so you can place lights above or beyond the supporting stand’s footprint; because they create leverage, they must be balanced with counterweights or sandbags. Typical studio booms extend 1–2.5 metres. Booms open creative options — hair lights, overhead key lights and precise rim accents — while keeping stands out of frame. Choosing the right boom reach, payload rating and mounting method (stand‑mounted or C‑stand‑mounted) prevents sag and tipping. The table below summarises boom attributes to help you pick the best configuration for your creative goals.
Boom arm comparison table:
Mapping reach and payload to mounting and counterweight makes the balancing steps that follow more straightforward. Next we explain boom mechanics in straightforward terms before moving into actionable techniques.
A boom arm is a rigid extension that bolts or clamps to a stand or grip, letting you place a fixture beyond the base footprint for overhead or outboard positions. Mechanically, the arm increases leverage in proportion to its length — so longer booms raise torque at the stand base and need more weight or a heavier support. Mounts include clamp-to-stand adapters, spigots into grip heads or dedicated boom attachments; choose the option that locks securely and minimises flex. Always check the arm’s payload rating and run a static test before shooting to confirm there’s no sag. If the boom sags noticeably, it’s either overloaded or improperly balanced and risks equipment damage or injury. Understanding these mechanics helps you place overhead and rim lights safely and deliberately.
Booms work best for hair lights and background separation when paired with small modifiers, grids or snoots placed above and just behind the subject to create controlled highlights. Try a hair light 1–2 metres above the subject at a shallow angle (30–45 degrees from vertical) for a narrow, specular rim that lifts hair from the background; moving it closer or farther controls fall-off and prevents face spill. For backgrounds, mount the boom off-axis and use narrow-beam modifiers like grids or snoots to paint graduated illumination across a cyclorama. Feathering — angling a modifier so only the light’s edge hits the subject — helps control contrast while keeping mood intact. These placements lead to cleaner setups and consistent results frame after frame.
Counterbalancing a boom means placing opposing weight over the stand’s legs or on a counterweight hook to offset the torque from the boom’s extension. Estimate torque by multiplying payload weight by horizontal distance (for example, a 3kg light 1.5m out creates 4.5kg·m of torque), then choose sandbags that provide at least 1.5 to 2 times the opposing force while staying within the stand’s limits. For example, a 3kg light 1.5m out might need 7–9kg of sandbags. Place sandbags on the legs opposite the boom or on dedicated hooks, and secure them so they can’t shift. Use a lock-and-test routine: set the head where you want it, tighten every clamp, gently nudge the boom to check for movement, and recheck locks at intervals. If counterweighting isn’t enough, consider a heavier stand, a shorter boom, or a lighter modifier. Never rely on a single sandbag for critical overhead setups. This checklist keeps rigs stable and protects people and gear.
Safety with stands and booms is about prevention: right equipment choices, pre-shoot checks, sandbagging and disciplined on-set behaviour mitigate risks like tipping, falling modifiers and tripping. Good safety practice reduces downtime, prevents collisions with the cyclorama and keeps talent and crew safe during overhead setups. A common failure mode is unsecured sandbags shifting and destabilising the rig. Below is a compact spec-style safety checklist linking common items to the risks they reduce and the actions to take before and during a shoot.
Safety checklist table:
This table ties gear to safe behaviours and leads into the quick pre-shoot checklist below, optimised for fast scanning and practical use.
Following these steps reduces the chance of on‑set incidents and keeps shoots predictable and safe.
Sandbags and counterweights add resisting force against the torque created by booms and offset loads, preventing tipping and reducing strain on locks. The longer the boom, the higher the torque, so counterweights must grow with both payload and horizontal distance. A practical rule is sandbag weight equal to 1.5–2 times the combined weight of the light and modifier, increased for longer boom extensions. Place sandbags over the legs opposite the boom and strap them down so they won’t slide; where available, use dedicated counterweight hooks for predictable balance. Alternatives like concrete or steel weights work if secured properly, but sandbags are preferred for flexibility and portability. Redundant weighting strategies increase safety if a single restraint shifts mid-shoot.
A consistent pre-shoot check prevents common failures: inspect each stand for bent legs, stripped threads or cracked collars; make sure all locks operate smoothly; and confirm grip heads and spigots seat correctly. Weigh the head and modifier together and ensure your chosen support has a comfortable safety margin — a 20–30% buffer is recommended. If not, step up to a heavier stand or reduce the load. Add sandbags or counterweights and run a lock‑and‑test routine: raise the light to working height, lock everything, and nudge gently to confirm there’s no movement. Finally, tidy cables and mark low-clearance areas to reduce collisions during the session. These preparations save time and keep the creative process running safely.
FAQs
Perfect your studio lighting setup with essential tips on using light stands and boom arms. Enhance your photography and achieve stunning results effortlessly.

Light stands give vertical support and height adjustment for lights — ideal for direct lighting and fast setups. Boom arms extend reach beyond a stand’s footprint so you can place lights overhead or off‑axis, enabling angles and positions that stands alone can’t achieve. Knowing the difference helps you choose the right tool for the shot.
Consider the weight of your head and modifier, the height you need and whether you’ll move the stand often. Standard stands suit lightweight modifiers (2–4kg); heavier kits need C‑stands (10–20kg+). Check payload ratings and pick a stand with a 20–30% safety margin. Matching the stand to the job improves safety and speed on set.
Place sandbags on the legs opposite a boom to counterbalance torque, and strap them down so they can’t shift. As a rule, aim for sandbag weight 1.5–2 times the light and modifier combined — increase for longer booms. Recheck stability after any change to the rig.
Plan your lighting diagram in advance, use floor marks for repeatable positions, and keep kit organised for quick access. Colour‑code positions if helpful, and use roller stands when you need to reposition lights fast. Practice setups so you know your gear and can move more quickly during the shoot.
Inspect stands and gear for damage before use, tighten all locks and secure sandbags before mounting modifiers. Keep cables tidy to avoid trips and perform a nudge test on every rig to confirm stability. If a rig starts to tip, step back and let it fall. These steps create a safer environment for everyone on set.
Learn


.webp)
