December 17, 2025
How to prepare for your first studio photoshoot — complete guide & checklist
Hi — I’m Brendan Crease, Director of Bohemia Bay Studio and a working photographer with eight years in the studio. Over that time we’ve hosted more than 1,000 shoots, so this guide pulls together practical lessons and checklists from real sessions to help your first booked studio day run smoothly.
Moving from camera basics into hired‑studio work means planning for more than exposure and composition. You’ll need a clear workflow, logistics and people management so every frame looks intentional. This guide walks you step‑by‑step through concepting, building a mood board and shot list, choosing and organising camera and lighting kit, prepping clients and models, running an efficient on‑set workflow and securing your files after the shoot. Studio work is about controlled light, lens choice and purposeful posing to produce consistent results for portraits, e‑commerce and fashion. Read on for practical steps that reduce stress and raise image quality. You’ll learn how to read studio and cyclorama dimensions, what to bring versus what studios usually supply, how to brief and coach talent, and how to block time so you leave with publish‑ready files. Later sections cover studio basics, equipment checklists, client and styling prep, planning templates, post‑shoot data routines and booking details for self‑access hire. We also weave useful search terms like studio lighting equipment list, cyclorama studio tips and photoshoot checklist studio into clear, actionable advice for your first booked session.
A studio is a controlled workspace where backdrop, light and working distance shape the final image — so the room’s size and amenities directly affect your creative and technical choices. From eight years of professional work and running 1,000+ shoots at Bohemia Bay Studio, I’ve learned how important these details are. Always confirm floor area, ceiling height, power points and whether there’s a white cyclorama or fixed backdrops — these details guide lens choice, light fall‑off estimates and set builds. Layout also changes how crew move: for example, in a 160m² space with an 8‑metre ceiling a 70–200mm at the long end needs roughly 6–8 metres of working distance for full‑body shots, leaving room for product tables and a prep zone. Smaller footprints force tighter compositions and more pre‑rigging. Sorting these constraints before you arrive cuts setup delays and avoids last‑minute kit compromises, keeping the day on time and clients comfortable. The next section lists the concrete studio details to confirm and explains how self‑access bookings change arrival expectations.
Matching the studio’s layout and facilities to your shot list lets you predefine camera‑to‑subject distances, backdrop choices and lighting modifiers — which shortens setup time and improves consistency. At Bohemia Bay Studio we’ve found a wide cyclorama favours wider focal lengths for full‑body fashion, while tight product still life often benefits from longer primes and careful softbox placement to control reflections. Always ask for cyclorama width and ceiling height so you can choose between a 50mm and an 85mm portrait lens and predict light fall‑off for flattering skin tones. A short checklist — measurements, power locations, dressing/steaming area and storage — helps you set realistic setup and shoot windows. With those operational details confirmed, you can move into kit selection and lighting strategies with confidence.
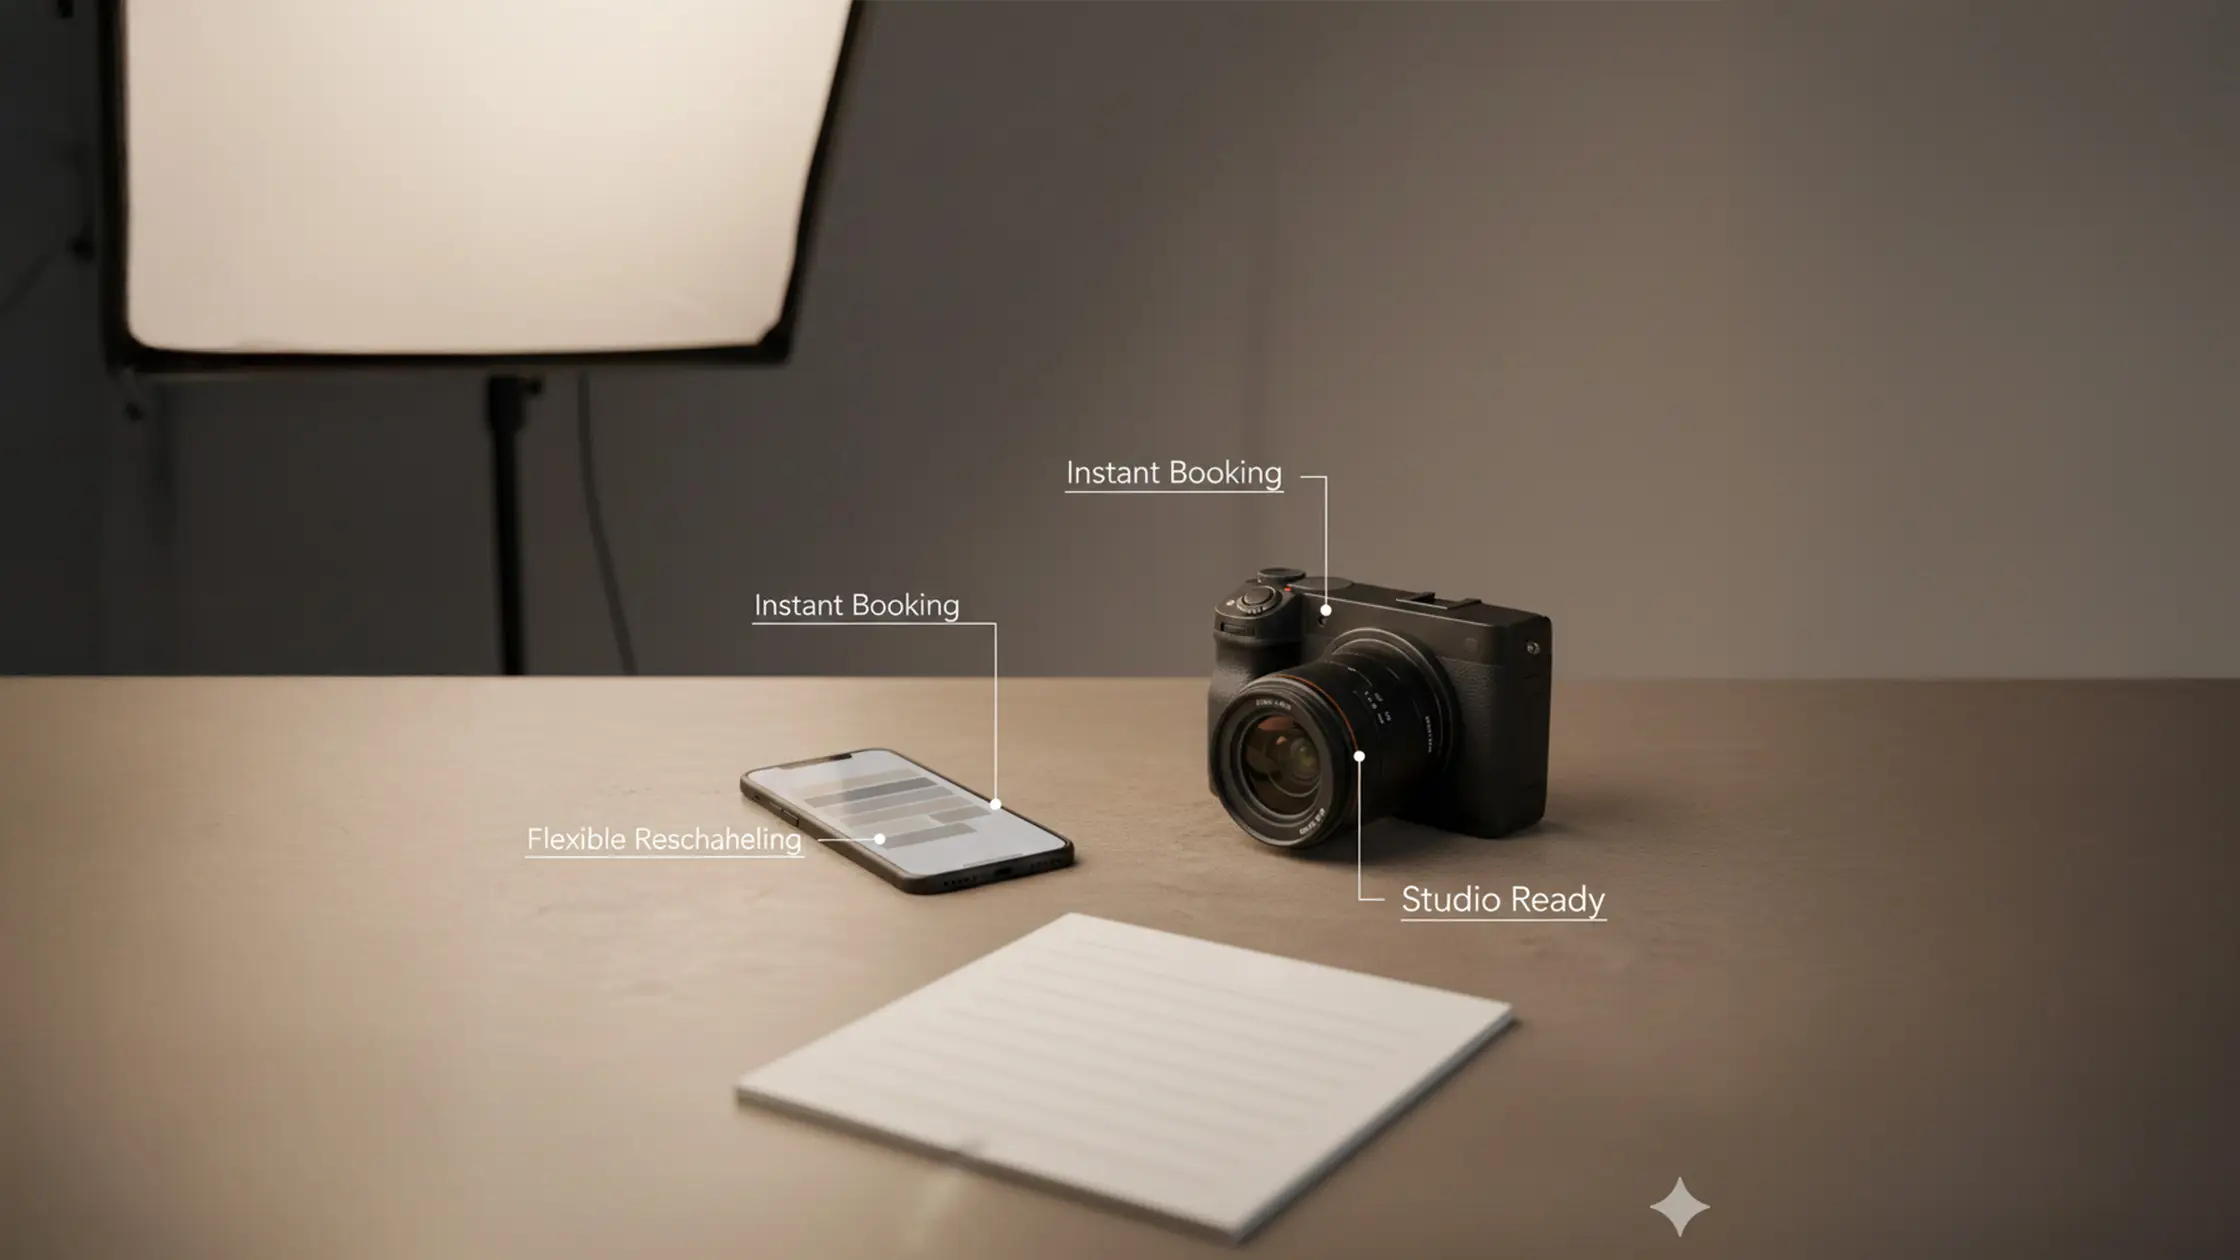
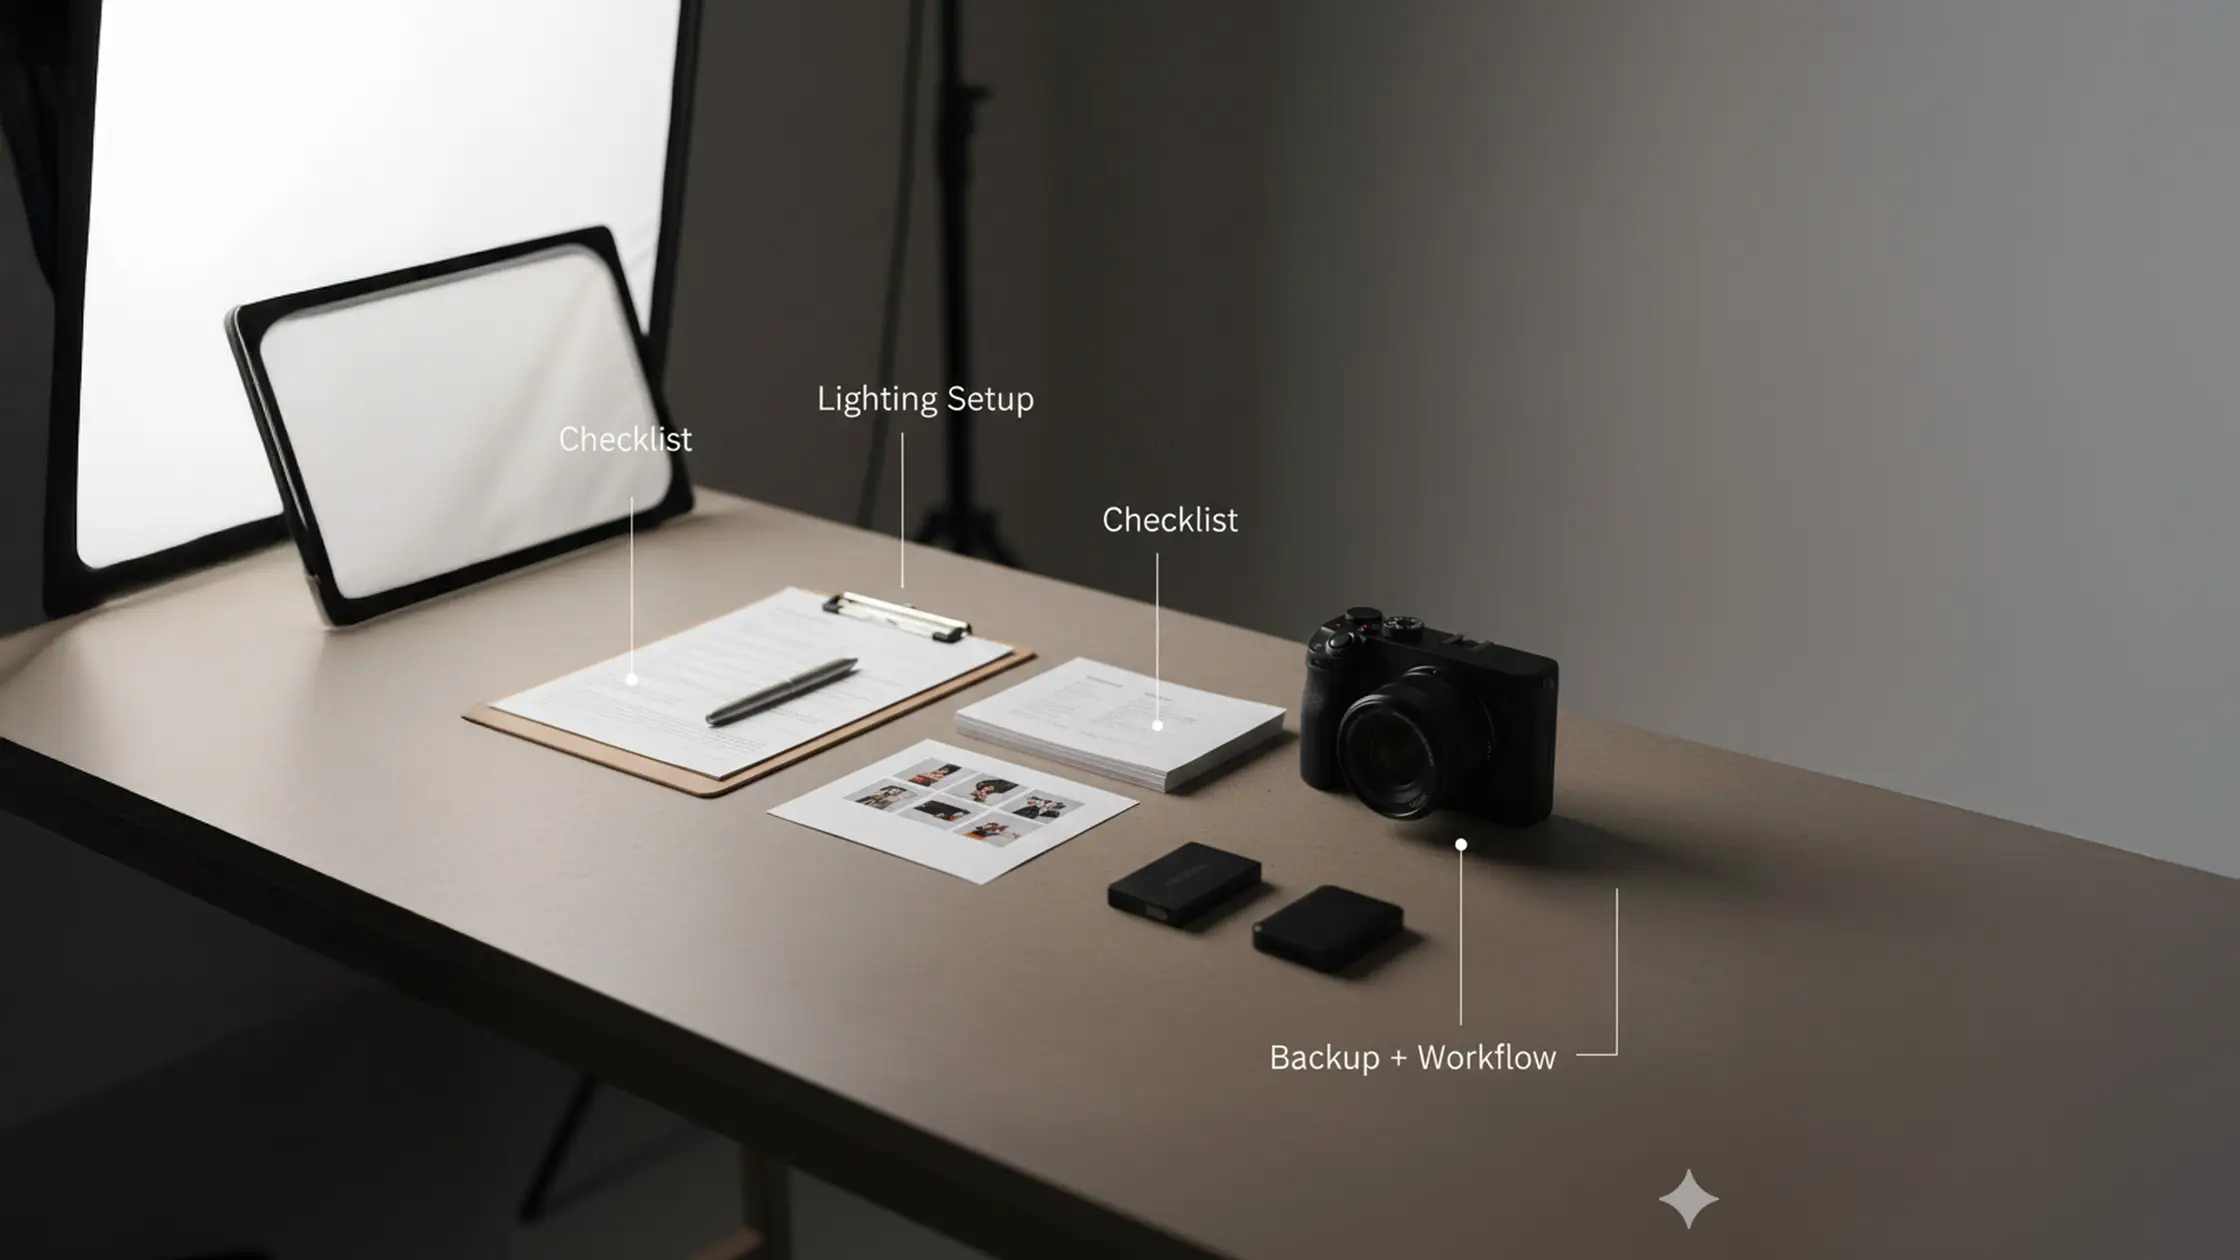
Essential kit splits into two groups: items you must bring, and common studio provisions that let you travel lighter. Photographer responsibilities usually include camera bodies, the lenses you’ll use, charged batteries, formatted memory cards and tethering tools if you want client previews. Studios typically supply power‑hungry strobes, stands and large modifiers like softboxes and reflectors — which simplifies logistics but doesn’t replace personal backups and creative accessories. A frequent first‑timer mistake, one we’ve seen across 1,000+ shoots, is overpacking — always confirm what the studio provides before hauling redundant gear. Make a concise kit list and verify studio provisions to avoid duplicates and keep your workflow smooth. Below is a compact checklist to use before you pack.
This essential equipment checklist highlights what to bring for a reliable first studio session, based on our hands‑on experience.
Those three items form a minimum field kit that prevents most session stoppages. Checking our studio lighting guides and the studio’s modifier list helps you travel lighter and concentrate on creative decisions during the shoot.
Before you finish packing, compare your photographer items with typical studio provisions using the table below to clarify responsibilities and avoid surprises on arrival. This table reflects the standard provisions we offer at Bohemia Bay Studio and what I, as a working photographer, always consider.
Introductory note: the table below compares common photographer items versus typical studio provisions so you can plan what to bring and what to expect on‑site. For a deeper look at pricing, see our photography pricing guide.
This comparison, drawn from our operational experience at Bohemia Bay Studio, shows how studios reduce transport by providing lighting and large modifiers, while photographers still bring capture and backup essentials. Knowing who supplies what makes packing smarter and setup faster.
Beginners should favour reliability and simplicity: a solid camera body with dependable autofocus and a small set of versatile lenses reduces decision fatigue. From eight years of shooting, I’ve found a 50mm or 85mm prime gives flattering portrait compression, while a 24–70mm or 24–105mm zoom covers group shots and wider product scenes without constant lens swaps. Bring at least two charged battery sets and multiple memory cards to avoid interruptions, and include a basic tripod if you’ll tether or shoot long exposures. Tethering is especially useful on white cycloramas where exposure clipping is easy to miss on a camera LCD. Small accessories — lens cloth, blower, torch and a light meter or calibrated grey card — speed routine tasks and keep exposure consistent. Below we outline a straightforward two‑light starter kit that covers most first‑time studio needs.
A simple, reliable setup uses a key and a fill to model the subject while preserving depth. Place a softbox key at about 45° and a lower‑power fill opposite to soften shadows. For portrait work, Rembrandt lighting is a dependable starting point — a technique I use often. Start with the key near camera height and set power so highlights hold detail; raise the fill only enough to tame shadows without flattening features. Use a reflector, V‑Flat or polyboard for softer fill without adding another powered head. Beauty work commonly uses clamshell lighting for smooth, flattering coverage. Add grids or flags to control background spill for product or fashion. Specialised modifiers like beauty dishes or snoots are useful for specific looks and may need to be sourced separately. Meter each position, take test frames and make small power tweaks until skin tones and highlights sit where you want them. Once the lights are balanced you can focus on posing and composition rather than exposure troubleshooting.
Good pre‑shoot prep shortens on‑set adjustments and keeps momentum — and that usually means better images. From guiding many first‑time clients at Bohemia Bay Studio, I’ve learned the value of a clear brief with wardrobe suggestions, hair and makeup expectations, arrival time and a short list of useful items (safety pins, lint roller). Explain how you’ll direct the session and what clients can expect, and share a few reference poses or a simple mood board so everyone has the same visual target. The following sections cover wardrobe pointers and in‑session coaching to help clients look and feel their best.
Prioritise fit, fabric texture and colour harmony with your planned background and lighting. Ask clients to avoid loud logos and busy patterns that pull focus. Recommend clothing that allows movement for lifestyle or fashion shots, and encourage layers or quick changes to add variety without long costume swaps. From our experience across 1,000 shoots, packing a small on‑set kit — steamer, lint roller and sewing kit — to handle last‑minute wrinkles or loose threads is invaluable. Advise clients to avoid highly reflective jewellery under hard light and to bring neutral undergarments for quick changes. These small details save time and keep attention on pose and expression.
Effective posing uses simple, repeatable progressions and clear, specific directions that build confidence and natural expression. I start with a base pose and introduce small adjustments — shift the weight, tuck the chin, relax the shoulders — to create variations you can iterate quickly. Use positive, precise cues like “drop your chin a touch” or “shift your right hip toward me” rather than vague directions. Pair verbal cues with demonstrations or reference images to speed understanding. Keep your tone warm and encouraging, and schedule short breaks so energy stays high. These habits create a collaborative atmosphere and increase the number of usable selects at cull time.
Turn creative ideas into an ordered shot list, a mood board and a timing plan so every image has purpose and the right resources. At Bohemia Bay Studio we’ve refined our planning across hundreds of shoots. Start by gathering visual references and distilling them into priorities — hero shot, detail angles, contextual lifestyle frames — then map those priorities to time blocks and kit needs. Assign simple roles for help (lighting tweaks, wardrobe) and schedule buffers for setup, breaks and unexpected retakes. The timeline table below offers a practical template you can adapt for single‑operator or small‑crew shoots and helps set clear expectations with clients and collaborators.
Introductory note: the following table outlines a typical studio shoot timeline using Entity | Attribute | Typical Value format so you can allocate realistic time blocks from pre‑shoot prep through wrap. This framework is based on the efficient workflows we've developed and observed across over 1,000 sessions at Bohemia Bay Studio.
This timeline is a practical framework to avoid rushed shooting and protect final image quality; adapt the values to your client brief and the studio booking window. For your first session, booking an extra 30–60 minutes reduces pressure and gives time for unexpected adjustments — a tip I recommend based on experience.
To turn planning into action, use this short, stepwise method to create mood boards and shot lists — a workflow that’s proven reliable in our shoots.
These three steps make a mood board directly actionable and ensure your concept becomes a sequence of executable shots. The next section covers micro‑level time management and role assignments to keep momentum on set.
Build a mood board from 8–12 images that capture the look you want; note recurring colour palettes, lighting styles and poses, then choose three to five priority shots you must capture. Turn those priorities into a shot list with estimated times, lens and modifier needs and props so each entry is ready for assistants or collaborators. Order shots by importance so you can pivot if time is tight, and add notes on alternate setups that reuse the same lighting to reduce changeover. This structure turns inspiration into a checkable plan and cuts decision fatigue on set. For foundational tips, see our essential tips for beginners, drawn from our studio practice.
Efficient workflow starts with pre‑rigging, clear role delegation and quick routine checks to avoid interruptions. From over 1,000 shoots at Bohemia Bay Studio, I can tell you pre‑rigging backgrounds, marking key positions with tape and assigning one person to lighting and another to wardrobe and client comfort are game‑changers. Run the session in time blocks — setup, hero shots, variations, details — and keep a visible clock so everyone understands pacing. For tethered work, do a quick tether check before talent arrives to confirm capture, backup and preview systems. Sequence shots to minimise equipment swaps by grouping images that use the same lens and lighting, and keep a small contingency buffer for retakes. These habits reduce stress and keep the creative work front and centre.
Post‑shoot discipline protects your files, creates quick selects and prepares images for editing — preventing data loss and costly rework. From eight years in the industry and reviewing outcomes from many sessions at Bohemia Bay Studio, I cannot overstate the importance of immediate steps: copy files to at least two separate storage locations, do a rapid cull to create selects, and document metadata and usage rights so downstream editing is efficient. Use a consistent folder structure and naming convention to speed collaboration with retouchers or clients, and apply a simple rating system during culling to prioritise high‑value frames for detailed processing. The next section outlines a practical three‑step backup and culling routine to use after every session.
Follow a three‑step backup rule: copy from camera to your primary workstation or SSD, create a second physical backup on another drive, and schedule a cloud sync for off‑site redundancy when possible. Do this immediately after the session to avoid single‑point failures. At Bohemia Bay Studio we follow this routine for every shoot. For culling, run a fast pass to remove unusable frames, then a selective pass to tag keepers with ratings or colour labels so you have a concise edit list. Use consistent metadata — project name, client, date and usage notes — so files stay searchable through the pipeline. Batch‑apply lens corrections and basic exposure fixes to selected images to create uniform starting points for detailed retouching. This routine saves time and protects your work.
Good beginner resources include short online tutorials on Lightroom catalogue management, RAW processing and non‑destructive retouching; community forums also share presets and starter folder structures you can adapt. As a studio director, I recommend a standard folder hierarchy — Project > RAW > Exports > PSDs > Deliverables — and naming conventions that include client initials, shoot date and sequence numbers to avoid confusion. Start with a few trusted presets for colour grading to keep consistency across sessions and learn batch processing to speed delivery. Investing time in these basics builds a repeatable pipeline and shortens turnaround for clients while improving your image library.
Technical issues happen — stay calm and methodical. Check power, cables and camera settings first. If you have backup kit, swap to it to minimise downtime. A pre‑made troubleshooting checklist speeds diagnosis; if the problem persists, take a short break to reset and return with focus. Document the issue and follow up with studio support after the session if needed. This approach has worked well for me over eight years in the field.
Clear communication is the foundation of smooth teamwork. Hold a short pre‑shoot meeting to confirm roles, expectations and the shot list. Use plain, direct language and invite questions so everyone is aligned. During the shoot, give concise feedback and use reference images to keep the vision consistent. Encourage contributions, acknowledge helpful input and keep the atmosphere positive — that keeps creativity and efficiency high. This is a principle we practice at Bohemia Bay Studio and have seen succeed repeatedly.
Common pitfalls include poor preparation (not confirming equipment or a shot list), neglecting client comfort and rushing setups without testing lighting and exposure. Don’t skip immediate backups after the shoot — data loss is avoidable. Plan, test and communicate; learning from these avoidable mistakes will improve your next sessions. These are lessons I’ve learned and shared over my career.
Choose a time that suits your lighting plan and your team’s availability. Early morning or late afternoon can give pleasant natural light if you plan to use it; if you rely on artificial light you have more flexibility. Also consider quieter hours for fewer interruptions. Ultimately pick a slot that matches your crew and the look you want. At Bohemia Bay Studio we’ve seen every time slot used effectively depending on the creative vision.
Your pre‑shoot checklist should confirm booking details (time, included equipment), list photographer‑supplied items (camera bodies, lenses, batteries), note wardrobe and styling requirements and list props or accessories. Add a technical checklist for lighting setups and camera settings so you can hit the ground running on arrival. This comprehensive approach is what we recommend based on our studio experience.
After the session, review your images with a critical eye to identify strengths and areas to improve. Ask peers or mentors for feedback, take workshops or online courses focused on studio techniques, and practice different lighting setups and compositions. Follow industry blogs and community forums to stay current — regular practice and learning speed progress. As a professional photographer of eight years, I can attest that continuous learning is key to improvement.
Explore More Insights from The Studio