December 17, 2025
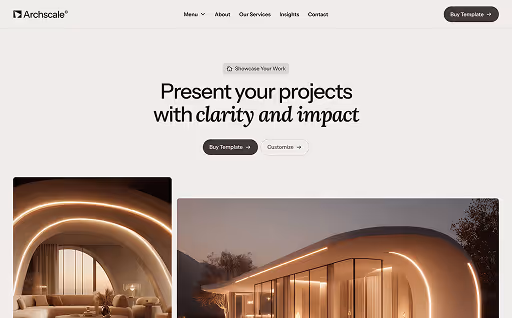
Great studio results come down to three things: the right kit, controlled light and a reliable workflow. This guide walks you through the camera bodies, lenses, lighting and accessories that actually matter in a studio, explains why those choices affect image quality and turnaround, and shows how to configure gear for consistent, repeatable results. Expect clear comparisons, realistic example setups and hands-on best practices you can use straight away. We also demonstrate how lens and lighting pairings behave on a white cyclorama in a 160m² space. If you’d prefer to book a ready-made room, Bohemia Bay Studio in Bayside, Melbourne offers self-access hire with professional lighting and a white cyclorama, plus discounts for longer bookings from approximately $109/hour. Read on for camera bodies, lens strategies, lighting essentials, accessories and workflows to plan studio shoots with confidence.
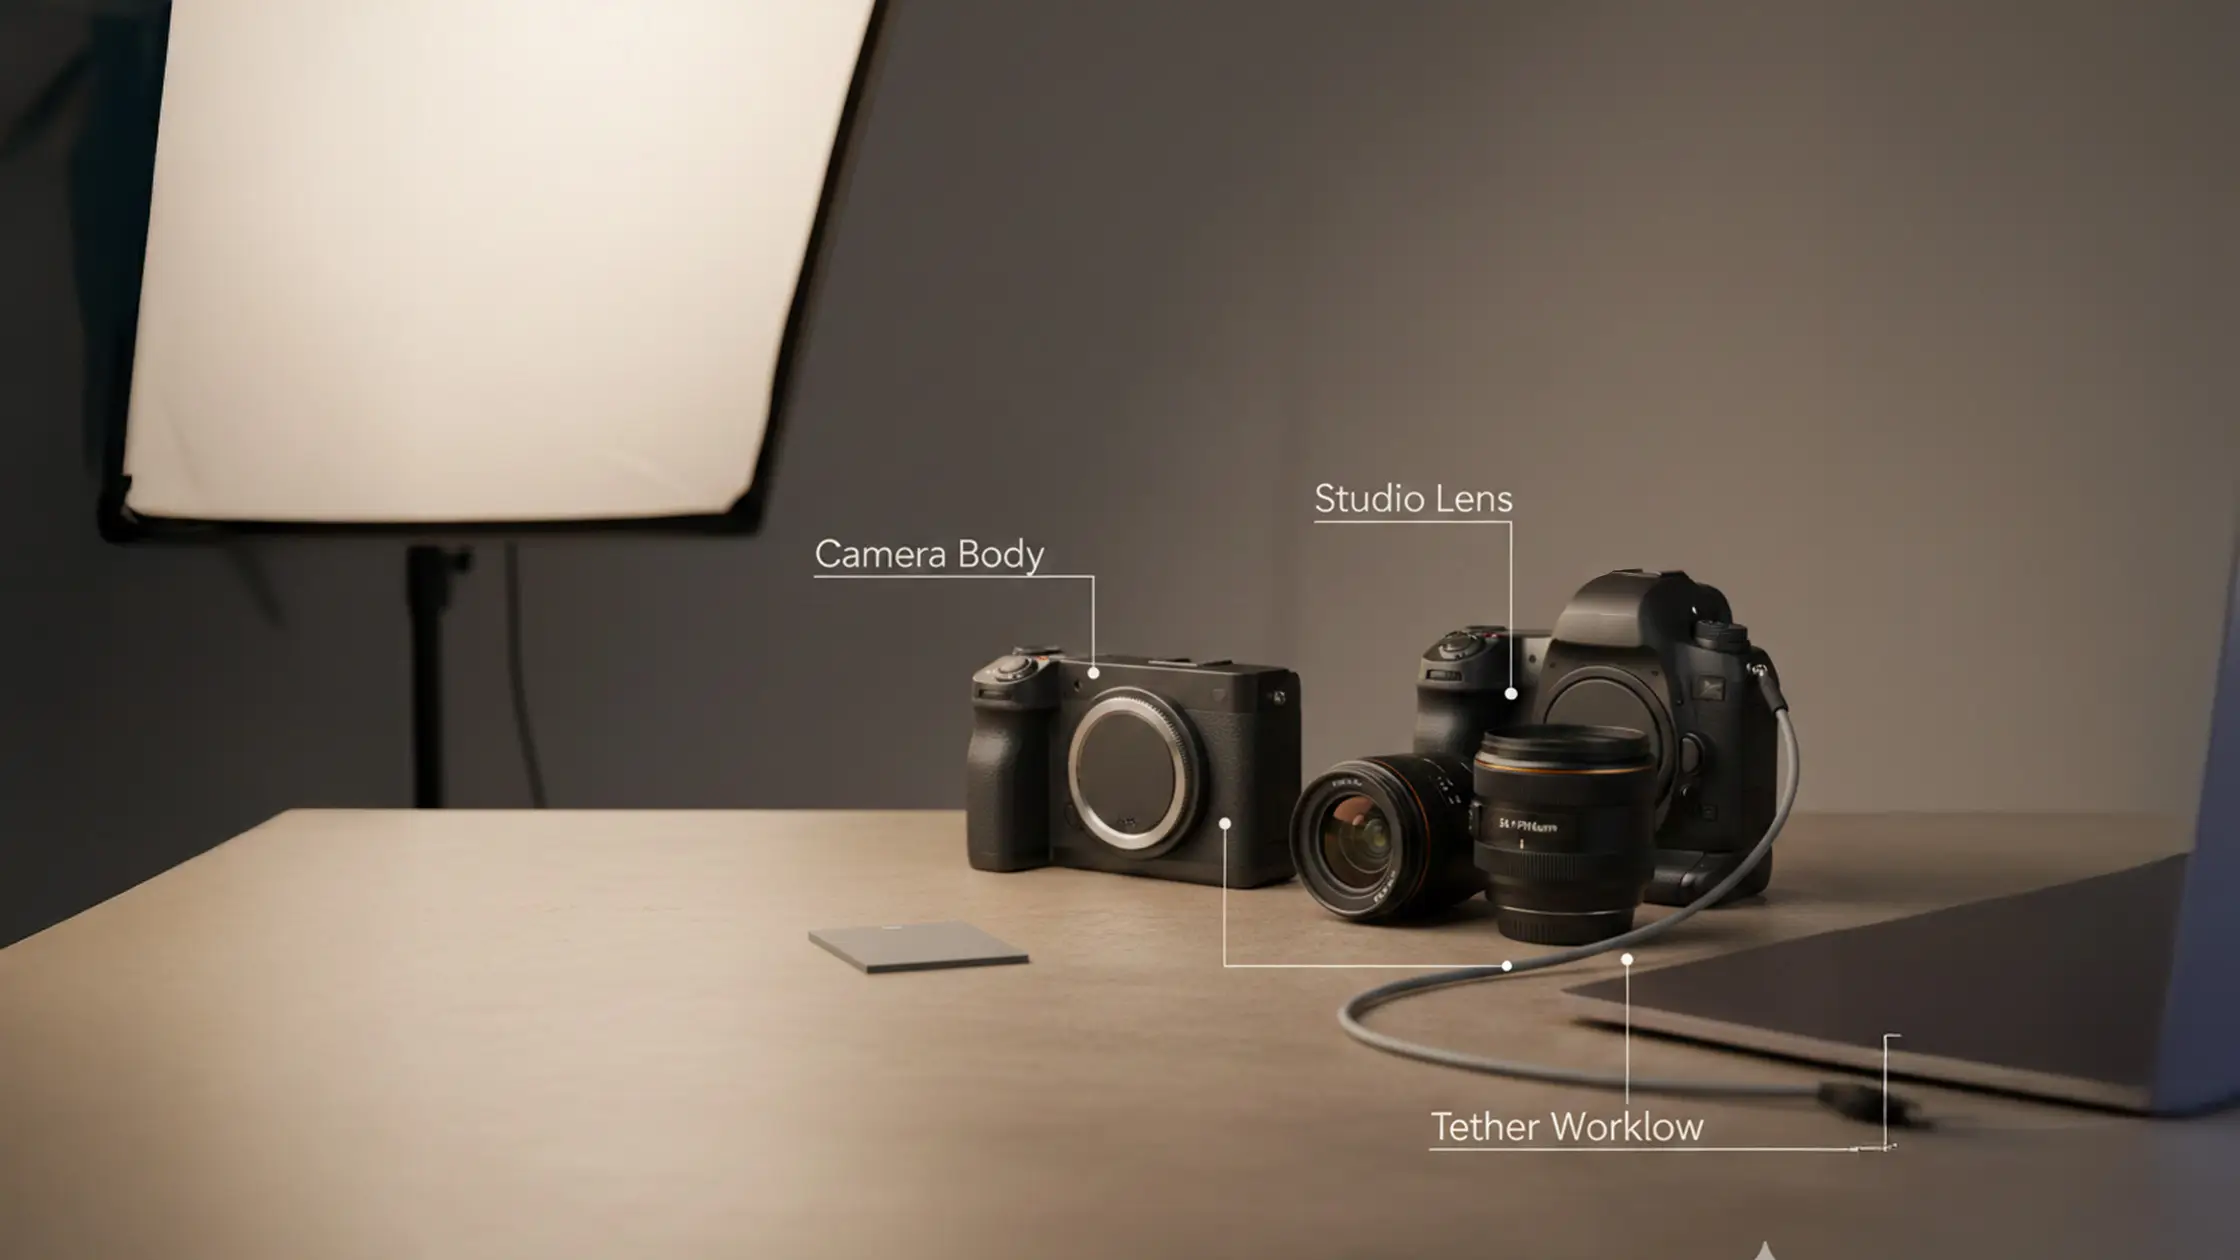
In the studio, sensor size, resolution and dynamic range are the priorities: they capture fine detail, retain highlight and shadow information, and produce files that respond well to retouching and large-format output. High-resolution full-frame and medium-format bodies give extra detail and tonal latitude, while reliable tethering and connectivity keep a session moving smoothly. Camera choice is a practical trade-off — think file sizes, storage and processing time — so pick a sensor that suits your pipeline, not your ego. The table below summarises camera classes and the studio tasks they’re best suited to.
This table makes it clear when extra megapixels justify the added storage and processing, and when a balanced workhorse body is the smarter, faster choice — which leads into the mirrorless vs DSLR discussion and how each platform impacts tethered studio workflows.
Mirrorless systems offer live electronic previews, better exposure simulation and advanced autofocus (eye detection, face tracking) that speed portrait sessions and reduce test shots. DSLRs still deliver longer battery life, familiar ergonomics and wide legacy‑lens support, but mirrorless live view makes fine lighting tweaks and focus checks quicker under strobes. For tethered workflows, mirrorless bodies with solid connectivity simplify real‑time previews on a laptop, though mature DSLR tethering remains dependable. Match the body to your crew, retouch pipeline and session tempo to find the best fit.
High-resolution cameras shine when deliverables demand texture, tight crops and large-format output — 30MP and up is a practical threshold for many commercial jobs. More pixels give greater retouch flexibility for e‑commerce and product work, but they also bring bigger files and longer processing times, so plan storage and tethering accordingly. Medium‑format systems push tonal fidelity and dynamic range further, useful for luxury product or fine‑art commissions where subtlety matters. Always consider the full production pipeline — capture, backup and processing — when choosing higher megapixels because throughput affects client turnaround.
Studio lens choices balance focal length, maximum aperture and optical sharpness to control depth of field, perspective and compression across portraits, full‑body fashion and product detail. Primes usually give the best sharpness and wider apertures for subject separation; zooms add flexibility and reduce lens swaps on tighter schedules. Aperture controls subject isolation, while working distance — whether you’re on a cyclorama or a tabletop — dictates practical focal lengths. The table below compares common studio lens types and where they’re most useful.
Use this table to match focal lengths to subject scale and studio space. The next section explains how primes and zooms perform in typical shooting scenarios.
Primes such as 50mm, 85mm and 100/105mm macro deliver clean clarity and wide apertures for subject separation and fine detail — staples for beauty and product work. A 50mm is a reliable all‑rounder on full‑frame; an 85mm flatters headshots with minimal distortion. Around 100–105mm, macro primes are essential for tight product close‑ups and texture work, giving both working distance and resolving power. Shooting with primes encourages deliberate composition and consistent results; for full‑body fashion on a cyclorama, a 70–200mm range often works more practically.
Zooms cut downtime by letting you reframe without swapping lenses — a big efficiency boost on lookbooks or multi‑outfit shoots. The 24–70mm f/2.8 is great for mid‑shots and product groups, while the 70–200mm f/2.8 delivers compression and reach for full‑length fashion and editorial frames. Modern zooms are optically competitive and speed production when paired with reliable focus and consistent lighting. In Bohemia Bay Studio’s 160m² cyclorama, the 70–200mm makes full‑body framing predictable while keeping subject separation and background fall‑off under control.
Lighting defines an image’s look by controlling direction, quality and power. Strobes provide high peak power and short flash durations; continuous LEDs give constant visual feedback that’s handy for video or solo operators. Your choice depends on freeze‑frame needs, colour stability and how much real‑time preview you want. Modifiers — softboxes, grids, beauty dishes — shape the light to the genre, while triggers, sync options and power constraints are practical considerations. The table below compares the main lighting approaches for studio use.
That comparison explains why strobes are usually favoured for frozen action and high‑power needs, while continuous lighting speeds setup checks and suits smaller crews.
Strobes give the power to stop motion and produce clean specular highlights with stable colour — ideal for product work and retouch‑driven portraits. Continuous lights simplify composition and exposure checks because you see the effect in real time, which helps single operators and video shoots. Consider practical factors — AC availability, heat and modifier compatibility — when deciding, and use the next section to choose modifiers that shape light precisely.
Modifiers determine light quality: softboxes deliver broad, even illumination; beauty dishes and grids add controlled contrast and flattering fall‑off for facial modelling; reflectors and diffusers are low‑cost ways to manage fill. Grids or snoots narrow beam spread for rim separation or background control on a white cyclorama. Pick modifiers by subject scale and contrast goals — a softbox key with a grid‑controlled rim is a common fashion combo that maintains separation and texture. Understanding modifier behaviour feeds directly into practical setups for product, headshot and full‑body fashion work.
The right accessories bring stability, clean backgrounds and dependable file handling — all of which reduce re‑shoots and speed delivery. Tripods and heavy‑duty light stands lock framing for product stacks or bracketed capture; backdrop systems and clamps keep seamless surfaces wrinkle‑free for cyclorama work. Tethering hardware and calibrated monitors speed client feedback, and robust storage/backup strategies protect your shoots on busy days. The checklist and table below help prioritise accessory purchases for a professional pipeline.
Together these accessories support a professional workflow from capture to delivery with minimal friction. The table below summarises accessory roles against common studio tasks.
Once your physical stability and preview chain are sorted, concentrate on software and file management to keep throughput efficient.
Tripods and heavy‑duty heads lock composition and allow fine framing adjustments between tethered captures — ideal for consistent series and focus stacking. Robust backdrop systems and cyclorama surfaces remove edge shadows and wrinkles, simplifying lighting and background removal in post. Light stands and sandbags stabilise modifiers and protect talent and gear during busy shoots. Prioritising these support elements reduces setup time and makes sessions more predictable.
Tethering tools like Capture One or Lightroom provide accurate on‑set previews, instant RAW adjustments and clear metadata control; fast memory cards and redundant storage protect data flow. Battery grips, cleaning kits and calibration tools (monitor and colour targets) cut interruptions and keep colour consistent from capture to retouch. Choose software with session presets and automated backups to streamline client delivery and speed batch retouching.
Choosing gear for a specific studio means mapping focal lengths, modifiers and light power to the space. Bohemia Bay Studio offers a 160m² area with a white cyclorama and professional lighting included, so pick lenses and setups that make the most of the room’s scale and the cyclorama’s seamless white. For full‑length fashion, a telephoto reach (70–200mm) preserves flattering compression and separation; headshots and beauty benefit from 85mm primes paired with large softboxes. The studio’s lighting speeds setup, and longer bookings unlock discounts from approximately $109/hour — making efficient lens and modifier pairings a more economical choice for production teams. Below are example setups mapped to common shoot types in this space.
These pairings show how the cyclorama and included lighting reduce the need to bring excessive kit. Knowing what works in a 160m² space helps teams plan shoots efficiently and make the most of longer‑booking discounts.
For full‑body fashion on the cyclorama, use a 70–200mm with a rear rim or backlight to create separation and a clean fall‑off against the curve, and balance a key with soft fill to avoid clipping the backdrop. Headshot and beauty sessions suit 85mm or 50mm primes paired with a large softbox or octabox for soft, wraparound light and flattering catchlights. Product tables or small objects benefit from a 100mm macro with controlled strobes and small softboxes or light tents to manage specular highlights. Test distances and power ratios in the studio and use tethered review to speed client approvals during your booking window.
The included white cyclorama and professional lighting make the studio versatile: e‑commerce and product shoots gain from controlled strobes and macro lenses for texture capture; fashion and lookbooks use the space’s depth with telephoto lenses for flattering compression. Beauty and retouch‑focused shoots benefit from steady strobe power and soft modifiers that flatter skin. The studio’s self‑access model and flexible hours let teams book dawn or late‑night sessions to fit client timelines. Matching gear to genre cuts transport and setup time, making longer bookings more cost‑effective within the studio’s discount structure.
Consistent technical setup delivers predictable results: start with a low ISO for best image quality, choose aperture for the depth of field you want, and keep shutter speed within strobe sync limits with a safety margin. Tether to a calibrated monitor for instant visual feedback and client‑directed retouch decisions, and run a pre‑shoot checklist — batteries, memory, backups, sandbags and test exposures — to avoid interruptions during long bookings. Below are concise setup priorities and example settings for portraits, product and fashion shoots.
Start at ISO 100–200 to maximise dynamic range and minimise noise — studio lighting provides the headroom. Choose aperture for subject isolation (f/2.8–f/5.6 is a practical range that balances sharpness and background separation). Keep shutter speed within the sync limit (commonly 1/125–1/200s) to avoid clipping. Use manual white balance or a custom preset matched to your strobes to keep colour consistent across frames — this simplifies post and speeds client approvals during tethered review. These settings reduce variability and support efficient post‑production.
For product work, a two‑strobe setup with a diffused key at 45° and a lower‑power fill on the opposite side controls specular highlights and renders surfaces evenly; add a background light to ensure a clean white backdrop without clipping subject edges. For fashion, a three‑light configuration — key softbox at camera‑left, a rim light behind the subject and a subtle fill or reflector — creates depth and separates the model from the cyclorama while keeping skin tones flattering. Power ratios commonly sit around key:fill 2:1 or 3:1 depending on desired contrast, with rim power adjusted for the level of separation you want. These setups fit comfortably in a 160m² studio and leave room for stands and movement without compromising the background.
Think about the work you do — product, portrait or fashion — and the power you’ll need. Strobes are best for high‑contrast, freeze‑frame work; continuous lights suit video or single operators. Match modifiers (softboxes, beauty dishes, grids) to the look you want, and check practical needs like sync, power and portability for studio or location shoots.
Build a concise pre‑shoot checklist that covers gear, settings and accessories. Use tethering for real‑time previews and client feedback, organise the space to minimise walking and gear swaps, and standardise lighting setups where possible to cut adjustment time. Schedule the shoot with buffer time for changes so momentum isn’t lost.
A white cyclorama provides a seamless background that removes distractions and supports versatile lighting setups. It reflects light evenly for soft shadows and clean highlights, making it ideal for product and fashion. The infinite‑background effect looks professional and makes background removal in post much simpler, speeding client delivery.
Choose lenses by subject and the effect you want. Primes like 85mm or 50mm work well for portraits because of their perspective and sharpness. For full‑body fashion, a 70–200mm tele zoom helps with compression and separation. For product detail, a 100mm macro gives the working distance and resolving power you need. Always factor in studio size and lighting when selecting focal lengths.
Accessories improve stability, control and efficiency. Tripods and sturdy stands keep framing consistent; backdrop systems preserve clean backgrounds; tethering kits enable instant client review. Reflectors and diffusers shape light without heavy kit. Investing in the right accessories reduces risk and speeds delivery.
Calibrate your monitor and use a colour target during shoots. Set a custom white balance tied to your lighting, and use tethering software for immediate checks. Keeping lighting gear and modifiers consistent also helps avoid shifts in colour temperature that complicate post.
Don’t skip equipment checks before a shoot — dead batteries or missing cables waste time. Set the correct white balance to avoid colour issues, and use tethering where client feedback matters. Don’t underestimate modifiers — the wrong light shaping creates unflattering shadows. Finally, plan the shoot with a clear schedule and checklist to stay efficient.
Explore More Insights from The Studio