December 17, 2025
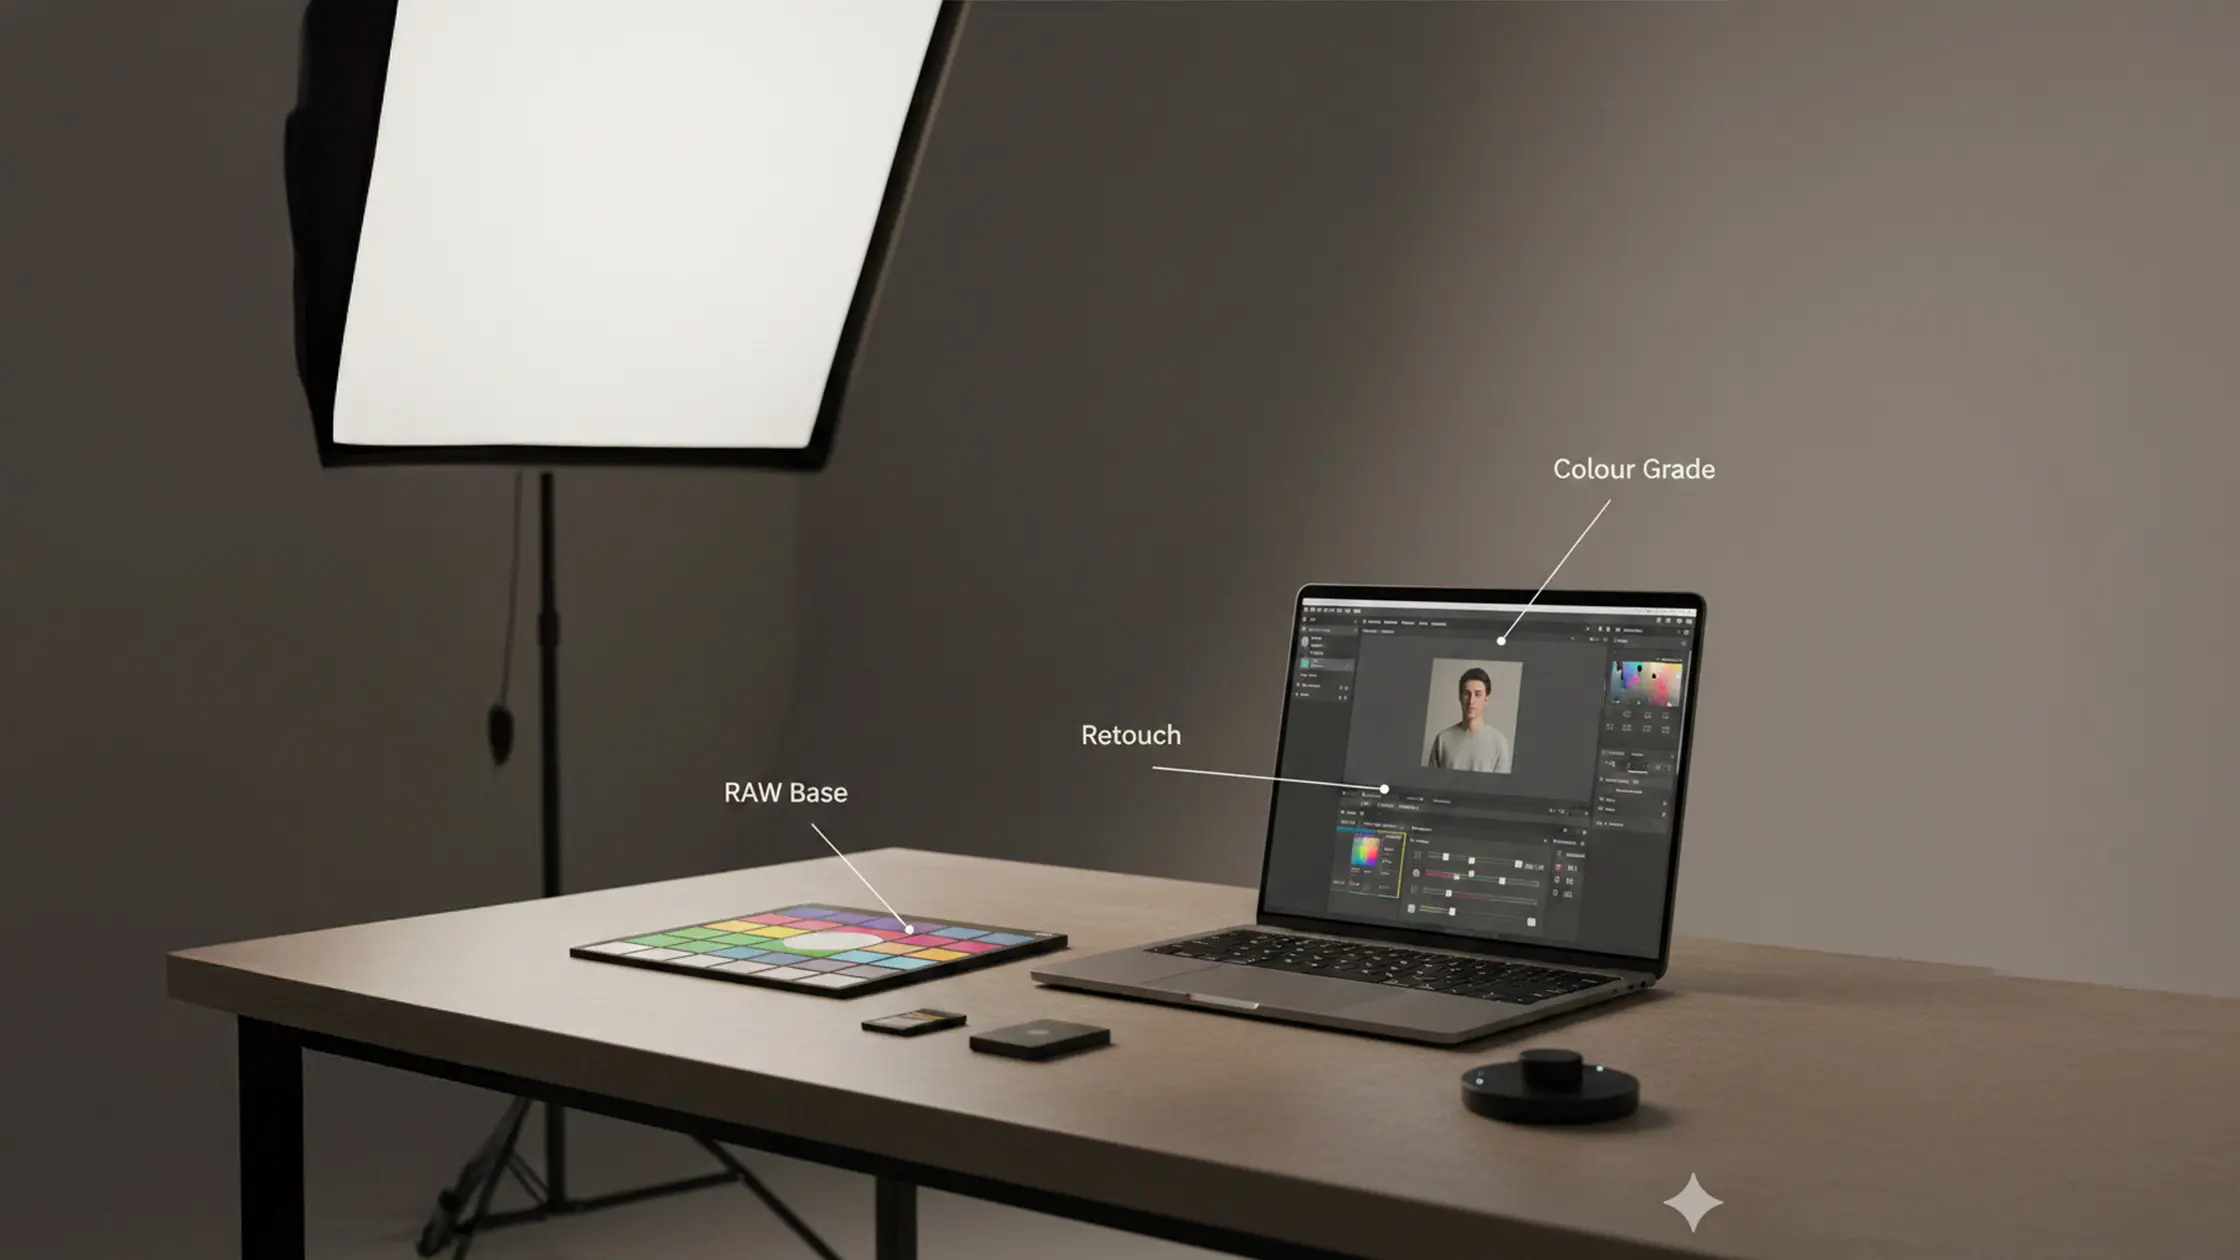
Studio post-production is where a solid shoot becomes finished, client-ready work. It’s the careful mix of RAW processing, selective retouching, consistent colour grading and tidy export routines. This guide lays out practical, studio-focused methods to cut wasted time and protect image quality from capture through client delivery — with emphasis on portrait retouch, fashion and e‑commerce edits, and studio colour correction. When you begin with clean RAW files under controlled lighting, post becomes predictable; the steps below assume reliable studio inputs so corrections stay minimal and repeatable. After a short note on purpose-built spaces, we cover pre-edit essentials, core adjustments, natural portrait retouch, grading strategies, helpful AI tools and a streamlined, repeatable workflow. You’ll find checklists, quick-reference tables and clear steps designed to speed turnaround while lifting final fidelity. If you want consistent RAW captures and tethered sessions, consider booking Bohemia Bay Studio in Bayside, Melbourne — our space keeps capture predictable and shortens editing time.
Pre-editing covers the capture-to-ingest stage and sets you up for fast, reliable editing. It’s about preserving image data and organising files so fixes are minimal later. In practice that means shooting RAW, checking exposures on tether, capturing colour targets and using a strict culling and folder-naming workflow so every step after ingest is repeatable and auditable. These habits reduce retouch cycles and keep grading consistent across a shoot — critical for commercial colour work and e‑commerce product images. A short studio pre-edit checklist prevents rework and makes collaboration between shooter, retoucher and client much smoother.
The essential pre-editing steps for studio shoots are:
Follow this checklist so your editing time focuses on creative choices, not corrective fixes — and make batch processing far more efficient across similar sets.
RAW retains the sensor’s full data without camera compression or a baked-in white balance, giving you room to fine-tune exposure and recover highlight and shadow information. RAW files carry higher bit-depth and a wider gamut, so skin tones behave more naturally during grading and retouching is less destructive. Even in controlled studio lighting, RAW matters: small exposure and white-balance tweaks across dozens of frames are safer and faster from RAW. If you want consistent RAW captures to reduce variation and speed culling, our fully equipped studio can help.
This comparison makes plain that RAW plus tethered review is the most efficient path to predictable post outcomes, cutting the time retouchers spend fixing capture mistakes.
Good culling shrinks your edit queue to the technically and creatively viable frames. Use a layered workflow: a quick technical pass to remove rejects, an AI-assisted first-pass to speed selection, then a final human review for the creative picks. Flag or star in Lightroom or Capture One, or use AI culling tools — but always finish with a human pass to protect artistic choices. Adopt a consistent naming convention (for example Project_Client_Date_ShotNumber) and a folder structure that separates RAW, selects, retouch files and exports. In self-access studio sessions, standardise tether names and backup rules so anyone can pick up the session without confusion.
A well-implemented cull and organisation system shortens the gap between shoot and delivery and makes batch colour corrections and export profiles more reliable.
Core editing turns a clean RAW into a technically correct master ready for targeted retouch. Start with exposure, white balance and global contrast, then use masks and local brushes to refine specific areas while protecting skin texture and product detail. Noise reduction and sharpening belong near the end, tuned to the final output — sharpening before denoise can create artifacts, while conservative sharpening with edge masking keeps detail natural. Applying these core techniques consistently speeds follow-on work like frequency separation and grading.
Core editing checklist for studio images:
These steps produce reliable, edit-ready masters that make retouching faster and grading consistent across a shoot.
This quick-reference table gives sensible starting points that protect natural texture and avoid common over-processing mistakes.
Balance exposure by watching the histogram and protecting highlight and shadow detail — in studio work you’re usually refining rather than rescuing. Anchor white balance to a greyscale reference or your calibrated camera profile, then nudge to keep skin tones true; a profiled monitor or proofing setup helps. Use curves for selective midtone contrast boosts so you don’t crush blacks or clip highlights — that keeps facial and product detail intact. Apply these steps consistently across a session to create a uniform baseline for grading.
Noise reduction and sharpening depend on the final use: web images can tolerate stronger denoise and lighter sharpening, while print demands preserved micro-detail. Reduce noise before sharpening so grain isn’t exaggerated, and use luminance NR sparingly to retain skin micro texture. For sharpening, use edge masks to target high-contrast edges and protect smooth skin areas; consider exporting a separately sharpened copy for web and a gentler version for print. Always test on a representative 100% crop before applying settings across a batch.
Following these steps reduces rework and keeps portraits and product shots looking natural and professional.
High-end portrait retouching enhances without erasing — preserving skin texture while removing distractions and refining features to the client’s brief. Work non-destructively with layers and masks in Photoshop, and combine dodge & burn with frequency separation so tone and texture are treated separately. Prioritise eyes and mouth, smooth temporary blemishes while respecting permanent features, and harmonise colour to support the creative grade. Subtlety preserves likeness and speeds approvals.
Key retouching priorities for studio portraits:
This order of operations focuses on what viewers notice first, cutting revision cycles and preserving a believable result.
Smoothing blemishes while keeping skin texture is central to a believable, high-end portrait retouch.
Advanced Face Retouching Techniques for Natural Skin Smoothing in Post-Production
ABSTRACT: Face retouching is widely used across screens and deliverables and has clear commercial value. This work describes a real-time face-softening method that smooths blemishes while restoring underlying skin texture using wavelet band manipulation — producing a natural, appealing result. The approach uses an attribute-aware dynamic smoothing filter guided by facial characteristics like blemish count and skin coarseness. It’s robust across varied lighting, uneven skin, accessories and fine hair regions, and includes a module to preserve facial hair texture while smoothing. Results are compared qualitatively with current state-of-the-art methods.
Frequency separation splits an image into two non-destructive layers: low frequency for tone and colour, high frequency for texture. Tackle tones and blemishes on the low layer while keeping pores and fine detail on the high layer — that way you remove distractions without losing realism. Use low-opacity healing/cloning on the low layer and very careful work on the high layer for abrupt texture fixes. Multiple light passes at reduced opacity produce a natural finish far faster than heavy single edits.
Keep feature enhancements modest and targeted: brighten catchlights and lift small amounts of iris contrast to add vitality without changing identity. Whiten teeth with masked hue/saturation adjustments so enamel remains believable. Remove stray hairs with clone/heal sampled from colour-corrected areas and use dodge & burn to separate hair from background. Avoid global clarity boosts that exaggerate pores; instead apply micro-contrast only where emphasis is wanted. These small, purposeful edits increase perceived sharpness while keeping portraits authentic.
Colour grading moves images from technically correct to stylistically consistent, shaping mood, brand identity and narrative across a set. Start from accurate correction — neutral whites and matched skin tones — then add creative grades with curves, HSL tweaks and subtle split toning to introduce warmth, coolness or a fashion-forward look. For commercial work, consistency is crucial: sync grades across selects and use reference images or LUTs sparingly so skin tones stay natural. Thoughtful grading lifts portraits and product shots and reinforces your brand’s visual language.
Colour grading approaches for studio shoots:
A disciplined grading process turns corrected masters into cohesive sets that reflect your brand’s visual identity.
Begin with a neutral baseline: correct white balance using a grey card or colour target, then make selective tweaks for skin tones. When tethering, apply an ICC or camera profile to avoid large colour shifts between capture and edit — it reduces iteration and keeps grading decisions predictable. Synchronise WB and exposure across similar frames before creative grading so adjustments apply evenly. Consistent colour correction prepares images for batch grading and prevents distracting mismatches.
Advanced grading uses curves and selective HSL shifts to shape mid-tones, highlights and shadows independently, letting you create cinematic or fashion-forward looks while keeping skin accurate. Split toning adds a gentle cast to highlights and a complementary tone to shadows — keep it muted and mask faces when needed. When using LUTs, blend at reduced opacity and refine with local HSL corrections to avoid banding or odd skin hues. These techniques let creative teams craft distinctive looks that hold up across campaigns and beauty or product work.
Modern studio pipelines combine manual craft with AI to speed repetitive tasks without losing control. AI culling trims selection time, AI retouching handles base skin cleanup and object removal, and AI upscalers help with large-format outputs — each tool has its place and requires human validation. For complex compositing, precise masking, perspective matching and light-wrap remain essential; AI helps with selections but artistic integration still needs hands-on blending. The right balance of automation and manual oversight delivers both speed and quality.
Use this table to decide where automation helps and where manual checks preserve natural results.
Good compositing follows a checklist: capture clean mattes with strong separation, build precise masks, match perspective and depth-of-field, then use light-wrap and colour matching to integrate the subject. Ensure the subject’s lighting direction and softness match the replacement environment, then use layered adjustments and subtle grain/noise matching to blend edges. Plan composites during the shoot — photograph reference plates and control lighting — to avoid perspective or shadow mismatches that cause rework.
AI tools excel on repetitive tasks: culling speeds selection, base retouching handles frequent blemishes, and upscalers prepare files for varied outputs. Choose tools that plug into your main editor (Lightroom, Capture One, Photoshop) and preserve metadata and edit history for traceability. Always run a human editorial pass after AI processing to protect artistic intent and texture. Used carefully, these tools can halve routine workload and let retouchers focus on higher-value creative work.
An optimised workflow is a repeatable pipeline that reduces decision fatigue and enforces quality control from ingest to delivery: ingest > backup > cull > colour-correct > retouch > grade > export. Automate exports with preset profiles to speed turnaround and avoid platform-specific mistakes (e‑commerce thumbnails, print specs). Revisit the pipeline regularly to adopt useful tools like AI culling and to update export profiles for current platform needs. These practices turn one-off processes into scalable systems that support commercial volumes.
Here is a step-by-step workflow checklist to build a consistent editing pipeline:
Following this sequence reduces errors and helps teams meet client deadlines reliably.
Start by defining stages and deliverables so everyone knows expectations from capture to final files. Use standardised presets and metadata templates to tag images with client, usage and version details — this speeds searches and rights management. Add QC checks at handoff points (after cull, post-retouch, pre-export) to catch issues early. Finally, document your process and keep style masters so new team members can reproduce brand-specific grades and retouch standards quickly.
Presets and batch edits give consistent starting points and drastically reduce per-image work: build base presets for common lighting scenarios and product types, then fine-tune single frames. Match export profiles to client channels — social, e‑commerce, print — with appropriate colour spaces, compression and sharpening. Use smart previews or proxies for remote retouching to speed transfers while keeping RAW fidelity for final output. For production shoots, consider tethered capture and immediate proofing, then a batch pipeline that mirrors your studio’s capture conventions.
If you need a predictable capture environment that speeds culling and ensures consistent colour profiles, Bohemia Bay Studio in Bayside, Melbourne offers a fully equipped self-access space with professional lighting, a white cyclorama and hireable kit. Our straightforward online booking and self-access codes make scheduling and tethered sessions simple. Booking the space for tight-deadline projects reduces capture variability and shortens editing time so teams can deliver on schedule.
AI tools accelerate routine tasks so you can focus on creative decisions. For instance, AI culling can quickly sort hundreds of frames and AI retouching can handle base skin cleanup or basic object removal — shaving hours off repetitive jobs. That said, always review AI edits to ensure texture and intent are preserved. Used well, AI boosts efficiency and shortens turnaround without compromising quality.
Begin with a neutral base: correct white balance and exposure consistently across the set. Use reference images or LUTs for a cohesive look, and apply adjustments in batch where appropriate. Save custom presets that match your desired style so you can reproduce a unified visual narrative that aligns with the brand.
Look for controlled lighting, tethering capability and the gear you need. A studio with reliable lighting makes consistent RAW captures easier and streamlines post. Backdrops, space layout and accessibility matter too — self-access and simple online booking can save setup time and make tight schedules more manageable.
Practice and study key techniques. Master frequency separation to adjust tone without losing texture, and learn to enhance eyes and lips subtly. Use non-destructive workflows (layers, masks) so you can iterate without harming originals. Follow tutorials, analyse professional work and build a personal workflow that meets client expectations.
Beware over-processing — it’s easy to lose a natural look. Keep colour grading consistent across a series, avoid excessive sharpening that creates artifacts, and back up files regularly to prevent data loss. Finally, always review edits critically before delivery to catch avoidable issues.
Match exports to the platform: for web, prioritise smaller files and use sRGB for predictable colour across devices. For print, use higher resolution and a wider gamut (Adobe RGB) when required. Consider platform-specific dimensions, compression and sharpening to optimise each deliverable.
Feedback is essential. Regular reviews with team members, clients or peers highlight inefficiencies and creative opportunities. Run structured review sessions after projects to capture lessons and refine your process. Iterative feedback keeps workflows evolving and improves productivity over time.
Explore More Insights from The Studio